Applying gel polish over builder gel is indeed possible and is a common practice in nail artistry. Builder gel serves as a robust foundation for nails, delivering strength and sometimes additional length, upon which the color and gloss of gel polish can be layered. The builder gel creates a hard, nail-like surface that is conducive to the adhesion of gel polish, allowing for a smooth and even application.
When opting to apply gel polish over builder gel, it is essential to consider the compatibility between the products. Not all builder gels and gel polishes are formulated the same way; therefore, ensuring that the gel polish is designed to work with builder gel is crucial for achieving a durable and attractive finish. Proper preparation of the nail surface is also key, which includes cleaning, buffing, and possibly using a primer or bonder to enhance the adherence of the gel polish.
Moreover, though the process offers versatility and longevity, it requires a certain level of skill and understanding of nail product application. Maintaining the health of the natural nail beneath is paramount, so careful application and removal according to product-specific instructions are recommended to avoid potential damage. With the right tools and techniques, individuals can enjoy a professionally looking manicure with the robustness provided by builder gel and the aesthetic appeal of gel polish.
Understanding Builder Gel
Builder gel serves as a robust foundation for nail enhancements, offering added strength and adhesive properties. This section details the distinct characteristics and benefits of builder gel for both professionals and DIY nail enthusiasts.
Characteristics of Builder Gel
Builder gel distinguishes itself with a thicker viscosity compared to traditional gel polish. It is designed to be strong and adhesive, which allows it to effectively create nail extensions. Builder gels are available in various types, each catering to specific needs. Some gels are more flexible, while others prioritize maximum hardness.
- Viscosity: Thick, capable of self-leveling
- Strength: Provides a solid overlay for natural nails
- Adhesive Qualities: High, helps in better adhesion to the natural nail
- Flexibility: Varies among types; some offer more give, reducing the chances of breakage
Benefits of Using Builder Gel
Utilizing builder gel comes with several benefits. Its adhesive power enhances the longevity of nail enhancements, making them more durable over time. The flexibility offered by some builder gels makes the nails less prone to damage, ideal for those seeking a balance between strength and natural nail movement.
Durability:
- Lasts 2-3 weeks without chipping or lifting
- Resistance to daily wear and tear
Customization:
- Shape and length can be tailored
- Can be used as a base for color application
Builder gel’s formulation supports a healthy natural nail growth underneath, catering to the needs of those who wish to maintain nail health while enjoying a manicure’s aesthetic benefits.
Preparation for Gel Polish Application
Proper preparation of the nails is essential for the longevity and quality of a gel polish manicure over builder gel. Without thorough preparation, the manicure may be prone to lifting or peeling.
Nail Preparation
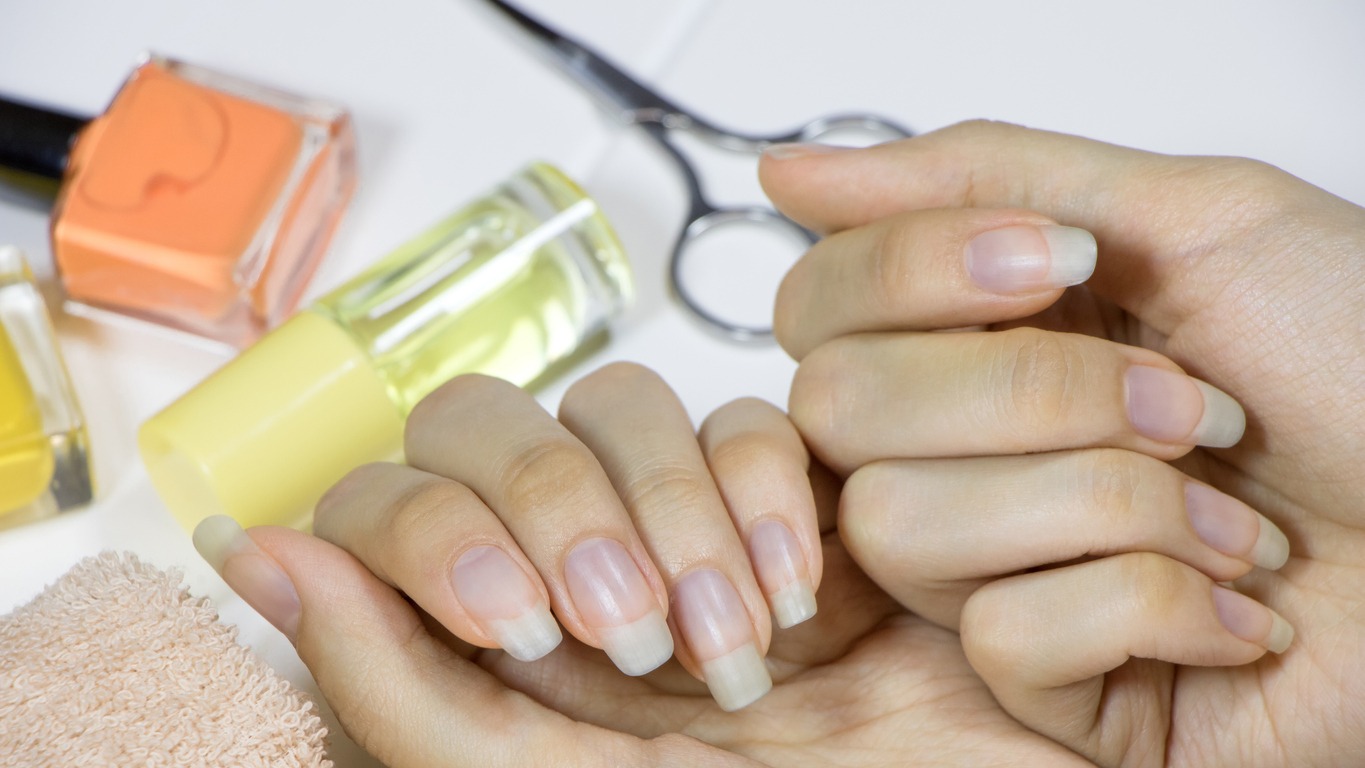
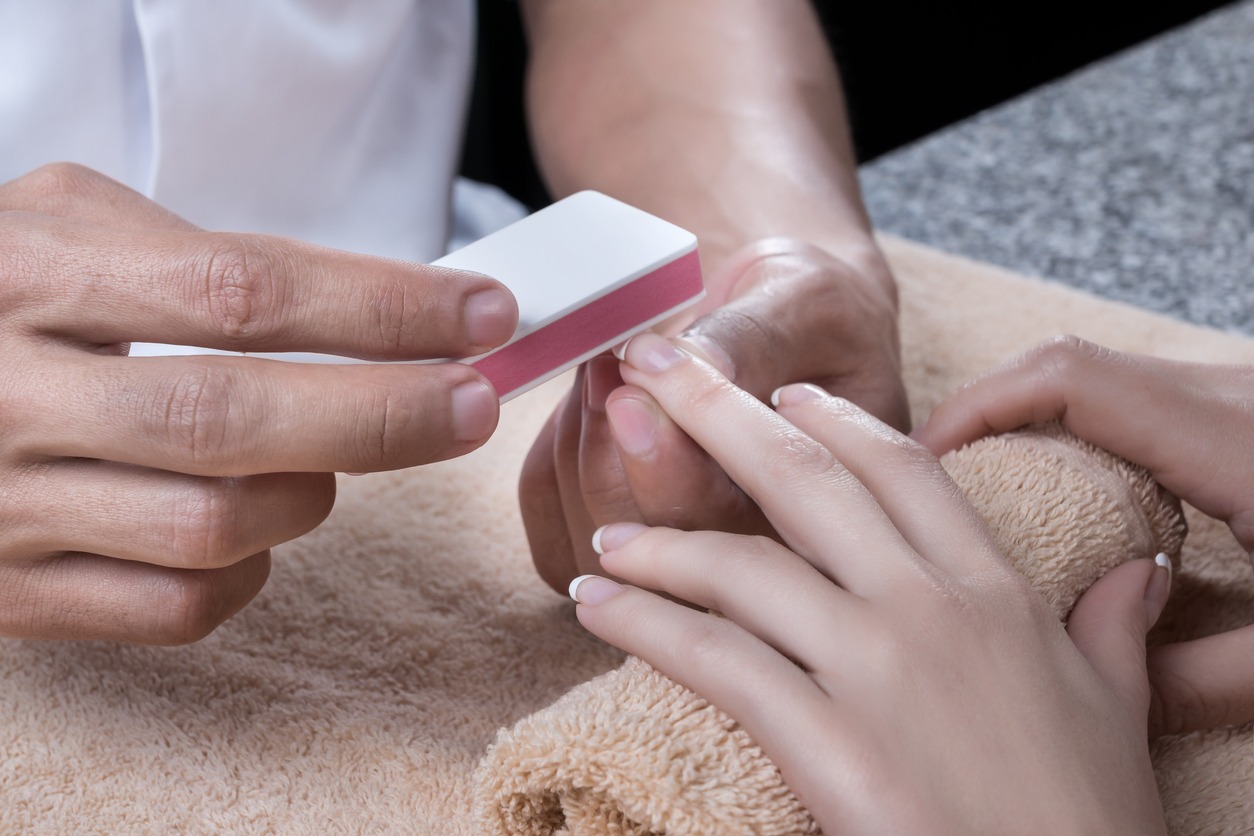
To ensure that gel polish adheres correctly, one must start with meticulous nail preparation. The natural nails should be shaped with a nail file to the desired length and form. Next, gently buff the surface of the nail to remove any shine, creating an appropriate texture for the builder gel to bond. Cuticles should be pushed back using a cuticle pusher and any non-living tissue trimmed if necessary. It’s essential to avoid using cuticle oil before gel application, as it can interfere with product adherence. Finally, cleanse the nails using a nail dehydrator to remove any moisture and oils from the nail plate, providing a clean base for the gel polish.
- Shape with nail file
- Buff nail surface
- Push back and trim cuticles (if needed)
- Avoid cuticle oil before gel application
- Dehydrate nails with a nail dehydrator
Choosing the Right Products
Selecting compatible and high-quality products can significantly affect the gel manicure’s success. One should opt for a builder gel system that is compatible with the gel polish to be used. Builder gels come in various viscosities and cure times, which are important factors to consider. The builder gel acts as a foundation, thus, it needs to bond well with both the natural nail and the gel polish. Also, an appropriate base coat should be used to enhance adhesion. When choosing a gel polish, consider its formulation to ensure that it levels well over builder gel without being too thick or thin.
- Choose compatible builder gel and gel polish
- Consider builder gel viscosity and cure time
- Use an appropriate base coat for better adhesion
- Ensure gel polish has suitable formulation for leveling over builder gel
Applying Gel Polish Over Builder Gel
After properly applying builder gel, one can enhance the durability and aesthetic of their gel manicure by further applying gel polish. This process requires precision and an understanding of the proper technique and curing methods.
Application Technique
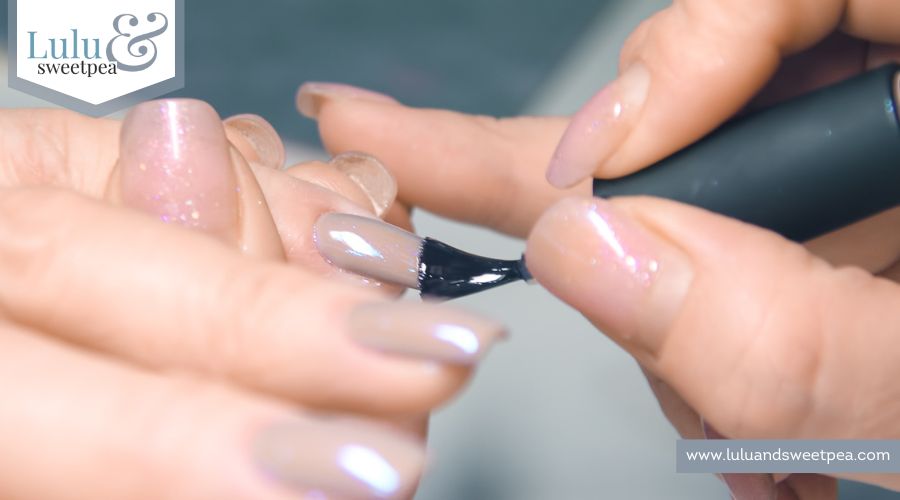
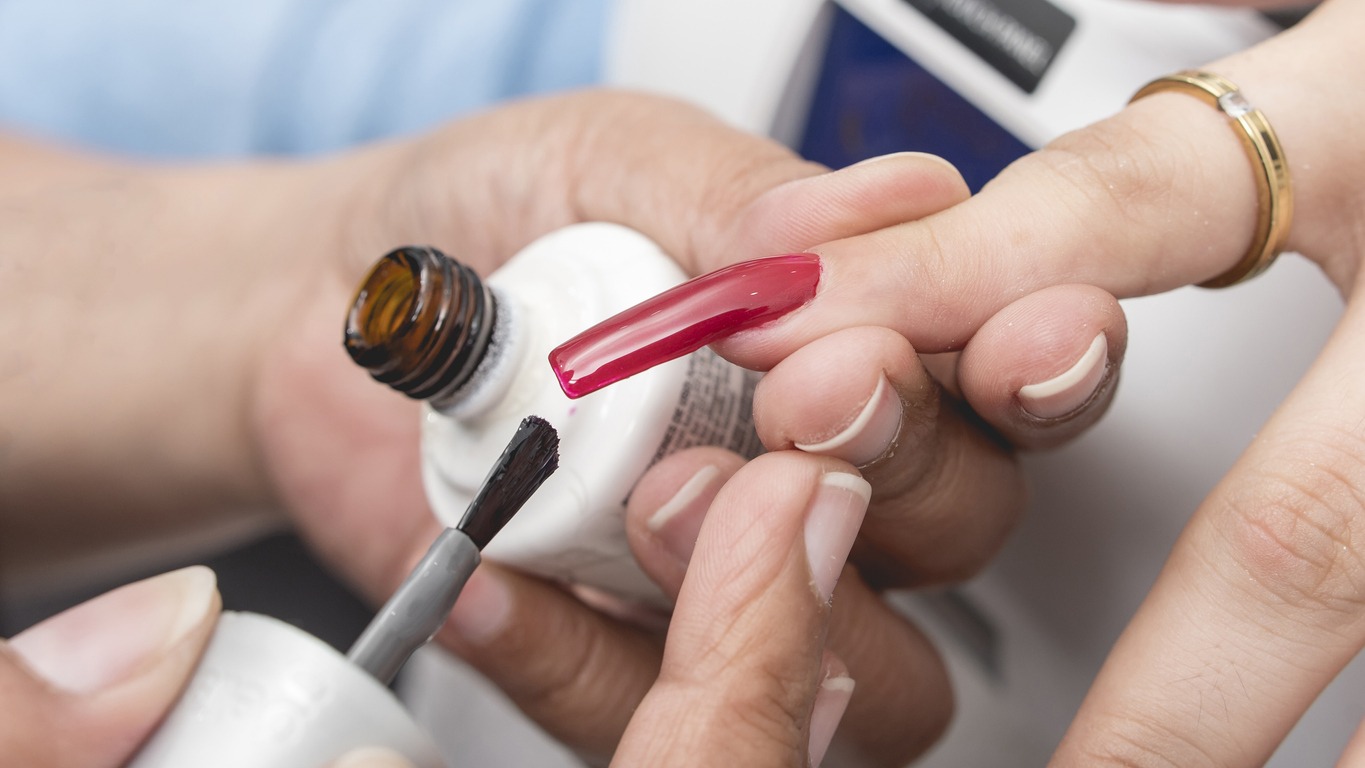
To begin the application, one must ensure that the builder gel has been smoothed and prepared as an even base. They should start with a clean and well-prepped nail surface. The gel polish application over builder gel commences with a thin base coat. It’s essential to apply the polish in thin layers to avoid thick or uneven spots that could lead to premature peeling or lifting. Each layer should cover the nail entirely, taking care to not flood the cuticle. Edges and tips of the nails need sealing with gel polish to encapsulate the entire nail, which assists in extending the longevity of the manicure.
Curing the Gel Polish
Once the gel polish is applied over the builder gel, curing under a UV or LED lamp is imperative for the polish to set properly. Each layer must be cured for the recommended time stated by the gel polish’s manufacturer—typically between 30 seconds to 2 minutes, depending on whether a UV or LED lamp is used. This step is critical for hardening the gel polish and locking it on to the nail. After the final coat of gel polish, including any topcoat, has been applied and cured, the nail should remain under the light for a full cure, ensuring maximum durability and shine. It is important to note that insufficient curing time can result in a manicure that is not fully set and may be prone to nicks or smudges.
Finishing Touches
After properly applying gel polish over builder gel, it’s essential to seal and embellish the manicure to ensure longevity and aesthetic appeal.
Applying Top Coat
The application of a gel top coat is a critical step in manicure preservation. This coat acts as a protective barrier, safeguarding the underlying color from chipping and peeling. To apply, one should start from the cuticle and extend to the edge of the nail in even strokes. The top coat not only enhances the color’s vibrancy but also imparts a glossy finish that contributes to the nail’s overall beauty. The curing process following the top coat application typically involves UV or LED light, which should be adhered to as per the manufacturer’s instructions for optimal results.
Nail Art and Accessories
Incorporating nail art and accessories elevates a basic manicure into a work of art. From subtle to dramatic designs, the choice of nail art should reflect the wearer’s personal style. One can opt for simple touches like metallic strips or go bold with elaborate glitter nail designs. Adding accessories like rhinestones or decals can accentuate the nail art further. It is important to apply these embellishments while the gel polish is tacky, before curing, to ensure they adhere properly. Once the desired nail art is in place, an additional layer of gel top coat may be applied to secure the accessories and enhance the overall design.
Maintaining Gel Polish on Builder Gel
Maintaining the lustrous appearance and durability of gel polish over builder gel requires attention to aftercare and proper techniques for repairing chips. Adherence to these practices ensures the longevity of the manicure and preserves nail health.
Aftercare Tips
After applying gel polish over builder gel, it’s crucial for individuals to implement a regimen that will extend the wear of their manicure. The following list outlines some specific aftercare tips:
- Avoid Exposure to Harsh Chemicals: Contact with cleaning agents can deteriorate the gel polish. Wearing gloves during household chores is advisable.
- Use Oil on Cuticles: Regularly applying cuticle oil can prevent the cuticles from drying out and can promote stronger nail growth.
- Stay Hydrated: Keeping nails hydrated by applying cuticle oil and hand cream helps maintain nail flexibility and prevents chipping.
- Acetone-Free Nail Polish Remover: If necessary to remove polish from around the nail, one should use an acetone-free nail polish remover to prevent weakening the gel polish.
Repairing Chipped Gel Polish
In the event of chipping, immediate action can prevent further damage:
- Gently File: If the chip is small, one can gently file the affected area and apply a thin layer of topcoat to seal it, curing it under a UV or LED lamp accordingly.
- Reapply Gel Polish: For larger chips, it’s best to remove the polish from the entire nail, prepare the nail again by gently buffing the surface, and then reapply the gel polish followed by curing.
Proper care for gel polish over builder gel is not only about enhancing its length and durability but also about safeguarding the overall health of one’s nails.
Removal of Gel Polish and Builder Gel
Removing gel polish and builder gel requires a careful approach to avoid damaging the natural nails. The following subsections detail methods of removal that safeguard the nail’s integrity and discuss post-removal care.
Safe Removal Techniques
For Gel Polish:
- Buff the nail’s surface gently to break the seal of the gel polish.
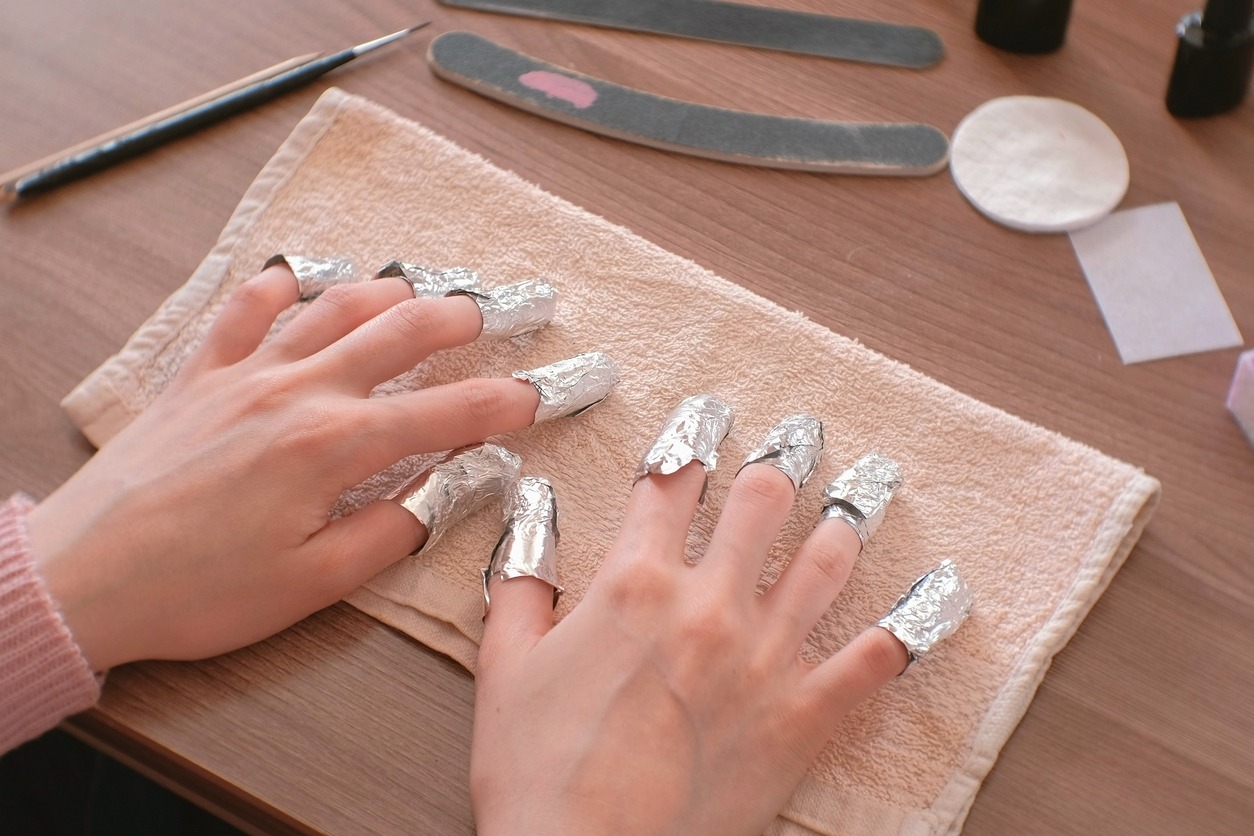
- Soak a lint-free wipe in acetone and place it on the nail.
- Wrap the nail with foil to secure the wipe and allow the polish to dissolve.
For Builder Gel:
- Use a nail file or electric drill to remove the bulk of the builder gel carefully.
- Follow with an acetone soaked lint-free wipe and foil wrap if needed, similar to gel polish removal.
Note: The removal process should never involve forceful scraping or peeling, as this can harm the natural nails.
Caring for Natural Nails After Removal
After successfully removing gel polish and builder gel, the natural nails often require hydration and repair.
- Hydrate: Apply cuticle oil to the nail beds to replenish moisture.
- Strengthen: Use a fortifying nail treatment or a nail strengthener to restore the nails’ integrity.
Using an acetone-free nail polish remover can also be less harsh on natural nails if only removing standard nail polish over builder gel.
