A Japanese knot bag is a small open tote with a clever closure – the longer of the two handles slips through the shorter one to secure the bag. The design is traditional to Japan, where the simplicity and utility of the bag have made it a popular accessory. The bag is stylish and functional, and it is revered for its ability to close on itself and for the ease with which it can be carried.
This accessory’s construction is notable for its lack of zippers or buttons, relying instead on its distinctive handles for securing items within. Crafters have the liberty to choose from a range of fabrics, from 100% cotton to lightweight fabrics, allowing for full customization to match personal style and purpose. The result is a fully lined, reversible bag that is both a statement piece and a practical item for everyday use.
The process to make a Japanese knot bag involves straightforward sewing techniques, making it accessible to sewers of varying skill levels. With available patterns and tutorials, enthusiasts can create their own knot bags with relative ease. It is a project that not only results in a unique and useful item but also provides a satisfying experience in the art of making.
Materials and Tools
Creating a Japanese knot bag requires certain materials and tools. The fabric choice and sewing supplies are crucial for the project’s success. Carefully selecting these items ensures a smooth creation process and a durable, attractive final product.
Choosing the Right Fabric
In selecting fabric for a Japanese knot bag, one must consider both aesthetics and functionality. Cotton fabric and canvas are preferable due to their durability and ease of handling. For a more structured bag, one may use fusible interfacing, which can be ironed onto the fabric to provide additional stability. Typically, one needs two fabric pieces mirrored for the outer bag and two for the lining.
Selecting Sewing Supplies
The essential sewing supplies required for making a Japanese knot bag include:
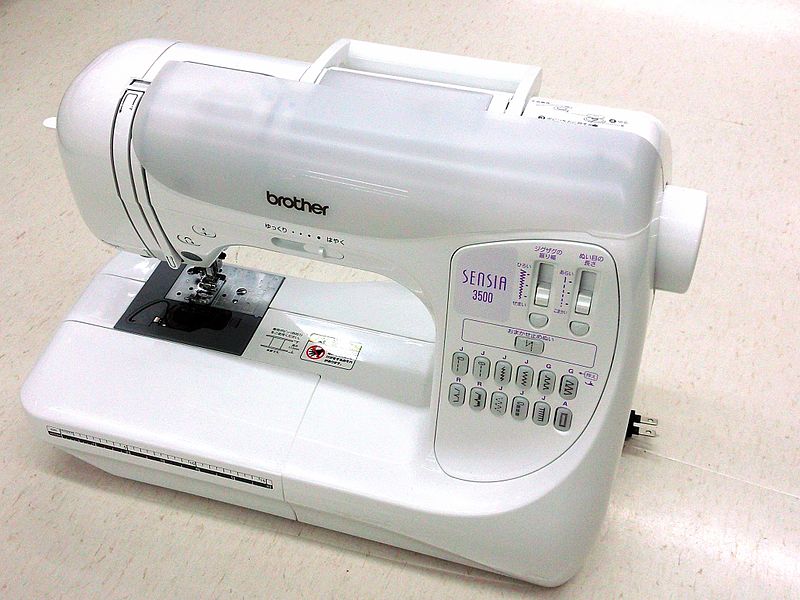
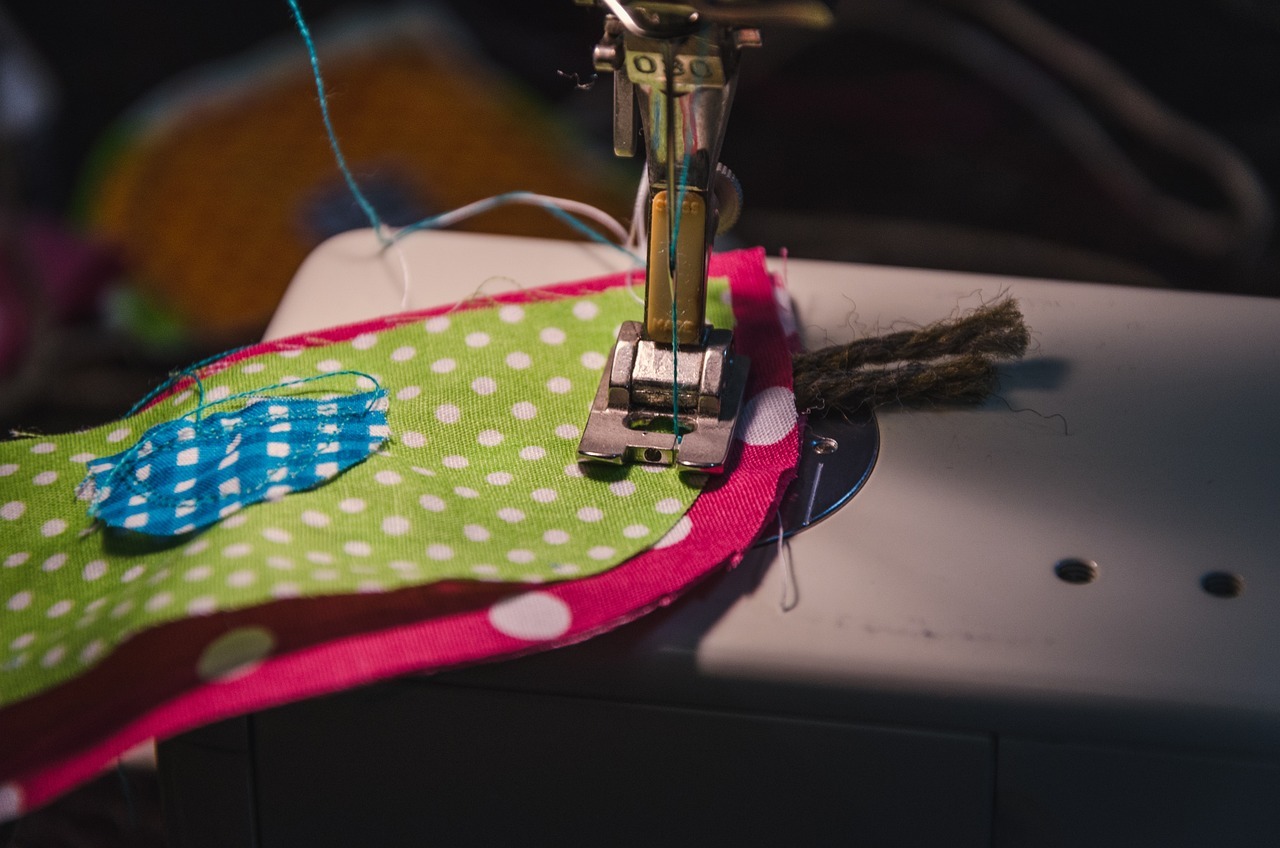
- Sewing machine: For stitching the pieces together efficiently.
- Thread: Matching or contrasting thread that is strong enough to hold the bag’s seams.
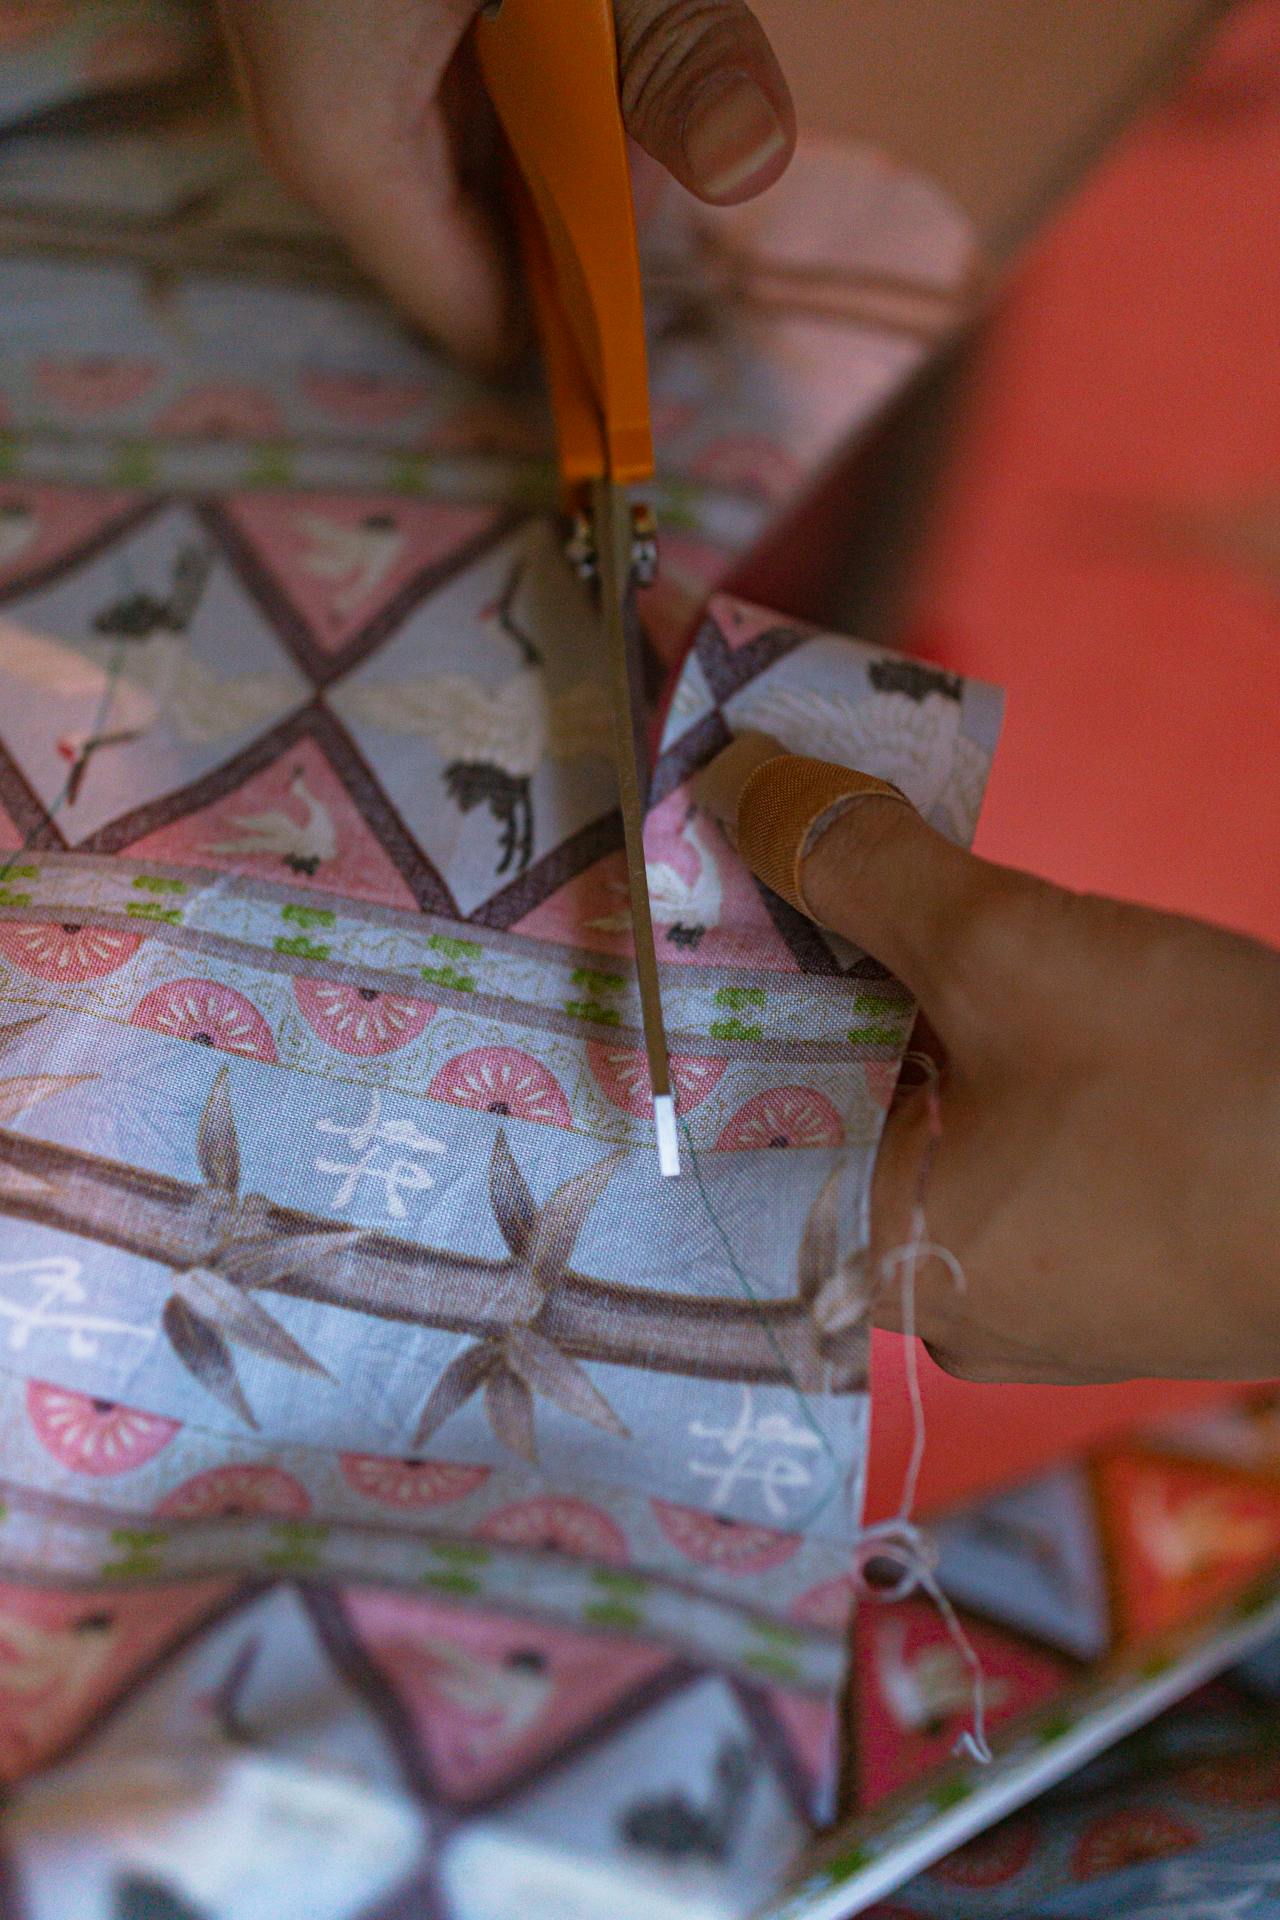
- Scissors and/or rotary cutter: For cutting fabric with precision.
- Pins or sewing clips: To hold fabric pieces in place while sewing.
- Iron: For pressing the fabric and fusible interfacing for best results.
- Ruler and chalk or marker: To measure and mark the fabric accurately.
- Cutting mat: Offers a flat surface for cutting and protects the work area.
These supplies form the backbone of the sewing process, leading to a well-constructed Japanese knot bag.
Preparing the Pattern
Before sewing a Japanese knot bag, it’s crucial to select and prepare the pattern properly. This step ensures the bag’s size and shape meet the intended design and functional requirements.
Understanding Pattern Sizes
Japanese knot bag patterns come in various sizes ranging from small pouches to large totes. To accommodate different uses, one must choose a pattern size that is appropriate for the intended purpose of the bag. Free patterns often come in standard sizes, whereas paid sewing patterns might offer a broader range of sizes. For many patterns, a PDF download option is available, providing an ad-free printable version that can be printed at home for immediate use.
Transferring Pattern to Fabric
Once the pattern size is selected, the next step is to transfer the pattern onto the chosen fabric. If using a PDF version of the pattern, ensure it’s printed to scale. Lay the fabric flat and smooth out any wrinkles. Position the pattern on the fabric, considering the grain line and fabric print orientation. Secure the pattern with weights or pins to prevent shifting and carefully trace it onto the fabric using tailor’s chalk or a fabric marker.
Marking Notches and Clips
Notches and clips are small marks on the edges of the pattern pieces that correspond to each other when constructing the bag. These marks are vital for aligning fabric pieces correctly during the sewing process. Mark all notches and clips from the pattern onto the fabric. Ensure these markings are clear but do not extend beyond the seam allowance, to ensure they won’t be visible on the finished knot bag.
Cutting the Fabric
Preparing your fabrics correctly is a critical step in creating a Japanese knot bag. Accurate cutting ensures that the bag’s pieces will align properly during assembly, providing a clean, professional-looking finish.
Cutting the Outer Fabric
The maker should select their main fabric, typically a cotton material, and ensure they have a piece that measures at least 2/3 yard (2/3 meter). They need to place the outer fabric on a flat surface, ideally over a cutting mat for precision. Utilizing a pattern, the individual should secure it to the fabric using pins or fabric weights, then proceed to cut two mirrored pieces to create the bag’s exterior. Tools like fabric scissors or a rotary cutter can aid in cutting smoothly along the pattern’s edges.
Cutting the Lining Fabric
For the lining, which serves as the bag’s inner fabric, a similar quantity of fabric is required as the outer fabric—2/3 yard (2/3 meter). When cutting the lining, it is imperative to follow the same pattern used for the outer fabric to ensure that the lining will fit perfectly inside the bag. The lining fabric should be laid out and cut in the same way as the outer fabric, producing two mirrored lining pieces that correspond to the outer fabric cuts. These will form the interior of the bag, visible when the bag is opened or reversed.
Sewing the Knot Bag
Crafting a Japanese knot bag involves distinct steps focused on handle creation, body assembly, and meticulous finishing touches. Precision in stitching and adherence to seam allowances are pivotal to achieve a polished and reversible bag.
Sewing the Handles
To begin with the handles, one must ensure that the fabric pieces for both the longer and the shorter handles are cut accurately. They pin the right sides together and stitch along the prescribed seam allowance, carefully navigating the curve. It is crucial to clip the seam allowance near the curve to ensure a smooth edge when the fabric is turned right side out.
Assembling the Bag Body
Assembling the body calls for aligning the exterior pieces and the interior lining with their right sides together. The side seams are sewn while respecting the seam allowance, leaving an opening in the lining for later reversal. At this point, the bottom of the bag is also shaped and stitched, taking care to match all edges and corners accurately.
Adding the Lining
Once the outer shell and lining are prepared, they are placed into each other with right sides facing. The top edges of the bag are pinned together, aligning the seams of the handles carefully. Sewing around the handles securely attaches the lining and the outer shell. This is the stage where a reversible knot bag starts to take form, with the longer handle able to loop through the shorter one.
Finalizing the Edges
Finalizing the bag entails turning it right side out through the opening left in the lining. A thorough inspection is conducted to ensure all edges are neatly aligned and that no raw edges are visible. The opening in the lining is then either hand stitched or sewn close to the edge. Lastly, the maker may choose to topstitch around the handle’s curve for added durability and a cleaner, more professional finish.
Finishing Touches
As they approach the final stage, crafters ensure that their handmade Japanese knot bag not only functions well but also holds a beautiful finish. Precise pressing and the addition of custom features elevate the craftsmanship.
Pressing and Ironing
Once the bag is turned right-side out, it’s crucial to press the seams neatly to achieve a professional look. They should use an ironing board and carefully press along both the long handle and short handle, ensuring that all edges are crisp and well-defined. For the curved edges and corners, crafters might find it helpful to use a tailor’s ham to maintain the shape. A top stitch around the edge of the bag can further stabilize the shape and add a clean finish.
Adding Custom Features
To make their Japanese knot bag truly unique, individuals may choose to customize it with various features. Embroidery can be added for a personal touch, while a small loop or ring might be sewn into the seam for attaching keys or charms. They should consider the bag’s intended function when deciding on additional features. All custom elements should be functional, enhance the bag’s aesthetic, and align with the maker’s style.
Practical Tips and Tricks
When creating a Japanese knot bag, success lies in paying attention to the details from the start of the tutorial to maintenance after use.
Beginner-Friendly Advice
For beginners, it’s essential to first study a tutorial. Video tutorials can be particularly helpful as they illustrate each step vividly, catering to a visual learning style. Before starting, beginners should:
- Select a Free Sewing Pattern: Search for patterns with clear instructions. Online platforms like Pinterest can be used to create a board of favorite tutorials.
- Gather Tools and Materials: Basic sewing tools are needed, including fabric, scissors, pins, a sewing machine, and thread. Opt for beginner-friendly fabrics that are easier to handle.
Maintenance and Care
After sewing a Japanese knot bag, which can serve as a sustainable reusable bag for grocery shopping or carrying small personal items, maintaining its quality is crucial:
- Cleaning Instructions: Check the fabric care label. Most bags can be hand-washed with mild detergent and air-dried.
- Storage: Store the bag in a dry place to prevent mold and mildew. If space is limited, fold it neatly without stretching the handles.
Troubleshooting Common Issues
Here are some common issues that may arise, along with solutions:
- Problem: Bag isn’t Reversible
- Solution: Ensure the sewing pattern is specifically for a reversible bag. Review each step to guarantee correct fabric placement before sewing.
- Problem: Handles Aren’t Laying Flat
- Solution: Press the handles with an iron before attaching to the body of the bag, or topstitch for added flatness.
Remember, knot bags have grown popular for their aesthetic appeal and functionality, whether it’s as a tote bag for daily use or a crafted gift from an Etsy shop. Patience and practice will lead to creating a beautiful, durable knot bag.
Showcasing Your Project
Once a sewing project is complete, displaying the creation effectively is important, especially if they are to be shared online or gifted. Photographing the project bag in well-lit environments and sharing on suitable social media platforms can increase visibility.
Photography and Presentation
Proper photography is essential to ensure that the Japanese knot bag stands out. Firstly, they should choose a symmetrical layout on a neutral mat to ensure the knot and the overall shape of the bag are the focal points. Use natural lighting where possible to bring out the fabric’s true color and texture. It can be helpful to stuff the bag slightly to show its natural shape and function.
A hand sewing back stitch can be a unique feature worth highlighting. To do this, they may place the bag on a contrasting surface and use close-up shots to draw attention to the meticulous detail. Providing multiple angles in the photos ensures that all aspects of the sewing project, including the interior if it’s reversible, are displayed.
Sharing on Social Media
When sharing their work on social media, including a link to the sewing tutorial can inspire followers and audiences to engage with their content. The project bag serves not just as a purse but can also be a thoughtful gift. They should emphasize this in their social media captions, suggesting the bags as a potential handmade present.
Hashtags such as #JapaneseKnotBag, #SewingProject, and #HandmadePurse can categorize the content and make it discoverable to interested audiences. If the bag was particularly challenging or required specialized supplies like unique clips, mention these as it adds authenticity and may help others looking to undertake a similar project.


