People of all ages, from adults to kids, love to wear jewelry. Have your kids ever taken your bracelets and necklaces without asking? It’s nice to see them having fun with your jewelry, but it would be better if they had their own pieces that fit their age.
You don’t have to buy jewelry for your kids because you can make one for them or teach them how to make their own. Most kids like doing arts and crafts, so it’s likely that they will also like making jewelry.
If you and your kids want to try making jewelry, we’ll give you some project ideas and some tips on how to make jewelry for kids.
1. Easy Braided Friendship Bracelets with Letter Beads
Kids will love making these braided friendship bracelets. They would be a fun thing to do at summer camp, on a play date, or just for kids to make for their best friends.
Materials
- Thread for embroidery in any color you want
- Letter beads
- Buttons
- Scissors
- Tape to hold your thread in place
Instructions
1. First, you need to figure out how long your string is. Use the length of the string around the wrist as a guide and cut it to be four times that length. This is how long the three pieces need to be.
Fold your string in half and make a loop knot at one end. Make your loop big enough to fit your button, but not so big that it will be easy for the button to come off.
Stick the end of your string to a table with tape.
2. Split your string into three groups, so that each group has two pieces. Start making your bracelet with braids.
3. When you’re about a third of the way through, you can add your letter beads.
We made two sets of friendship bracelets. If you want to use letter beads, here are some ideas:
- Best / Friends
- BFFS / Besties
- Friends / Forever • BFFS / Forever
Kids can also spell their own names or the names of their friends. You need to tie a knot where you stopped braiding before you can start stringing on your letter beads. Put your letter beads on the two pieces of string in the middle.
You’ll need to tie another knot when you’re done. Some children may need help tying knots.
- Keep braiding until your bracelet is the size you want it to be.
- Put at least two strings through your button. If a button has four holes, you can go through the thread more than once. Make a knot on the back of the button and cut off the extra thread.
2. Engraved Polymer Clay Necklaces
Materials
- Gold and silver Polymer Clay.
- Tools to help you mold the clay. You can buy inexpensive tools made just for polymer clay, or you can use a knife and something that can be used as a mini-rolling pin. Some tools for play dough also work well.
- Shapes of circles and rectangles. I used a drink lid for the circle and a piece of cardboard I cut into a rectangle.
- Small rubber letter stamps. These can be found in most craft stores.
- A chopstick or skewer to make the necklace’s holes.
- Chains or beading cord in gold and silver to make necklaces. Most craft stores have a lot of different things to choose from.
- Beading pliers
Procedure
- Start by rolling out your clay. It shouldn’t be too thick or too thin. If it’s too thin, it will break, and if it’s too thick, it will be hard to make into a necklace. It should be about 1/8 of an inch thick. After you’ve rolled out your colors, use your circle and rectangle templates to cut out shapes. You can cut out several shapes at once, giving you a lot of charms on which to stamp. Your kids will want to stamp a lot because it’s so easy and fun.
- When you’re done cutting out your shapes, you can move on to stamping your messages. This is where it gets fun! Put your words or initials into the clay using the letter stamps. First, I had my daughter stamp on a scrap of clay so she could get a feel for how hard to press.
3. Tassel Bracelet
Materials:
- Embroidery Thread Scissors
- Flat Nose Pliers
- Connectors for Chain and Ribbon
- Jump Rings
- Lobster Clasp
- Small piece of cardboard
Instructions:
- First, cut a piece of cardboard to wrap your tassel. Then, cut a piece of thread and lay it on the cardboard.
- Wrap the embroidery thread around the piece of cardboard, and then cut it out.
- Bring the cut thread you laid out first to the top and tie a knot with it.
- Cut the end of the tassel and take the cardboard out.
- Put the top of the tassel in the ribbon connector and use your pliers to flatten it so it stays in place.
- Cut another piece of thread and wrap it just under the connector. Make a strong knot.
- Place a jump ring on top of the ribbon connector and connect it to a chain link.
- Do this again with the other tassels.
- On each end, add your lobster clasp and jump ring.
4. Tree of Life
Materials
- a metal ring of any size
- beading wire
- beads
- wire cutters
- pliers
- crimpers
Instructions
- The Trees of Life are made by wrapping strands of wire around a metal ring. Anyone can wear this ring. These twisted wire strands make up the tree’s roots, trunk, and branches. The “branches” are then hung with beads.
- At the top, add a loop to hold a chain or a hook. It takes about two hours to finish, and younger kids will need help from an adult.
- You can use any kind of jewelry wire. Crimpers are used if you are making the Tree of Life into a piece of jewelry. Then, they are used to attach a jump ring or maybe a decorative bead.
5. DIY Candy Pretzel Necklace
Supplies:
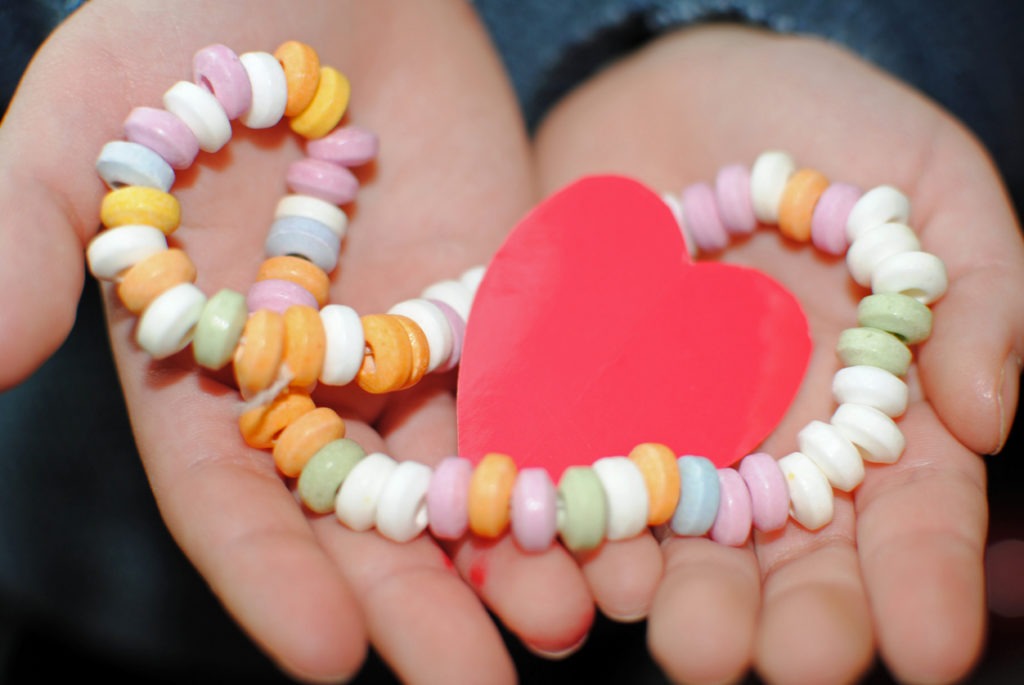
- Candy bracelets,
- .64mm (pink!) aluminum wire
- Scissors
- a tape measure
- a bowl
- 14 yard of jersey knit fabric
Instructions
- Cut the string on a few candy bracelets and dump the pieces of candy into a bowl.
- Use a pair of scissors or a wire cutter to cut a 15-inch piece of wire. String the candy pieces onto the wire, leaving about 1.5″ of space on each end.
- Keep everything in place by holding each end of the wire by the top candy pieces. Fold the wire carefully into a pretzel shape by rounding the piece into a circle, crossing the top ends into a “x,” and placing the ends at the bottom, with about 5 pieces of candy between each end.
- 4.Twist each end of the wire between two pieces of candy, leaving space between them for the other five pieces. Wrap the wire tightly and cut off or squish the ends together so that kids won’t get hurt.
- Cut a piece of knit fabric about 1″ wide and 30″ long. Slide it through the pretzel so that the first end goes through the top right side and back out under the top left side.
- Bring the ends of the fabric together and put them in a straight line. Make a knot with them about 2″ from the top.
A few parting thoughts
Instead of buying your kids fast-fashion jewelry, why not teach them how to make their own? It’s a great craft for kids to do, and when they’re done, they have DIY jewelry for kids that they can wear. Spend the day making all kinds of beautiful jewelry with your kids. Let your imagination run wild and get creative.


