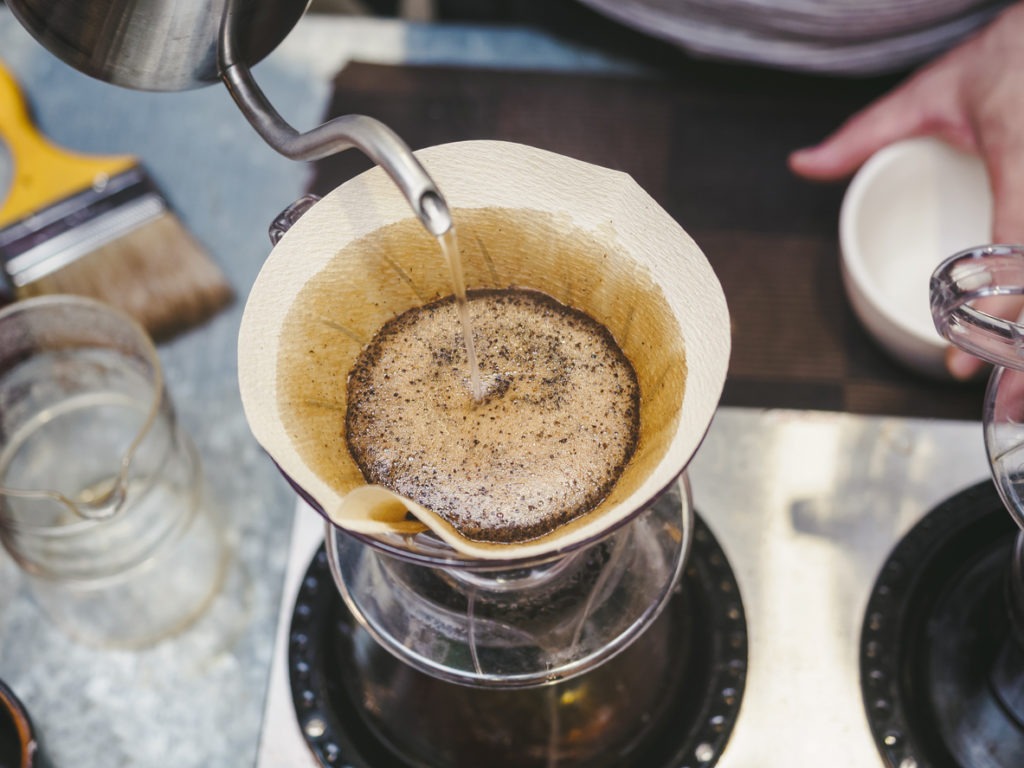
Both baristas at coffee shops and home enthusiasts are growing more and more interested in manual coffee-making techniques. This is due to the fact that it allows you to control every aspect of the brewing process, including taste and intensity, allowing you to make a cup that is perfectly suited to your preferences. As a result, numerous manual coffee-making techniques and equipment, including pour over coffee making, have been developed. Although pour over coffee may seem easy, it takes time and patience just like making a piece of art.
Pour Over Coffee
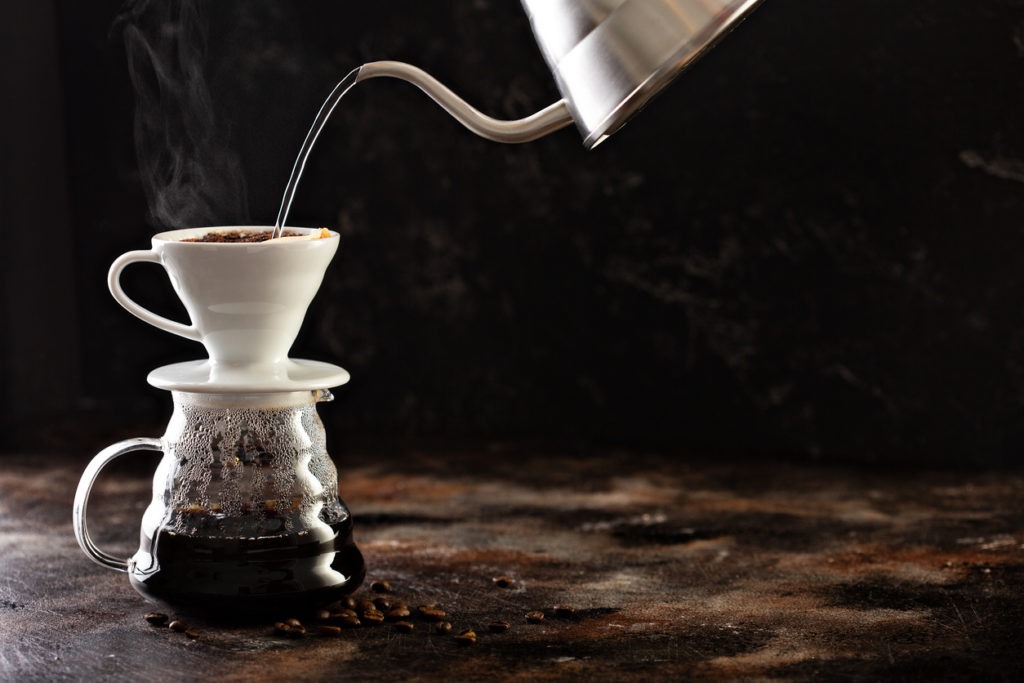
Pour over coffee is made by utilizing the pour over method of coffee making. The pour over method is simply pouring hot water through coffee grounds in a filter. Water filters through the coffee and then drains into a carafe or mug. Although these phrases also cover batch brewers, pour over is also referred to as filter coffee or drip coffee. Pour over differs from other methods in that the water is manually poured over the coffee. As a result, you may hear people refer to it as manual brewing or hand brewing.
Advantages of Pour Over Method
Control
One of the most complex and intricate ways to make coffee is the pour over method. The procedure itself isn’t that extremely difficult (as you’ll discover), it does require concentration. The barista is in complete control of the process while pouring by hand. As a result, there are countless ways to extract various flavors from a single cup of coffee. A sophisticated flavor character emerges from the regulated pour. With a pour over, you’ll be able to taste every flavor note of the bean. That’s because pour overs effectively extract coffee’s taste using a steady stream of hot water.
Flavor
Opting to utilize the pour over method in brewing coffee, it brings out the delicate and flavorful notes without the bitter aftertaste. With a pour over, you have a better chance of detecting all the flavors that are indicated on the bag. Additionally, the filter strains the coffee fines to create a “clean” mouth feel. Since pour over coffee has a more complex flavor profile, some coffee shops prefer to use it more frequently.
Efficient
Additionally, because this process uses infusion rather than immersion methods like the French press, it is a little more efficient in removing coffee soluble. Pour overs use a steady stream of fresh water, whereas immersion methods cause the water to get saturated.
Disadvantages of Pour Over Method
Human Error
Poor pouring technique and human error are the downfalls of manual approaches. For instance, channeling, when a stream of water finds an easy route around the ground coffee, is a problem associated with all infusion techniques (including espresso). This occurs when there are coffee grinds in clumps or when they are spread unevenly, and it results in some coffee not being extracted. Therefore, it’s crucial that baristas understand how to pour so that the grinds are covered in water evenly.
Under-extracted Flavor
The main disadvantage of the pour over method is the risk of under-extracting the flavor by pouring too quickly, which results in an acidic or sour flavor.
Pour Over Coffee Brewing Equipment
Pour over coffee is wonderful because not much equipment is needed. Despite what it may look like, you don’t have to spend money on every piece of pour over equipment available. You can begin with a basic device and a few filters and then gradually add more tools as you see fit.
Coffee Grinder
Grinder
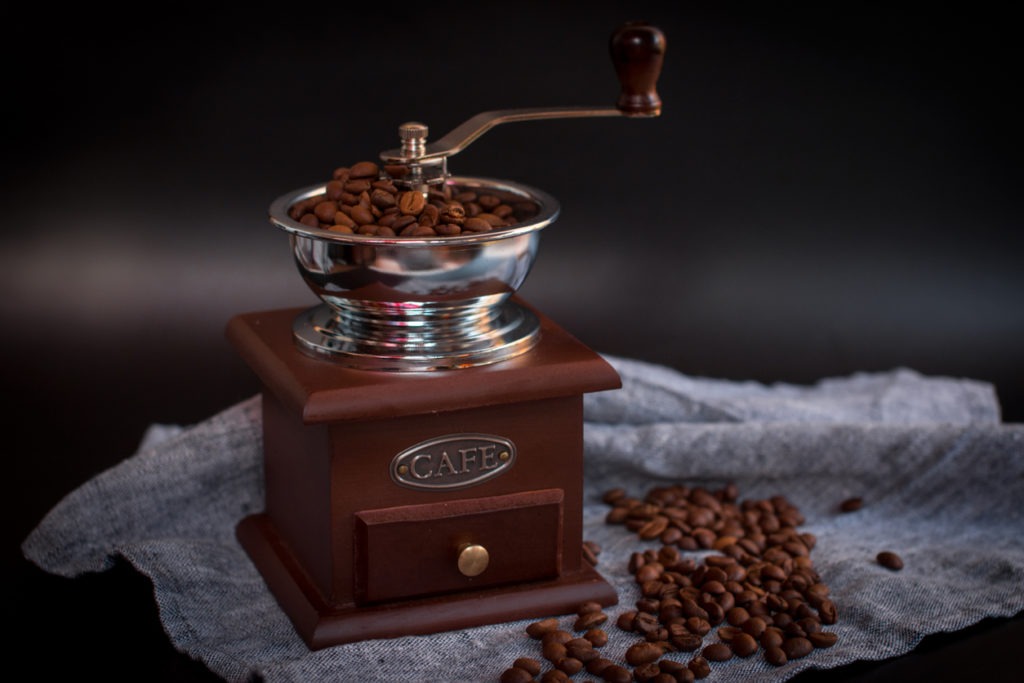
The most widely recommended grinder to use in grinding coffee beans is a burr grinder. The best extraction for pour over coffee results from the burr grinder’s most consistent grind size. You’ll learn to adjust the grind size over time because pour over coffee is sensitive to grind size. To get the freshest coffee possible, ground your coffee beans just before brewing with a burr grinder, which also allows you to precisely control the grind size.
Food Scale
Scale
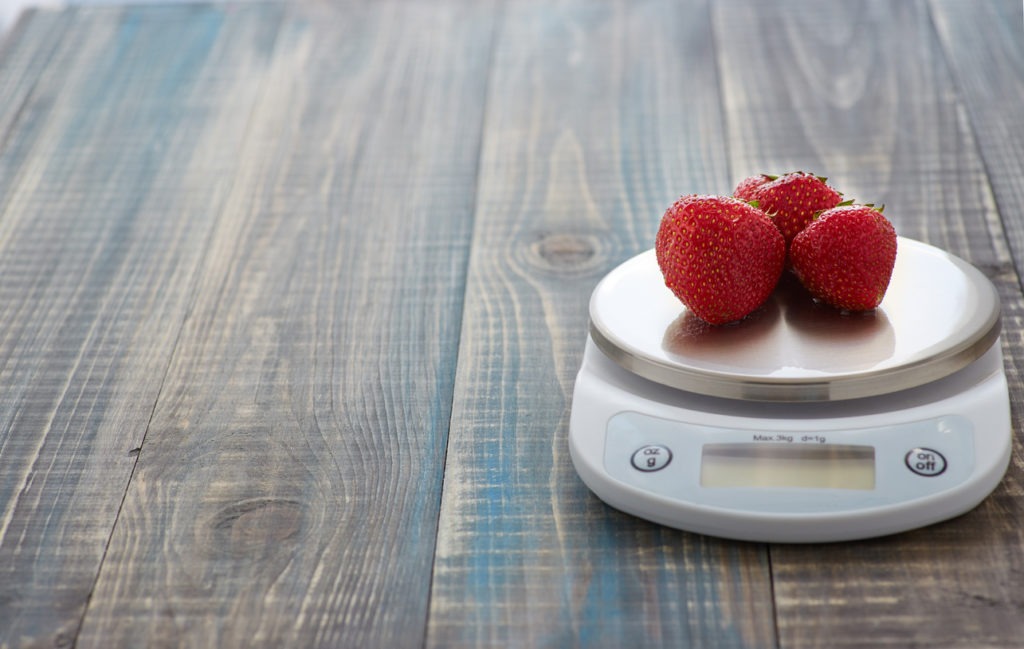
For serious coffee enthusiasts, a scale is as close to a must-have as there is. Although there is the option of pre-measuring your coffee and water, a scale just makes it much easier to adjust the pour in real-time. In addition, scales are inexpensive and if you come across one that has a timer and decimal point, that would be a bonus!
Pour Over Coffee
Brewing Device
Simply put, a brewing device, often known as a dripper, is a piece of equipment used to contain the coffee grounds and filter. There are several different brewing options, and they are all reasonably priced. Think about your capacity to endure difficulty as well as your desire to try different coffee flavors. A flat-bottomed pour over is simple to start. Additionally, cone-shaped pour overs are objects fit for a museum due to its unique and quirky appearance.
Coffee Filter
Filters
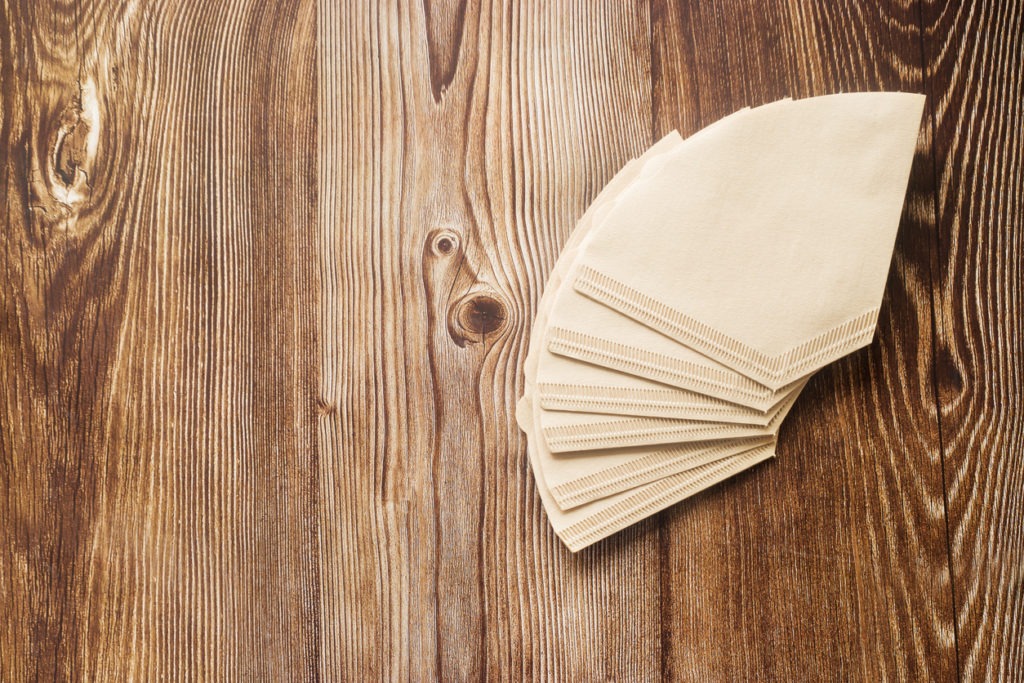
Check what works with your device because most pour over manufacturers have different filters. The popularity of some pour over devices influence the availability of filters in the market, which in turn might influence your decision in choosing a brewing device. Filters come in a variety of forms, including cloth, natural, and bleached. Due to its minimal effect on flavor, we advise bleaching.
Gooseneck Kettle
Kettle
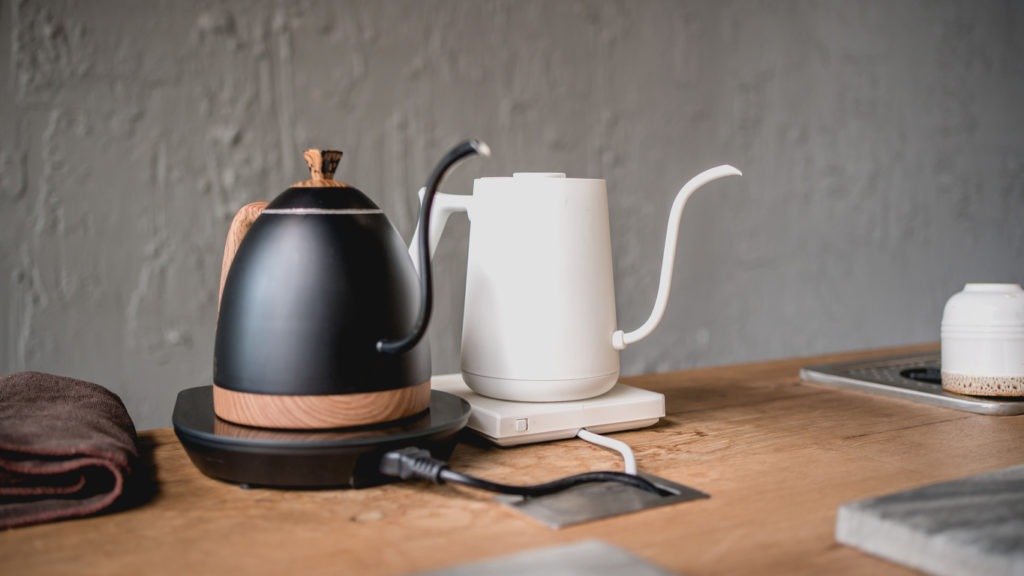
The kettle is the necessary equipment for pour over brewing. Every time you brew, you’ll need to hold the kettle for a few minutes, and the pour has a significant influence on the final cup of coffee. You need a kettle that releases water in steady streams into designated regions. For pour over coffee, the best kettles feature a long, thin spout. They are referred to as gooseneck kettles. You can choose a kettle that warms water or one that stands alone. The ideal choice is a gooseneck that heats water to a set temperature.
The Perfect Coffee for Pour Over Method
Now that you have the equipment you’ll be needing for the pour over brewing method, we now move on to the perfect coffee to use in pour over method.
Roasted Coffee Beans
Roast
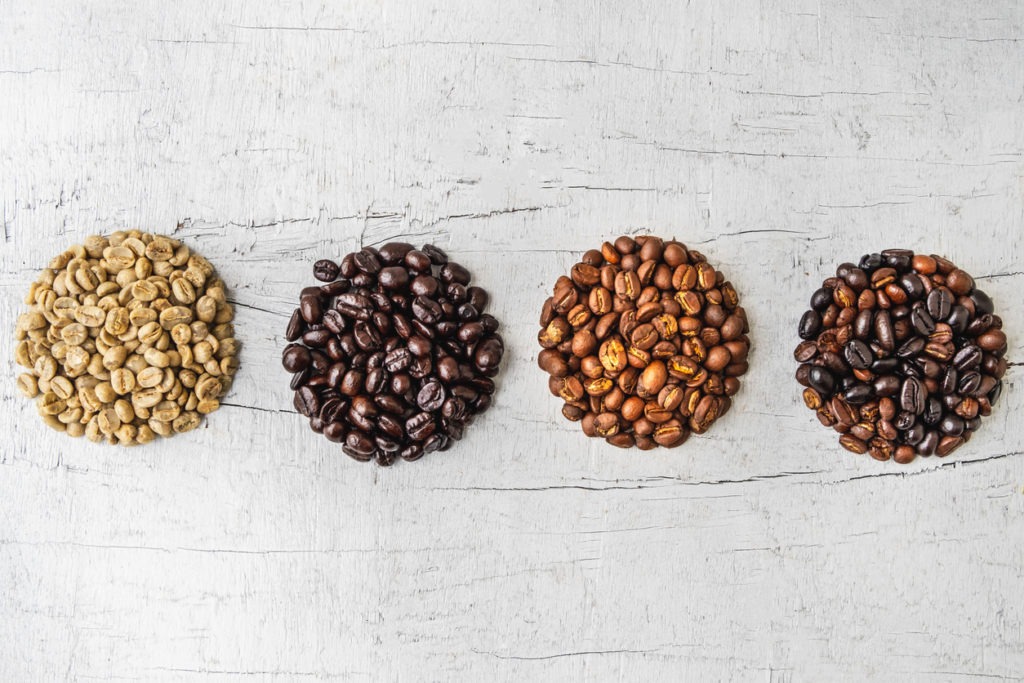
Pour over coffee tastes best when the coffee bean is light to medium roasted. Pour over coffee devices fully extract the coffee bean’s light and delicate flavors thanks to its efficient extraction procedure. Additionally, light and medium roasts are best in retaining these flavors, which are roasted out later in the process. Rarely do pour over devices over-extract coffee, even the roasted and bitter characteristics that take more time to extract. Of course, you can opt for a dark roast if you’d like, but this brewing technique works best with light flavors.
Coffee Grounds
Grind
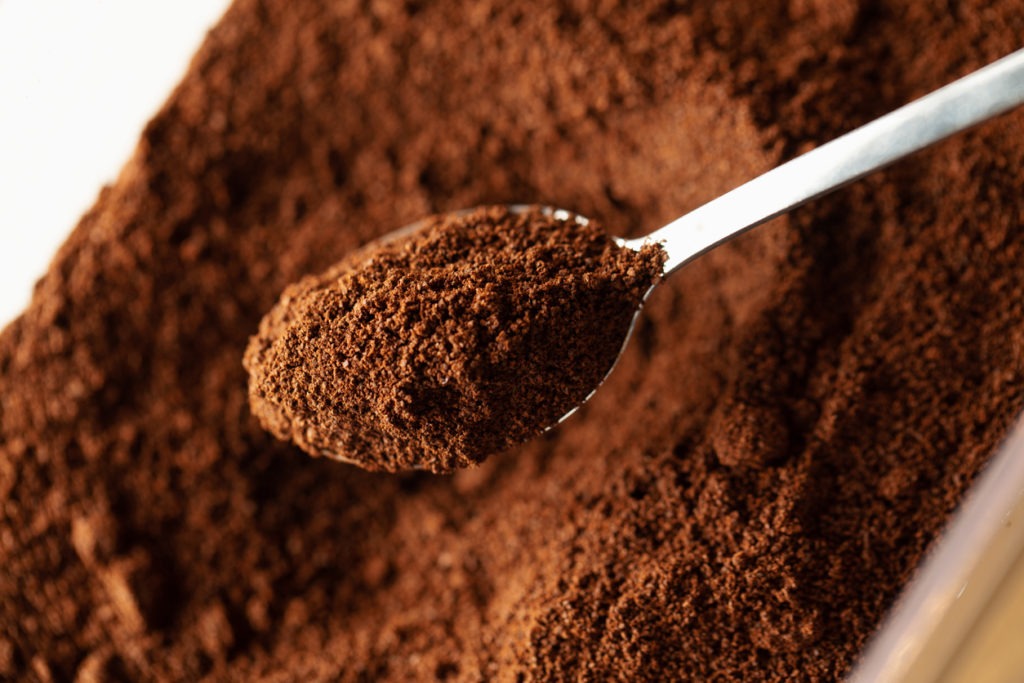
Ground size affects the rate of extraction. And since pour over method is an infusion method, the coffee and water are in contact for a shorter amount of time compared to that of the immersion method, but longer than in an espresso. Therefore, you want the coffee to have just enough surface area to extract before the water filters through into the cup, but not too much that they under-extract and produce a bitter brew. This means that you should start with a medium grind size, assess your cup, and make adjustments as necessary. Try a finer ground if it’s a little watery or sour. Try going a little coarser if the flavor is harsh and lacking in sweet overtones.
Water-Coffee Ratio
Although there are many various recommended ratios, 1:17 (1g of coffee to 17g of water) is a generally regarded to be a decent place to start. To find a recipe that works for you, experiment with this measurement while making small adjustments, such as the grind size and the water temperature, which both effect extraction. Next, experiment with adjusting the coffee to water ratio. If your drink tastes weak or watery, add more coffee without altering the other ingredients and taste it again to see if it tastes better. Consider lowering the amount of coffee in your cup if you feel it to be overly strong. But keep in mind to record your changes so you can reproduce your ideal brew once you find it. And don’t forget about the water. Use filtered water instead of tap water as the latter may include minerals and other impurities that impact flavor.
Pour Over Technique
When you initially begin using the pour over method to make coffee, try to avoid watching too many videos on technique. It may easily become overwhelming. Start out simple instead. To accomplish equal extraction, learn how to use blooming, pulse pouring, and agitation. Be consistent in how you pour. Many individuals pour in circular motions, which enables the barista to keep the water flowing steadily. When you are more familiar with the basics, you can progress to more intricate techniques or break all the rules.
Pour Over Coffee
Bloom
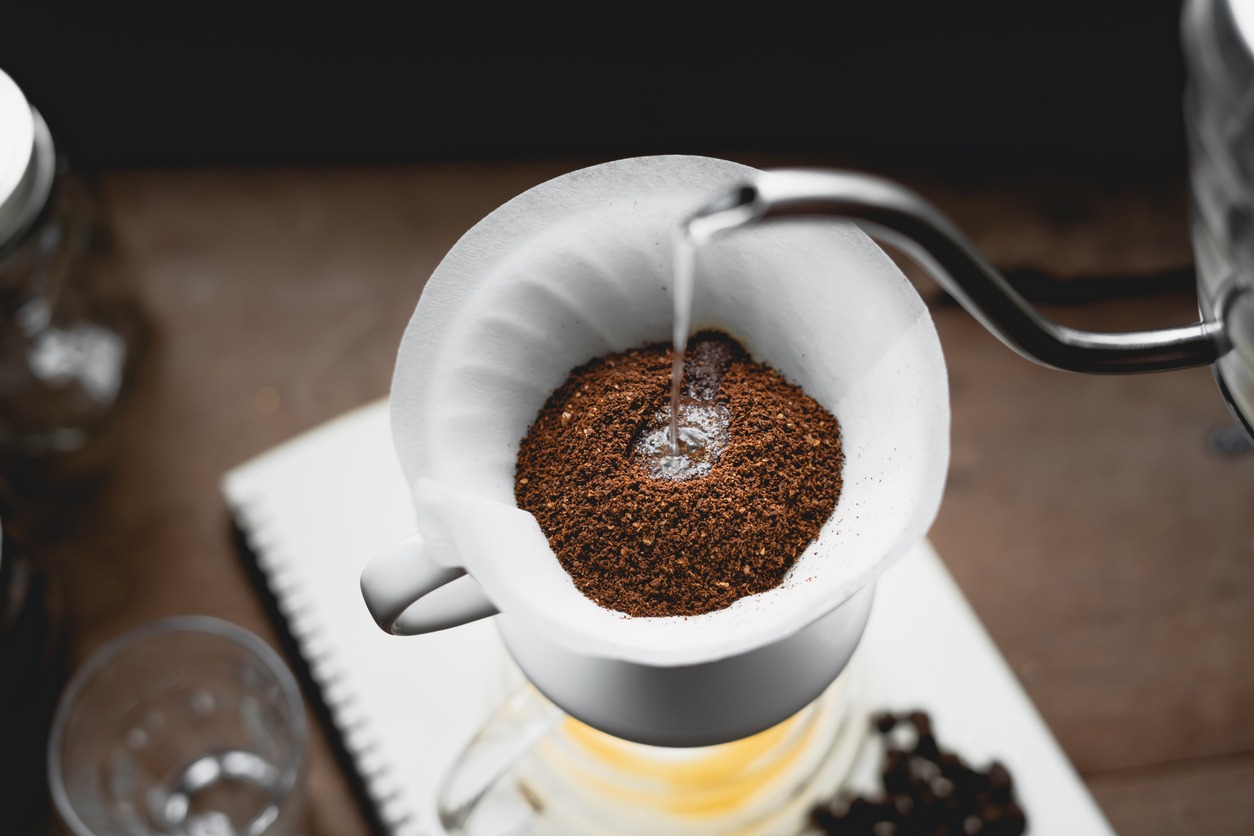
When you initially pour water, you may notice a little bubbling of the liquid called a bloom. Bloom is caused by the release of carbon dioxide which was built up during the roasting process. Due to their typical higher gas content, light roasts and freshly brewed coffee are more likely to result in a large bloom. Because carbon dioxide repels water and the disturbed grounds may be at varying heights, even extraction may be challenging. So let the gasses release to increase the likelihood of a consistent extraction. Pour twice as much water as there is coffee over the grinds while being gentle. As a result, add 30 ml of water for every 15 g of coffee. After the grounds have settled and the bloom has passed, wait for 30 to 45 seconds.
Pulse Pour or Continuous Pour
The pulse pour method is dousing the grinds with hot water in small batches. This method agitates the grounds and extracts more flavor from all the coffee grounds. Which then leads to a faster extraction and brew time. The amount of water and the quantity of pours can be adjusted. This method aids in preventing channeling or grinds coming up the filter’s side.
The continuous pour method entails pouring water over the coffee grounds continuously. A constant extraction results from maintaining the coffee bed’s temperature through a continual pour. If you have the arm power to continue pouring slowly for a few minutes each time, this could produce a more consistent outcome. In contrast to pulse pouring, which is purposefully varied, continuous pouring seeks to maintain the flow and saturation as evenly as possible.
When modifying your recipe, you can add pouring technique as an additional element to take into account. Different pouring techniques will affect extraction differently, which will change the flavor of your brew. It’s important to emphasize that there is no right way to pour. Start with a simple approach and then modify it as needed to see what works best. Wetting the ground is commonly done by pouring concentric circles.
Agitation
This is merely a slight agitation of the coffee grinds during the brewing process. Coffee can be stirred or swirled, among other methods, to agitate it. Agitation disperses grounds that can be left “high and dry” on the filter by channeling. Additionally, it disperses any dry clumps present in the coffee bed. Agitation helps ensure equal extraction by making sure all of the grounds are soaked.
Pour Over Brewing Process
Below is a step-by-step guide for pour over brewing at home, along with additional footnotes that explain each step’s purpose. It’s also vital to remember that every person’s house setup is different. The way that each coffee grinder grinds varies, and even the amount of minerals in the water can have an impact on the extraction. You can use this guide as a starting point, then make adjustments to find a particular recipe that works for you.
1. Fill your kettle and start heating
If your electric kettle has a temperature control, try setting it between 205-210oF to test what temperatures work best for you. Cooler temperatures might not bring out the sweetest flavors in a light roast, while hotter temperatures might emphasize the harsh smoky aromas in a dark roast. The type of coffee you prefer drinking and how it affects the flavors you want to enjoy will determine the ideal beginning temperature.
It is important to remember that water loses around 10 degrees every time it is poured from one container into another. So, if the ideal brew temperature is 200°F, you should set your kettle to a near-boil (210°F) and start pouring when the rolling bubbles have calmed (about 30 seconds).
2. Weigh your coffee
There are several factors to take into account when determining the amount of water and coffee to use. If you don’t use enough coffee, your brew will be weak and thin because there won’t be a deep enough bed depth to slow down the flow of water. On the other hand, you run the danger of filling the brewer to capacity if there is too much coffee. For the majority of pour over brewers, 30 grams of coffee and 500 grams of water is a suitable starting point. We advise using between 55 and 65 grams of coffee per liter of water (a mass ratio between 1:16 and 1:14.)
Placing your entire brewing setup on a digital scale is the most accurate approach to keep a consistent ratio when brewing. In this manner, you can precisely gauge the amount of water being poured into your coffee.
3. Grind your coffee
The most significant influence on coffee flavor and strength may come from the size of your coffee grind. Your coffee will taste weak and faintly sour if the grind is too coarse because it prevents the water from extracting the flavor solids from inside the larger particles. A brew that is too fine will be astringent, bitter, and strong. More surface area is exposed for the brew water to extract if the grind is finer. In order to have a wide range of grind size options and a precise, even particle size to support even extraction, a well-calibrated burr grinder is essential.
4. Set up your brewing device with the filter
Before adding any coffee, place your filter in your dripper and rinse it with hot water. Doing so will help you achieve a few things: (1) Help rinse away any papery flavor that might be pulled into the brew; (2) Help the filter seat properly so it holds its shape when you start the pour; and (3) Help preheat the dripper and the brew vessel to help regulate both brewing and serving temperatures. To completely wet the filter, use enough water, and before brewing, be sure to drain any rinse water.
5. Add coffee to the filter and prepare to pour
This is a perfect opportunity to weigh your dripper and brew device on a scale and set the weight to zero before adding the ground coffee, ensuring that the amount of coffee is accurate.
6. Bloom it and time it
We now begin the brew process. To wet the grounds and trigger the release of carbon dioxide, add around twice as much water as there is coffee. And start your timer. When we time a coffee brew, we measure the amount of time from when hot water first comes in contact with the grounds and when the drip stops.
Establishing a baseline involves measuring the overall brew time. In less than two and a half minutes, a pour over brew is challenging to get what you want out of. At the same time, if the brew takes longer than five minutes, those astringent qualities are likely to start coming through. Most pour over brewing has a sweet spot between three and four minutes, and if you can establish a reliable brew time, you can then use grind size as your primary variable.
The coffee should start to expand as CO2 gas is released when you add that first amount of water. We are currently in the coffee wetting phase, and you should choose a time during which you’d like the coffee to bloom. Anywhere between 30 and 60 seconds is a decent place to start, but once you decide on a time, it’s better to stick with it to ensure consistency across all of your brew times.
7. Continue to pour
Start your pour with a pencil-thick water stream and move consistently in concentric circles from the center outward and back towards the center. The objective is to evenly saturate the coffee and get the coffee grounds to form a flat bed.
Brew temperatures and the amount of agitation the falling water causes in the coffee bed can all be influenced by how far our brew water drops during the brewing process. Generally, it is better if you pour from a lower angle.
Try adding water in pulses by pouring 100 grams for 10 seconds, letting it start to drain for 15 to 20 seconds, and then repeating. Add another pulse of water in the same pattern before the coffee bed is completely exposed, continuing until you reach your total goal water weight. The objective is to have a continuous column of brew water covering the bed of coffee and to replenish it before the grounds are exposed to air.
8. Let it drip
Your dripper will continue to drip for somewhere between 20 and 60 seconds after you stop adding water. This should be included in the time you set for brewing. If you reach your goal—say, three and a half minutes—you’ll know you’ve maintained consistency in the brewing process, and you can make any necessary tweaks one at a time.
9. Sip and enjoy
Whether or not the final brew tastes good is the true test of a good cup of coffee. Getting the timing and pouring just right can take some experience. But once your routine is established, it’s simple to brew coffee at home that tastes just as it does at your favorite café.
If your final cup doesn’t satisfy you, take into account the type of coffee you used and the degree of roasting. In contrast to a medium roast or lighter roast, a darker roast will always have smokey, bitter aromas. A light roast will typically be brighter and tarter, showcasing more of the coffee’s fruity acids. The flavor profiles of those coffees in the cup can be slightly altered by adjusting the brew process, but the predominant flavors you will taste are inextricably linked to that roast level. Sometimes, all you need to do is try a different coffee to get the results you want.
Making your everyday cup of coffee with a pour over technique doesn’t have to be difficult. By being familiar with these fundamental concepts, you’ll be well equipped to brew a drink that tastes good and to make it even better.
