The Best Way to Sanitize Stainless Steel in Your Home

To sanitize stainless steel in your home, start by gathering mild dish soap, water, white vinegar, baking soda, and microfiber cloths. Begin by clearing loose debris, then clean with a soapy water mixture, wiping in the direction of the grain. Rinse and dry thoroughly to avoid water spots. For a deeper clean, apply a non-toxic stainless steel cleaner or a baking soda paste for tougher stains. Scrub gently and rinse off any residue. Ultimately, dry completely and polish with a microfiber cloth to restore shine. Stick around—you'll get all the detailed steps and tips for maintaining that perfect stainless steel finish.
Gather Your Supplies
To begin sanitizing your stainless steel surfaces, you'll need to gather a few vital supplies. Having the right supply types on hand makes the process smoother and more effective. Firstly, you'll need a high-quality stainless steel cleaner. This specialized cleaner is designed to tackle grime without damaging the surface. Make sure to choose one that's non-abrasive and safe for food contact surfaces if you're cleaning kitchen appliances.
Next, grab a set of microfiber cloths. These cleaning tools are fundamental because they won't scratch the stainless steel. You'll need two cloths—one for applying the cleaner and the other for buffing the surface to a shine. Furthermore, you should have a spray bottle filled with a mix of water and mild dish soap. This will help in the preliminary cleaning phase to remove any loose debris and residues.
Don't forget to include a soft-bristled brush among your cleaning tools. This will help you reach tight corners and crevices that cloths can't easily access. By gathering all these supply types and cleaning tools beforehand, you'll set yourself up for a seamless and efficient sanitizing process.
Pre-Clean the Surface
Before you plunge into the deep cleaning and sanitizing process, it's vital to pre-clean the surface of your stainless steel. This step guarantees that dirt, grime, and other residues don't interfere with the effectiveness of your sanitizer. Start by choosing the right pre clean methods for different surface types within your home.
First, clear any loose debris or crumbs using a dry microfiber cloth. This helps to avoid scratching the stainless steel. For larger or more stubborn spots, warm water and mild dish soap work wonders. Dampen a soft cloth with soapy water and gently wipe the surface. Make sure to follow the grain of the stainless steel to prevent streaks.
Next, rinse the cloth with clean water and wipe down the surface again to remove any soap residue. For an added touch, dry the area with a dry microfiber cloth. This step is vital for preventing water spots and maintaining the shine of your stainless steel.
Choose the Right Cleaner
When it comes to sanitizing stainless steel, selecting the right cleaner is vital for both effectiveness and maintaining the material's integrity. You might be tempted to grab the initial cleaner you see, but not all products are created equal. It's imperative to choose a cleaner that won't damage the finish or cause corrosion over time.
Eco-friendly options are a great place to start. Many commercial cleaners contain harsh chemicals that can be harmful to both your health and the environment. Instead, opt for products labeled as non-toxic or biodegradable. These cleaners are not only safer but also just as effective at eliminating germs and bacteria.
If you prefer homemade solutions, you've got plenty of options. A simple mixture of white vinegar and water can work wonders. Vinegar is a natural disinfectant and can cut through grease and grime without leaving streaks. Another effective homemade cleaner is baking soda mixed with water. This paste can tackle tougher stains while being gentle on your stainless steel surfaces.
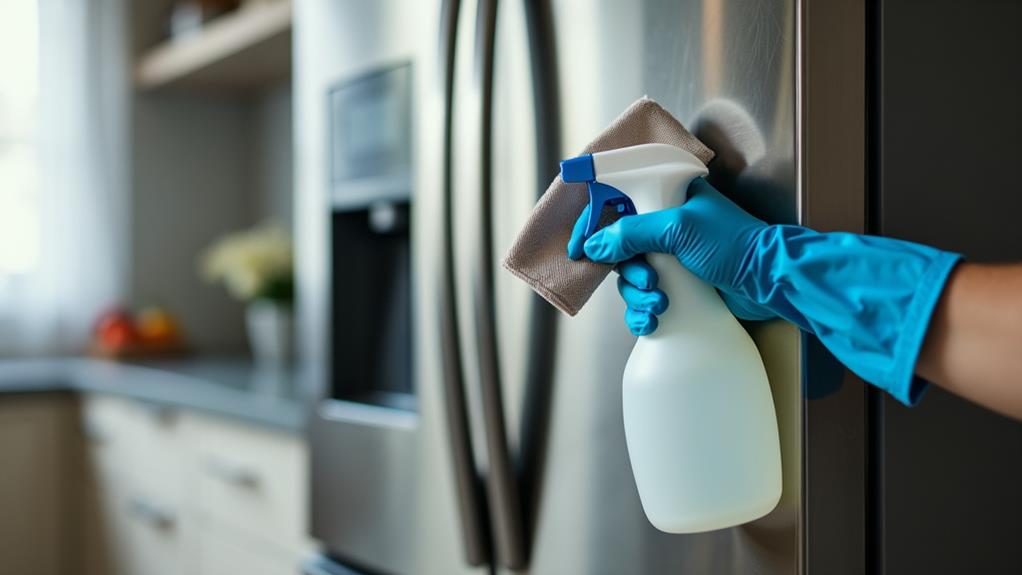
Apply the Cleaner
Once you've chosen the right cleaner, it's time to apply it to your stainless steel surfaces. Initially, verify the surface is free of any loose debris or dust. Using a soft cloth or sponge, apply the cleaner evenly. Make sure to follow the product instructions for the best results. It's essential to cover all areas to avoid streaks or missed spots.
Here are some tips to help you apply the cleaner effectively:
- Use a soft cloth: A microfiber cloth works best as it won't scratch the stainless steel.
- Apply in small sections: This guarantees that the cleaner doesn't dry out before you wipe it down.
- Follow the grain: Always move your cloth in the direction of the stainless steel grain for a streak-free finish.
- Don't oversaturate: A little cleaner goes a long way; too much can leave residue.
- Test initially: Try the cleaner on a small, inconspicuous area to confirm it doesn't damage the surface.
Scrub Gently
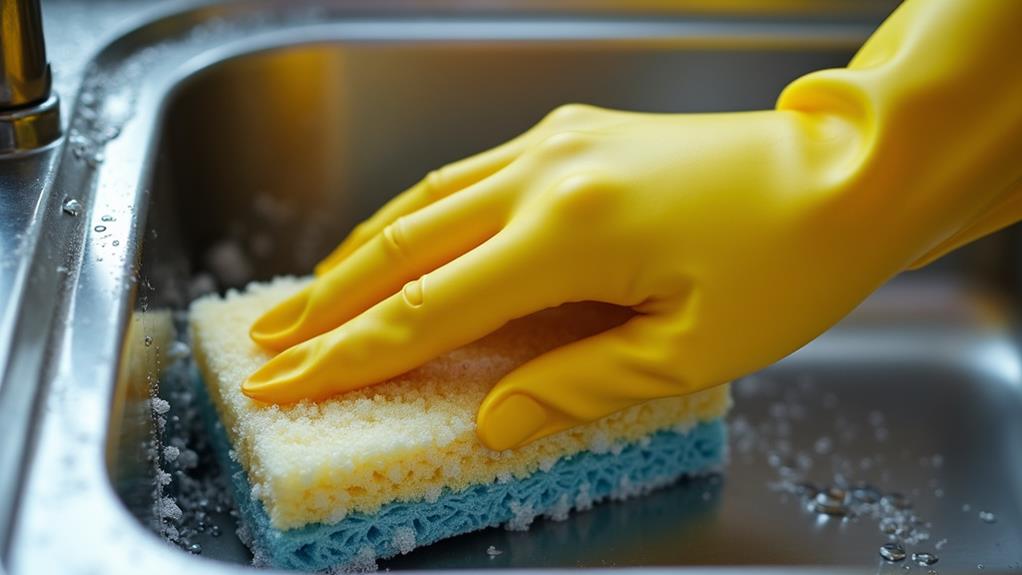
After applying the cleaner, it's time to scrub gently. You want to avoid scratching the surface of your stainless steel, so choose the right scrubbing techniques and materials. Opt for soft sponges or microfiber cloths, which are excellent for this purpose. These materials provide just enough abrasion to remove dirt and grime without damaging the metal.
When scrubbing, use gentle abrasives like baking soda or a mild dish soap. Apply your chosen abrasive to the sponge or cloth, then gently rub the surface in the direction of the stainless steel's grain. This method guarantees you don't leave unsightly scratches behind. Remember, stainless steel has a brushed finish, so following the grain is essential for maintaining its appearance.
Don't apply too much pressure as you scrub. Light, consistent strokes are more effective and safer for the material. If you encounter stubborn spots, resist the urge to scrub harder. Instead, let the cleaner sit a bit longer before gently trying again. Patience is key here; aggressive scrubbing can do more harm than good.
Rinse Thoroughly
Having gently scrubbed the stainless steel, the next step is to rinse thoroughly. This is essential to remove any remaining soap or cleaning agents, which can leave unsightly streaks or damage the surface over time. Effective rinse techniques guarantee that your stainless steel maintains its shine and cleanliness.
Start by adjusting the water temperature. Warm water is generally the most effective for rinsing away soap and grime. Here are some helpful tips:
- Use a gentle stream: A strong jet of water might splash dirty water back onto the cleaned surface.
- Go section by section: Rinse one area at a time to make sure you don't miss any spots.
- Watch for residue: Confirm that no soap suds or residues remain as you rinse.
- Use a clean cloth: Sometimes, simply running water isn't enough. A clean, soft cloth can help remove stubborn residues.
- Check your progress: Periodically stop and inspect the surface to confirm it's thoroughly rinsed.
Proper rinsing techniques combined with the right water temperature can greatly improve the appearance and longevity of your stainless steel surfaces. Now that you've rinsed thoroughly, your stainless steel is ready for the next step in the sanitization process.
Dry the Surface
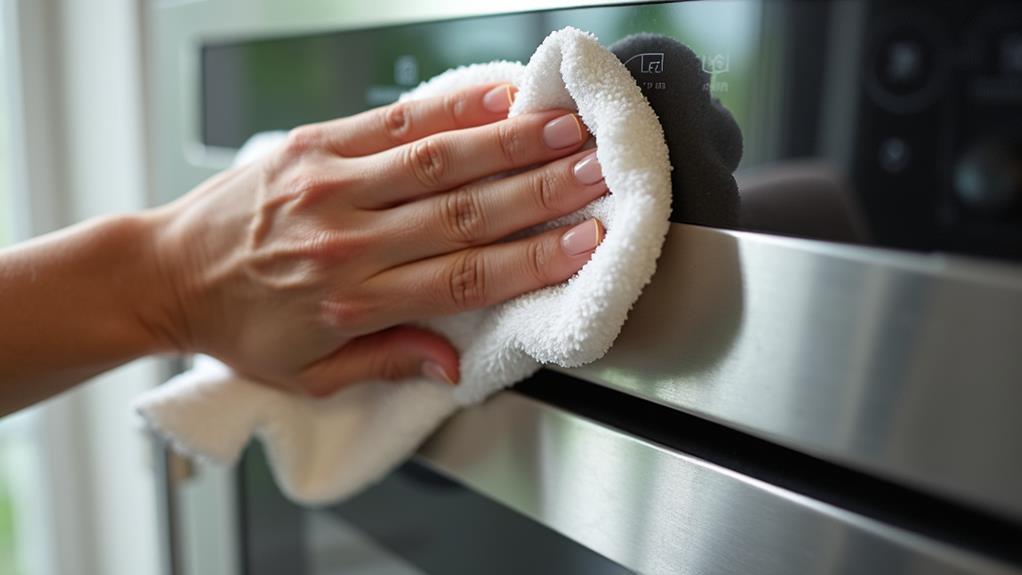
With the rinsing complete, it's crucial to dry the surface thoroughly to prevent water spots and streaks. Surface moisture left behind can create unsightly marks and diminish the appearance of your stainless steel. Start by grabbing a clean, dry microfiber cloth—these are ideal because they absorb water without scratching.
One of the best drying techniques is to wipe in the direction of the grain. If you look closely, you'll notice fine lines running through your stainless steel. Wiping along these lines not only helps remove surface moisture more effectively but also preserves the material's natural finish. Make sure to cover every inch, especially those hard-to-reach corners and edges where water can accumulate.
If you prefer a more hands-off approach, you can use a hairdryer on a low, cool setting. This method is particularly useful for larger appliances like refrigerators or ovens, where reaching every spot with a cloth might be difficult. Just be sure to keep the dryer moving to avoid overheating any area.
Polish for Shine
Polishing your stainless steel not only improves its shine but also adds a protective layer that helps maintain its pristine condition. To achieve a brilliant finish, you can choose from several polishing techniques, including natural alternatives and commercial products.
For a quick, eco-friendly option, try using natural alternatives like a mixture of baking soda and water. This gentle abrasive effectively buffs out minor scratches and brings out the shine. If you prefer commercial products, look for those specifically designed for stainless steel to guarantee they're safe and effective.
Here are some effective tips to polish your stainless steel:
- Use a microfiber cloth: It prevents scratches and leaves a streak-free finish.
- Apply olive oil: A few drops can work wonders as a natural polish.
- Vinegar spray: This eco-friendly option cleans and polishes simultaneously.
- Commercial polish: Invest in a good quality stainless steel polish for stubborn stains.
- Buff in the direction of the grain: This guarantees a smoother, shinier finish and avoids micro-scratches.
Maintain Regularly
Maintaining your stainless steel regularly guarantees it stays in top condition and lasts longer. Regular care prevents grime buildup and keeps those surfaces gleaming. Start by wiping down your stainless steel appliances and fixtures daily with a soft cloth and warm water. This simple step can eliminate smudges and fingerprints.
For a deeper clean, use mild dish soap mixed with water. Dip a cloth into the soapy solution, wring it out well, and wipe down your stainless steel. Rinse with another cloth dampened with clean water, then dry with a microfiber towel to avoid water spots.
Incorporate sanitization techniques into your routine. Once a week, disinfect using a solution of equal parts water and white vinegar. Spray it on the surface, let it sit for a few minutes, then wipe it off with a clean cloth. This not only cleans but also sanitizes effectively.