What to Do If Your Gel Nail Chips: Quick Fixes
When your gel nail chips, it can be frustrating, but don't worry—there are quick fixes to get your manicure back on track.
First, assess the damage to determine if it's a minor or major chip. For minor chips, you can gently buff the edges or apply a matching polish to cover the flaw.
If you're feeling creative, consider using contrasting shades or glitter to camouflage the chip.
Want to prevent future chips and know the essential tools for nail maintenance? Adopting simple measures can help keep your nails flawless for longer.
Assess the Damage
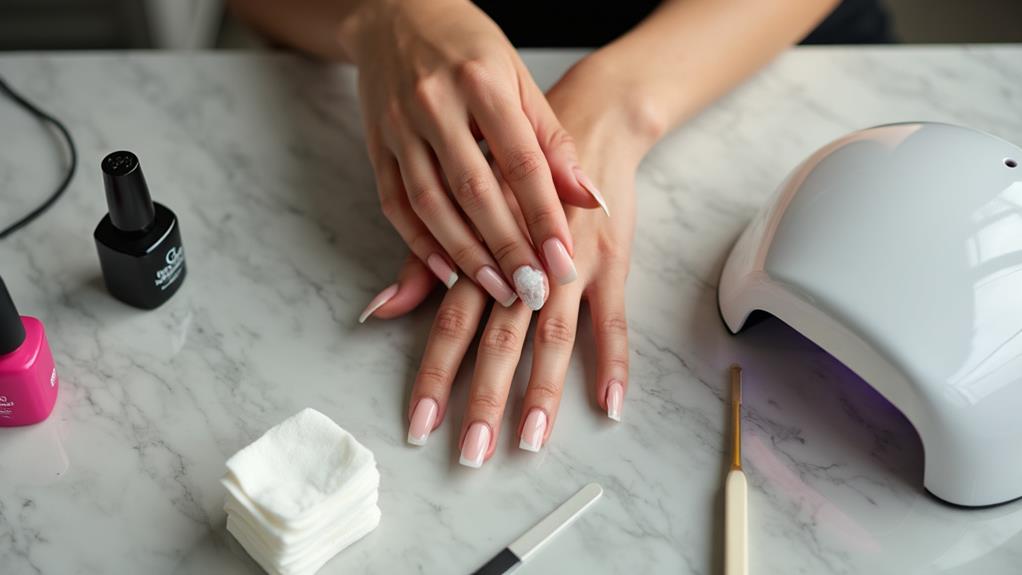
First, closely examine the chipped area of your gel nail to determine if the damage is superficial or penetrates through the gel layer. Superficial chips are easier to fix, while deeper ones require more attention.
Next, check for any lifting or separation around the edges of the chip. If the gel is lifting, address it immediately to prevent further peeling.
Also, inspect the surrounding nails for any signs of damage or chipping. Often, when one nail chips, others may also be vulnerable. Spotting these early can save you from multiple repairs later.
Quick Repair Techniques
When you discover a chip in your gel nail, quick repair techniques can save the day and keep your manicure looking fresh.
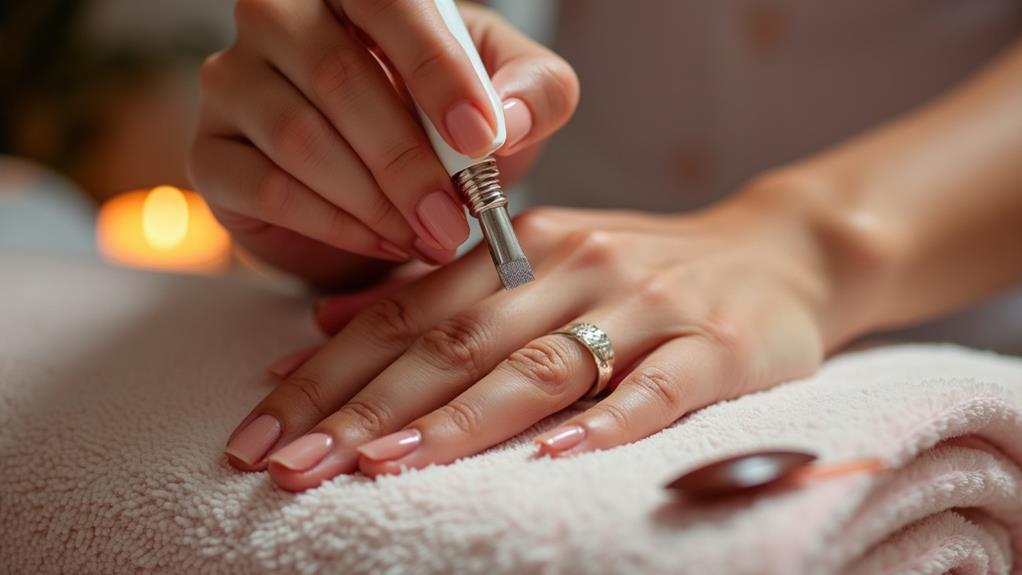
Start by buffing the chipped edges with a nail buffer to smooth out any roughness. This step is crucial for preparing the surface for repair.
Next, lightly buff the top coat of gel polish to break it, ensuring better adhesion for the new polish layer.
Apply two coats of a similar shade of polish over the chipped area. This helps blend the new layer seamlessly with the existing color, giving your nails a uniform appearance.
If you're feeling creative, consider using contrasting shades or glitter to cover up chips while adding a stylish element to your nails.
After applying the new polish, seal your repair with a layer of topcoat. This enhances durability and protects the freshly polished areas from further chipping.
Gel manicures often require extra care, but with these quick fixes, you can maintain your nails' beauty.
Preventing Future Chips
To maintain the beauty of your gel nails and prevent future chips, consider these essential steps:
1. Regular Top Coat Application: Apply a quick-drying top coat regularly. This extra layer of protection keeps your nails chip-free and shiny.
Reapply every few days to maximize its effectiveness.
2. Wear Gloves for Protection: Use gloves when cleaning or washing dishes. Harsh chemicals and hot water can weaken gel polish, making it prone to chipping.
Gloves act as a barrier, protecting your manicure from damage.
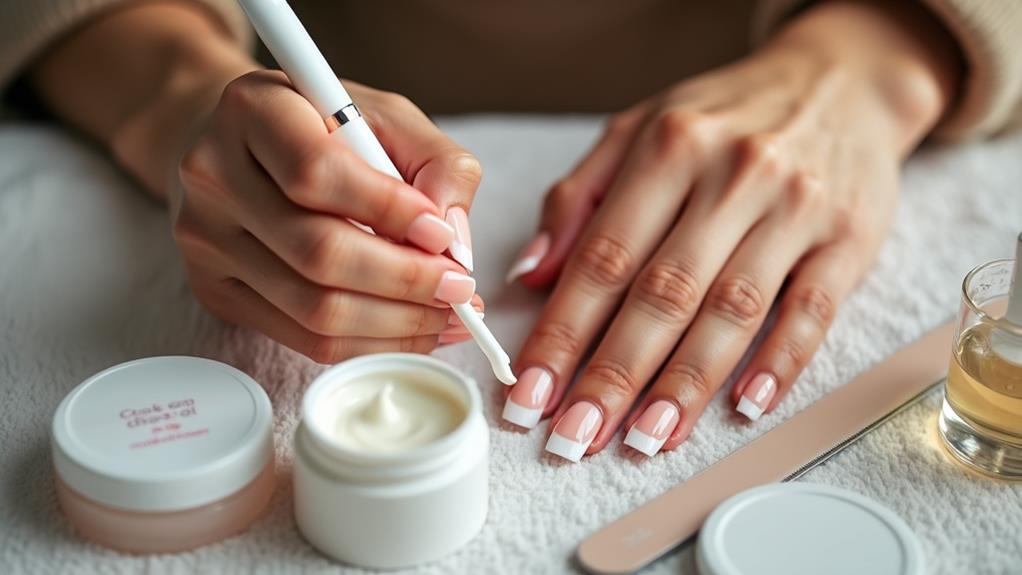
3. Moisturize Frequently: Keep your nails and surrounding skin flexible by using cuticle oil and heavy-duty creams.
Daily application of cuticle oil nourishes the nail bed, promoting overall nail health.
4. Avoid Using Nails as Tools: Refrain from using your nails to open containers or perform tasks that can put stress on them.
Use actual tools instead to minimize the risk of chips.
5. Limit Exposure to Hot Water: Prolonged exposure to hot water can weaken the adhesive properties of gel polish.
Use lukewarm water whenever possible to maintain the integrity of your manicure.
Creative Nail Art Solutions
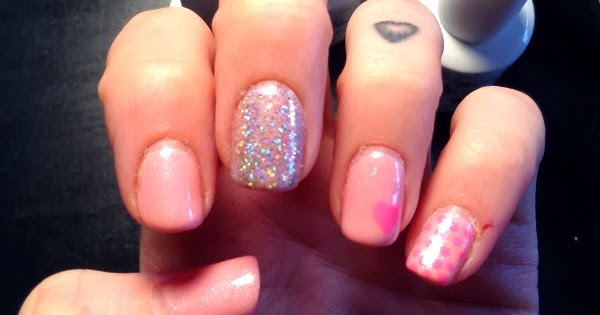
A chipped gel nail can be frustrating, but it doesn't have to be the end of your manicure. Creative nail art solutions can transform those chips into stylish statements. If you can't find an exact match for your gel polish, try using contrasting shades to create a chic design that distracts from the chipped area. Adding glitter nail paint over the chip will also draw attention away from imperfections, thanks to its sparkle.
Polka dots are another fun and effective option. Use a nail art tool to apply small dots of polish in different spots, effectively covering multiple uneven areas. This can transform your nails into a trendy look with minimal effort. Make sure to seal your creative nail art with a top coat to ensure durability and long-lasting designs.
For a quick and easy fix, consider using nail art stickers or decals. These can mask chips and add a personal touch to your manicure without the need for a trip to the nail salon.
| Creative Nail Art Solution | How To Apply |
|---|---|
| Contrasting Shades | Use different colors to cover chips |
| Glitter Nail Paint | Apply glitter over the chipped area |
| Polka Dots | Use a nail art tool to apply small dots |
| Nail Art Stickers/Decals | Apply directly over the chipped area |
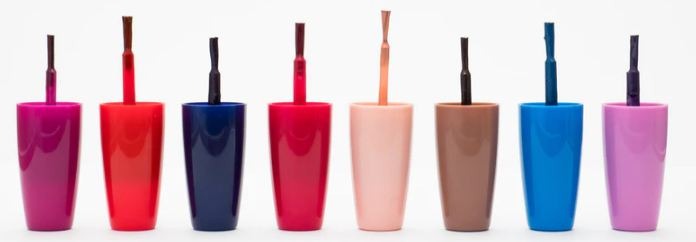
Essential Nail Care Tools
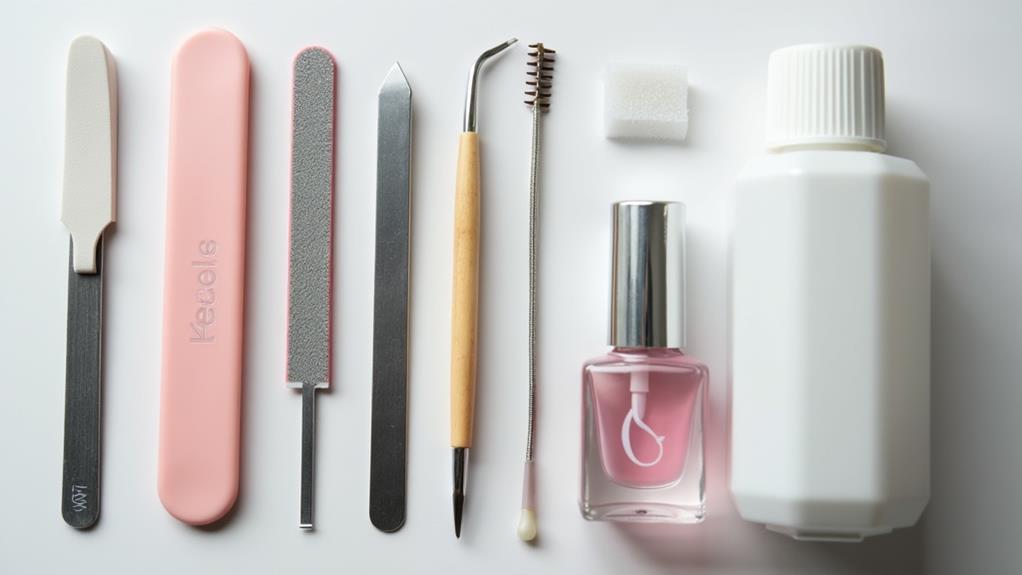
To maintain your gel nails in top condition, having essential nail care tools is crucial. A nail buffer is indispensable for smoothing out chipped edges and prepping the surface for a fresh layer of polish, ensuring better adhesion and a longer-lasting finish.
Additionally, keep regular nail polish in a shade that matches your gel color for seamless touch-ups. For a creative twist, consider using contrasting nail lacquer or glitter. These can cleverly disguise chips while adding a unique element to your nails.
To maintain healthy nails and prevent further damage, heavy-duty moisturizers are essential. They keep your hands and nails hydrated, reducing the likelihood of drying and additional chipping.
Incorporate natural oils like apricot or olive into your routine. These oils are excellent for nourishing your cuticles and dry nails, promoting overall nail health.
Conclusion
If your gel nail chips, first assess the damage to determine the best repair method. Quick fixes like buffing and applying matching polish can restore the look. For a creative twist, try using contrasting colors or glitter to mask the chip. To prevent future chips, regularly apply a top coat and moisturize your nails. By handling your nails with care and using essential tools, you can keep them looking flawless.