Top 10 Reasons Your Gel Nails Are Chipping and How to Prevent It
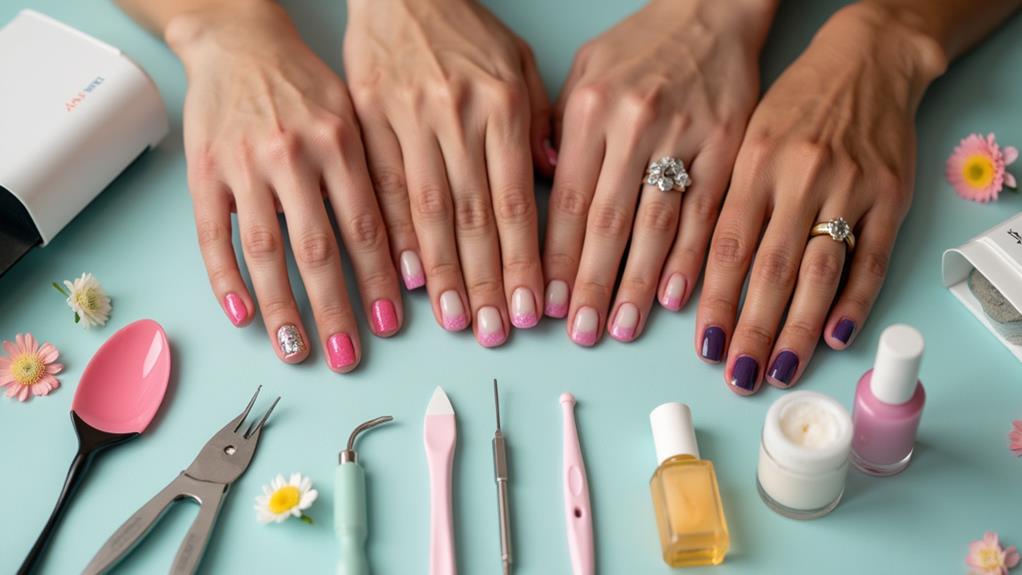
Experiencing your gel nails chipping prematurely can be frustrating, but understanding the causes can help you avoid this issue. Factors such as improper nail preparation, using poor quality products, and not sealing the free edge can all contribute to chipping.
Additionally, the health of your natural nails plays a crucial role. By addressing these key points, you can significantly extend the life of your gel manicure.
Ready to discover the secrets to long-lasting gel nails?
Improper Nail Preparation
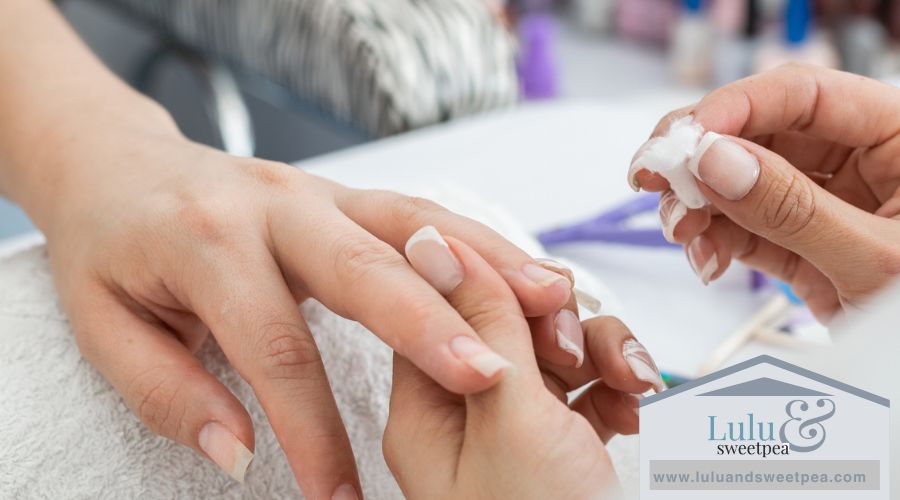
Proper nail preparation is crucial to prevent gel nails from chipping. First, thoroughly clean your nails to remove oils and dirt, as any residue can hinder proper adhesion and lead to peeling and chipping.
Buff your nails with a 180-grit block to create a matte texture, which helps the gel polish adhere more effectively.
Pushing back and trimming your cuticles is also essential. If cuticles obstruct the nail surface, the gel polish won't lay flat, increasing the risk of peeling and lifting.
After addressing the cuticles, dehydrate the nail plate using a nail cleaner or dehydrator to remove any moisture, which is critical for forming a strong bond between the polish and your nail.
Finally, perform a meticulous inspection for trapped filings or uneven surfaces, as any imperfections can compromise the integrity of the gel polish and increase the likelihood of chipping.
Proper nail preparation ensures your manicure lasts longer and remains chip-free.
Ineffective Cuticle Management
Proper cuticle care is essential for ensuring your gel nails remain chip-free. Ineffective cuticle management—such as leaving cuticles untrimmed or improperly pushed back—creates rough surfaces that prevent gel polish from adhering correctly, leading to lifting and chipping.
It's crucial to differentiate between cuticles and the proximal nail fold; failing to do so can leave excess skin that interferes with smooth gel application and reduces adhesion.
To improve adhesion and extend the life of your gel nails, use a gentle cuticle remover and push back your cuticles before applying the gel polish. This routine ensures a clean nail plate, which is vital for preventing lifting and chipping.
Also, clean underneath the free edge where filings can accumulate, as trapped particles create barriers to proper adhesion.
Approximately 50% of lifting issues are due to poor cuticle management. Therefore, ensuring complete cuticle removal and maintaining a clean nail plate are fundamental steps.
Thick Polish Layers
After mastering cuticle care, it's crucial to avoid applying thick layers of gel polish, as they can prevent proper curing and make nails more prone to chipping and lifting.
Improperly cured gel polish results in weak bonding, leaving nails vulnerable to damage.
To avoid these issues, apply thin layers. Three thin layers of base, color, and top coat are more effective than one thick layer. Thin layers ensure even and thorough curing, enhancing durability.
The initial color layer should be nearly transparent to allow light to penetrate and cure the gel completely.
Thick applications can cause the gel to remain tacky or soft in the center, leading to uneven wear and increased susceptibility to damage.
This can trap air and moisture, compromising the polish structure and causing premature chipping.
Always cap the free edge with thin layers to seal and protect your nails, as thick layers can create gaps that increase the risk of chipping.
Adhering to these practices ensures strong, long-lasting gel polish application, reducing the likelihood of damage and maintaining a polished look.
Inadequate Curing Time
Insufficient curing time may cause gel nails to chip prematurely due to incomplete hardening of each layer. Ensure each layer is evenly exposed to the UV/LED lamp for the recommended duration.
Inadequate lamp power can result in weak adhesion, so regularly check your bulbs to confirm they're functioning correctly for optimal curing.
Insufficient Lamp Power
Insufficient lamp power can be a major reason for gel nails chipping prematurely. When your lamp lacks adequate power, the curing time for your gel polish increases, leading to a weak bond with the nail surface. This insufficient curing can cause lifting, peeling, and chipping.
To ensure your gel nails remain intact, consider these tips:
- Check the Lamp's Power: Different UV/LED lamps provide varying curing strengths. Always use the lamp recommended by your gel polish manufacturer and adhere to their specified curing times.
- Avoid Thick Layers: Applying thick layers of gel polish can impede proper curing. Apply thinner layers and cure each one separately to ensure complete hardening.
- Inspect for Wear and Tear: Regularly inspect your lamp's bulbs for wear and tear. Worn-out bulbs can significantly reduce curing effectiveness, leading to chipping.
- Rotate Hands: Rotate your hands in the lamp during curing to ensure even exposure. This helps prevent polish lifting and promotes a stronger, more durable finish.
Uneven Curing Exposure
Ensuring your lamp's power is adequate is essential, but even curing exposure is equally crucial in preventing gel nails from chipping. Inadequate curing time is a leading cause of chipping, as insufficient UV light exposure prevents the gel polish from fully bonding to your nail surface.
Typically, gel polish requires a curing time of 30-60 seconds per layer; however, thicker layers or darker colors may need longer durations to ensure complete curing.
Using a compatible lamp is critical since different lamps have varying curing strengths. Always refer to the manufacturer's recommendations for ideal curing times. If your lamp doesn't provide the necessary UV light, your gel polish won't cure properly, leading to smudging and lifting.
Touching your nails before they're fully cured can also compromise your manicure's integrity.
Additionally, regularly replacing worn-out bulbs in your lamp is vital. Diminished light output can result in insufficient exposure, increasing the risk of chipping.
Ensure your lamps are in good working condition to avoid inadequate curing. By confirming even curing exposure, you can significantly extend the life of your gel nails and prevent unwanted chipping.
Incomplete Layer Hardening
One major reason gel nails chip is due to incomplete layer hardening, often caused by inadequate curing time. When you don't cure each layer of gel polish properly, it results in a weaker bond and increases the chances of chipping.
To achieve a perfect manicure, it's vital to guarantee every gel layer is adequately cured.
Here are four important tips to prevent incomplete hardening:
- Follow Manufacturer's Instructions: Each gel polish brand has specific curing times, usually between 30-60 seconds. Adhere to these guidelines to ensure proper adhesion and durability.
- Apply Thin Layers: Thicker gel layers may require longer curing times, risking areas being left uncured. Stick to thin layers for a more even and thorough cure.
- Check Your UV/LED Lamp: A lamp that isn't powerful enough or has worn-out bulbs can lead to inadequate curing. Regularly check and maintain your lamp to ensure it's functioning effectively.
- Maintain Your Lamp: Even the best lamps need maintenance. Replace bulbs as needed to keep your UV/LED lamp working efficiently.
Poor Product Quality
Using low-quality gel polish significantly increases the risk of chipping, as these products often lack essential ingredients for durability and adhesion.
Opting for cheap, subpar gel polish makes premature chipping more likely. High-quality gel polishes are formulated to resist chipping and peeling due to their robust formulations and carefully selected ingredients.
Investing in high-quality gel polishes can make a significant difference, often coming with warranties or guarantees for optimal results.
The choice of a base coat and top coat is equally important. Using a base coat and top coat specifically designed for gel applications enhances adhesion and longevity.
Incompatible or low-quality base and top coats can undermine your manicure, leading to quicker chipping.
To extend the lifespan of your gel nails, ensure you use compatible, high-quality products throughout the process.
Expired Polish Products
Expired gel polish products can significantly contribute to chipping nails. Always check expiration dates to avoid using formulas that have degraded and lost their effectiveness. Store your polishes in a cool, dark place to maintain their quality and extend their shelf life.
Check Expiration Dates
Paying attention to the expiration dates of gel nail products is crucial for achieving a lasting and high-quality manicure. Typically, gel polish has a shelf life of 12-24 months. Using products past their expiration date can lead to issues such as poor adhesion and increased chipping.
Regularly checking the expiration dates of your gel polish, base coat, and top coat ensures that your products are still effective.
Effects of Using Expired Gel Nail Products
- Poor Adhesion: Expired gel polish can become thick or lumpy, making it difficult to apply in thin, even layers, which is essential for preventing chipping.
- Compromised Sealing: Expired base and top coats can weaken the sealing process, leading to premature lifting and chipping.
- Reduced Durability: Expired products are less effective, resulting in a manicure that won't last as long.
- Difficult Application: Expired polish often doesn't spread smoothly, increasing the risk of uneven layers and bubbles.
To maximize the lifespan of your gel polish, store the bottles in a cool, dark place.
Always verify that you're using fresh products to achieve a flawless and long-lasting manicure.
Avoid Degraded Formulas
Ensuring the integrity of your gel nail products is essential for a long-lasting and flawless manicure. Always verify the expiration date on your gel polish bottles, as using expired formulas can lead to poor adhesion and unsightly chipping.
High-quality gel polishes typically have a shelf life of 12-24 months once opened. Beyond this period, their effectiveness decreases, causing premature lifting and chipping of your manicure.
Degraded formulas compromise product quality, leading to inconsistent curing. This inconsistency is a primary cause of early chipping and lifting.
To prevent these issues, regularly check the quality of your products and invest in reputable brands. Starting with a superior base can significantly enhance the durability of your gel manicure.
Proper Product Storage
Maintaining the quality of your gel nail products requires more than just monitoring their formulas; proper storage is crucial.
Correct storage practices ensure your manicure stays chip-free and fabulous. Here's how to achieve this:
- Check Expiration Dates: Gel polishes typically last 12 to 24 months. Always verify the expiration date before use. Expired products can thicken and adhere poorly, increasing the risk of chipping.
- Store in Cool, Dark Places: Exposure to direct sunlight and heat can degrade the formula. Storing gel polish in a cool, dark place helps maintain its integrity.
- Seal Tightly: Exposure to air can cause gel polish to thicken and separate. Ensure bottles are tightly sealed when not in use to preserve their quality.
- Inspect Regularly: Routinely check your gel polish for signs of separation, thickening, or unusual odors.
These indicators suggest the product has expired and should be discarded.
Insufficient Free Edge Sealing
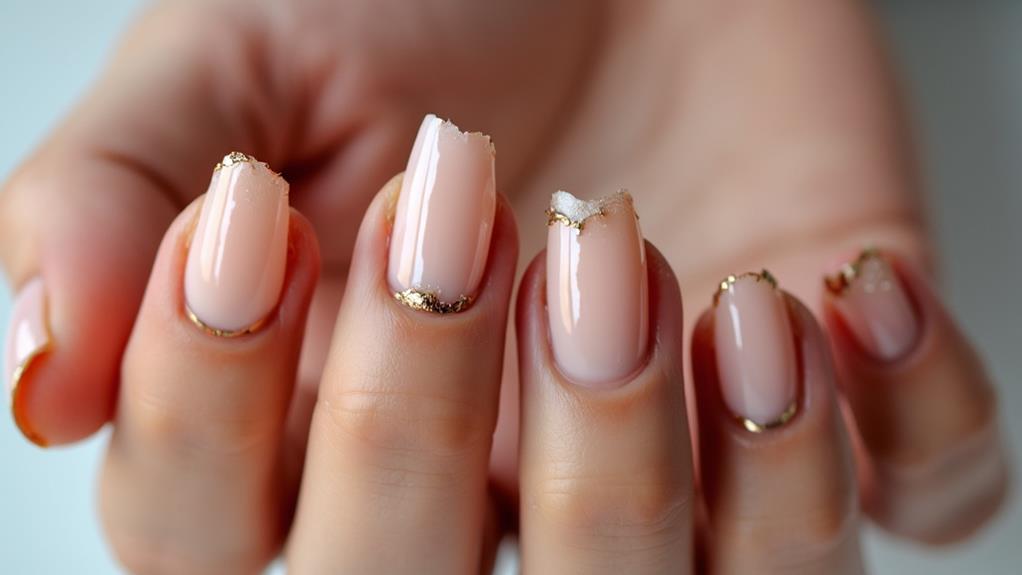
Neglecting to seal the free edge during gel polish application can undermine the durability of your manicure. Insufficient sealing exposes your nails to air and moisture, leading to chipping and lifting. Properly capping the free edge with each layer of gel polish creates a barrier that enhances adhesion and longevity.
A common mistake is skipping this critical step, which allows water and oils to weaken the bond of the nail polish. By ensuring that you cap the free edge, you lock in the layers, providing a more durable finish.
Here's a quick comparison to visualize the impact of sealing:
| Scenario | Outcome |
|---|---|
| Insufficient sealing | Increased chipping and lifting |
| Proper sealing | Improved adhesion and longevity |
| Exposure to moisture | Weakened gel polish bond |
| Sealed free edge | Enhanced durability |
Applying a thin layer of top coat that extends over the free edge significantly improves the lifespan of your gel manicure. Regularly checking and reapplying a top coat as needed helps maintain the polish's protective seal, preventing premature chipping. A little attention to detail goes a long way in achieving a flawless and long-lasting manicure.
Weak Natural Nails
Weak natural nails can significantly contribute to the chipping and lifting of gel polish. When your nails are fragile, they're more prone to bending and cracking, creating tiny fractures under the gel polish. These fractures lead to chipping and lifting, shortening the life of your manicure.
Here's how to address this issue:
- Take Breaks from Gel Polish: Prolonged use of gel polish without breaks can weaken your natural nails. Allow your nails to rest periodically to maintain their strength.
- Use Strengthening Treatments: Apply products like a 5-in-1 Builder Gel to fortify weak nails. These treatments promote healthy growth and enhance durability.
- Hydrate Your Nails: Regularly apply cuticle oil to keep your nails hydrated. This helps maintain flexibility and moisture levels, reducing the risk of brittleness and chipping.
- Address Peeling: Natural nails have multiple layers that can peel over time. Gel polish doesn't prevent this peeling, so promptly address any peeling issues to maintain nail health.
Excessive Moisture Exposure
Excessive moisture exposure can significantly contribute to gel nail chipping. When gel polish is first applied, it requires adequate time to fully cure. Exposure to water and oils during this critical period weakens the bond between the gel polish and your nail, leading to premature chipping.
Frequent contact with water—such as washing dishes or swimming—causes the gel polish to expand and contract. This repetitive motion increases the likelihood of lifting and chipping. Additionally, improper sealing of nails allows moisture to penetrate beneath the gel polish, creating air pockets that contribute to polish failure.
To prevent chipping from excessive moisture exposure, take proactive steps. Wear gloves during activities that involve water or harsh chemicals to protect your gel nails.
Avoid humid environments immediately after application and ensure your nails stay dry to maintain their integrity.
Incorrect Removal Techniques
When gel nails aren't removed correctly, the health of your natural nails is at risk. Incorrect removal techniques, like peeling or picking at gel polish, can cause significant damage. This not only affects the current state of your nails but also sets the stage for future chipping and lifting issues. Proper removal is crucial to prevent these problems.
Follow these four key steps to ensure you're removing gel polish correctly:
- Soak in Acetone: Soak your nails in acetone for at least 10-15 minutes. This step softens the gel polish, making it easier to remove.
- Use Gentle Tools: After soaking, use a gentle scraping tool to lift the gel polish. Avoid metal tools or excessive force to protect your natural nail structure.
- Avoid Mechanical Removal: Never use mechanical methods or peel off the gel polish. These actions weaken your nails and lead to more chipping.
- Nourish Your Nails: After removal, apply nourishing oil to maintain nail health and reduce the risk of future chipping.
Conclusion
To keep your gel nails looking flawless, focus on proper nail preparation, apply thin layers of polish, and ensure adequate curing time. Use high-quality products and seal the free edges of your nails. Strengthen your natural nails and protect them from excessive moisture. Always use the correct removal techniques. By following these tips, you can enjoy long-lasting, chip-free manicures. A little extra care goes a long way in maintaining your perfect gel nails.