Top 10 Tips for Repairing a Cracked Gel Nail at Home
Noticing a crack in your gel nail can be frustrating, but don't worry—there are effective steps to fix it at home. Begin by cleaning and prepping the nail to ensure a smooth repair process. Next, gently file down the edges to prevent further damage.
Securely bond the crack using either nail glue or a simple tea bag patch. But what comes after that?
There's more to the process to ensure your nail looks good and remains strong and healthy. Curious about the next steps? Let's explore them together.
Clean and Prep the Nail
Before you start repairing your cracked gel nail, ensure you clean and prep the nail thoroughly.
Begin by gently cleaning the cracked nail with an antiseptic solution to eliminate any dirt or bacteria that could cause infection. This ensures you're working on a clean surface, crucial for a successful repair.
Next, use a soft nail file to lightly buff the area around the crack. Buffing creates a smooth surface for better adhesion of the repair materials. Trim any jagged edges of the cracked nail with nail scissors to prevent further tearing and snagging.
Make sure the nail is completely dry before proceeding. Moisture can interfere with the bonding effectiveness of adhesives, so allow it to air dry or use a soft cloth to pat it dry.
Prepare your workspace with all necessary tools—nail glue, a tea bag or silk wrap, and a clear topcoat. Having everything ready will streamline your repair process.
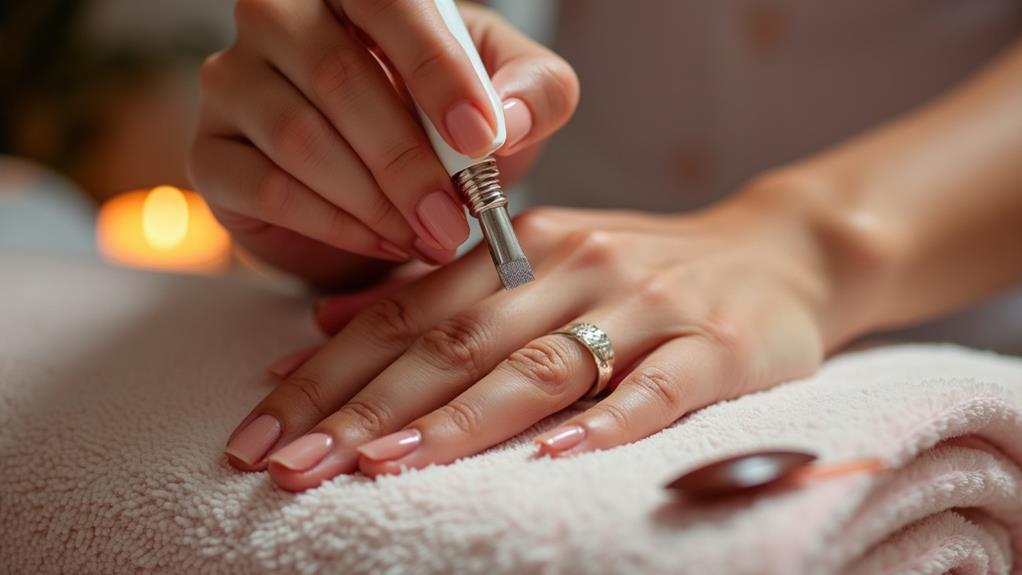
File Down the Edges
Now that you've prepped the nail, it's time to file down the edges. Smoothing out sharp or jagged edges helps prevent further tearing and ensures a uniform nail length. Use a fine-grit file and work gently to shape the nail without causing additional damage.
Smooth Sharp Edges
When you notice a crack in your gel nail, it's crucial to address the sharp edges immediately to prevent further damage. Use a nail file, preferably a glass or crystal one, to minimize microscopic tears and achieve a smoother finish.
Begin by gently filing the sharp edges of the cracked nail, focusing on preventing further snagging or splitting during your daily activities.
Make sure to file in one direction rather than back and forth. This technique reduces the risk of additional damage and helps maintain the nail's integrity.
As you file, ensure the edges blend seamlessly with the surrounding gel to maintain a natural appearance and prevent any noticeable irregularities.
Regular nail filing helps maintain nail length and shape, contributing to overall nail health and preventing future breaks.
By smoothing out the sharp edges, you're not only addressing the immediate issue but also promoting healthier nails in the long term.
Match Nail Length
Achieving a uniform nail length is essential when repairing a cracked gel nail. Begin by carefully filing down the edges of the cracked nail to ensure it matches the length of your other nails. This step is important not only for aesthetic reasons but also for ease of handling and preventing further damage.
Opt for a glass or crystal nail file, as these tools minimize microscopic tears, unlike traditional emery boards. Gently file in one direction to smooth out the edges and reduce the risk of snagging on objects. Aim for a cohesive look by matching the nail length of the cracked nail with the rest of your nails. This uniformity will make your manicure look polished and professional.
Regularly filing your nails can also improve their overall health by preventing splits and breaks. It's a good idea to file the entire nail for an even finish, ensuring all nails are consistent in shape and length.
This contributes to a more harmonious appearance.
Enhance Nail Shape
Smoothing the edges of a cracked gel nail not only prevents snagging on clothing but also enhances the overall shape and appearance of your nails.
Begin by using a glass or crystal file, as these are less likely to cause microscopic tears compared to traditional emery boards. Carefully file the edges of the crack at a 45-degree angle. This technique helps to create a tapered effect, making the crack less noticeable and improving the nail shape.
When fixing a broken nail, achieving a uniform shape across all your nails is essential. If the cracked nail is significantly shorter than the others, you might need to file down the rest to match. This ensures a consistent and polished look, making the repaired nail less conspicuous.
Regular filing not only enhances the appearance of your nails but also promotes healthier nail growth. By smoothing out the edges, you prevent uneven pressure on the nail bed, which can lead to further damage.
Take your time to carefully file each nail, paying particular attention to the cracked one. This step is crucial for maintaining both the health and aesthetics of your nails.
Apply Nail Glue
To effectively repair a cracked gel nail, begin by applying nail glue directly to the damaged area. Nail glue is ideal for mending small cracks as it bonds the pieces seamlessly. Follow these steps for a strong and lasting repair:
- Lightly Buff the Surface: Gently buff the surface of your nail to create a better bond for the glue.
- Apply Nail Glue: Carefully apply a small amount of nail glue to the cracked area. Use a precision applicator to avoid excess glue.
- Hold to Set: Press the cracked pieces together and hold for at least one minute to allow the glue to set properly.
- Apply Clear Coat: Once the glue is dry, apply a thin coat of clear nail polish over the repair to add extra strength and give the nail a polished look.
Always use nail glue specifically designed for nails, as it's formulated to be stronger and safer than regular super glue.
Use a Tea Bag Patch
To repair a cracked gel nail effectively, use a tea bag patch. This simple method can save your damaged nail.
- Cut a small piece of the tea bag: The piece should fit over the crack without overlapping excessively.
- Apply clear polish to the cracked area: This acts as an initial adhesive layer.
- Place the tea bag patch on the tacky polish: Position the patch carefully to secure it over the crack.
- Apply additional coats of clear polish: These layers will encapsulate and reinforce the patch. Ensure each layer dries completely before applying the next.
Step-by-Step Guide:
| Step | Action | Purpose |
|---|---|---|
| 1 | Cut a small piece of tea bag | Create the patch |
| 2 | Apply clear polish to cracked area | Initial adhesive layer |
| 3 | Place tea bag patch on tacky polish | Secure the patch in place |
| 4 | Apply extra clear polish coats | Reinforce the repair |
| 5 | Let each layer dry completely | Ensure strength and adhesion |
Buff and Smooth

To repair a cracked gel nail, follow these steps to ensure a smooth and durable fix:
1. Gently Buff the Crack: Use a fine-grit buffer to buff the cracked area, focusing on removing any rough edges and smoothing the surface.
Avoid over-filing the surrounding healthy gel to maintain the nail's integrity and strength.
2. Clean the Nail: Wipe away dust and debris with a soft cloth to ensure the nail is clean and ready for the next steps.
3. Refine the Edges: Carefully refine the edges of the crack to ensure proper adhesion of the repair material.
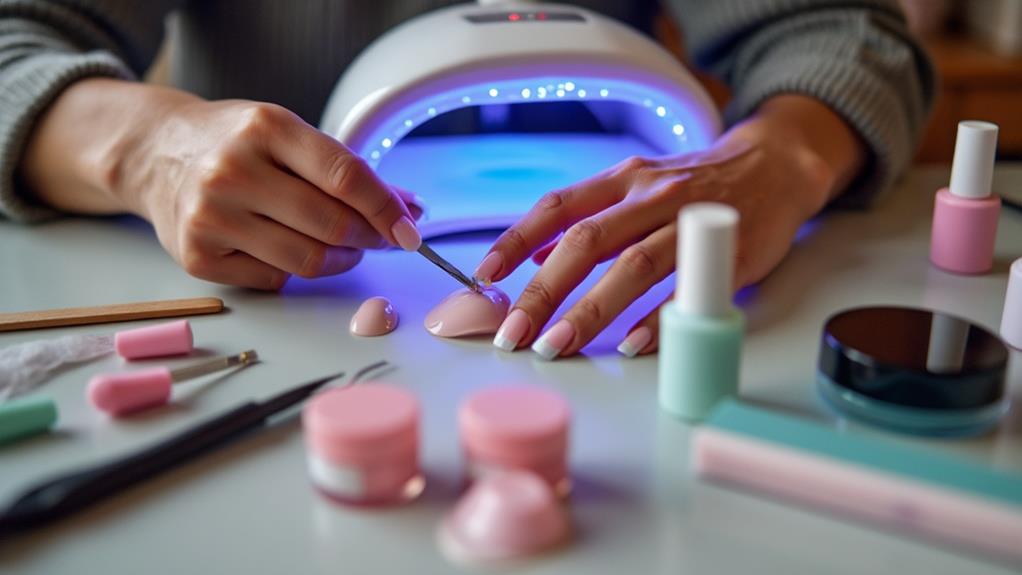
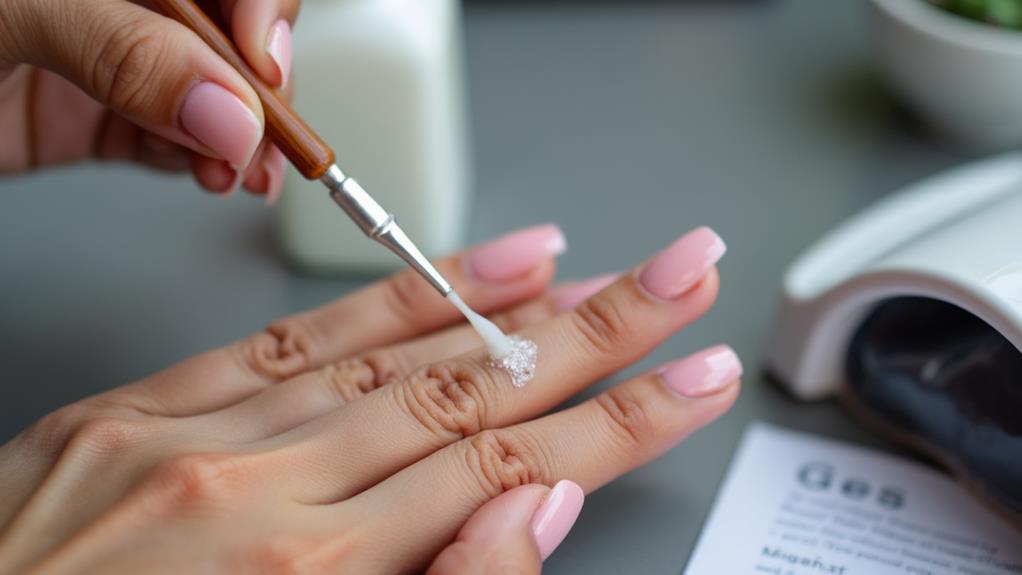
Apply Gel Polish Layers
Applying gel polish layers is essential for reinforcing a cracked gel nail and enhancing its appearance.
Begin by applying a base coat to create a smooth foundation. This base coat ensures the gel polish adheres properly and provides a level surface.
Next, apply the gel polish in thin layers. Patience and precision are crucial here. Thin layers cure evenly and prevent buildup that could lead to further cracking. Cure each layer under a UV lamp for 30-60 seconds to ensure the gel bonds securely to your nail, enhancing its durability and strength.
After curing the base layer, apply the gel polish in your desired color. Ensure even coverage to disguise the crack and give your nail a uniform look.
Finish with a clear top coat to seal all the layers, adding shine and extra protection against future damage. Regular maintenance will keep your nails looking fresh and healthy.
Cure Under UV Light
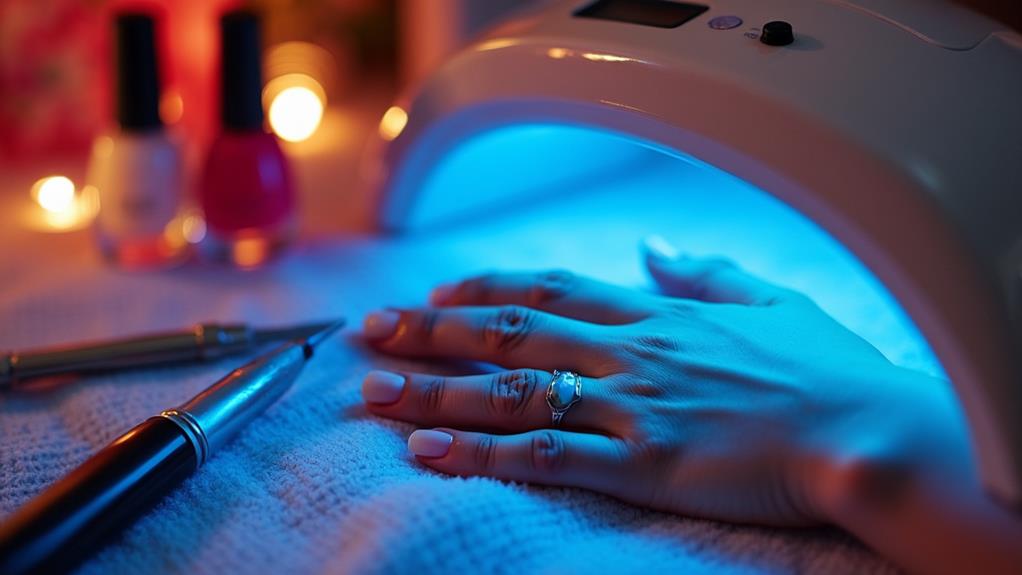
Properly curing gel nails under UV light is essential to ensure they're durable and long-lasting. Curing under UV light allows the gel polish to harden correctly and bond with your natural nail, significantly reducing the risk of chips and cracks.
Here's how to effectively cure your gel nails:
- Use the Correct Lamp: Ensure your UV lamp is specifically designed for curing gel polish. Standard lamps won't provide the necessary wavelength for proper curing.
- Adhere to Timing Guidelines: Typically, UV lamps require a curing time of 30 to 60 seconds per layer of gel polish. This ensures thorough drying and prevents smudging.
- Protect Your Skin: Exposure to UV light can be harmful. Use UV-blocking gloves or apply a barrier cream to protect your skin during the curing process.
- Regular Maintenance: Proper curing under UV light enhances the longevity of your gel nails, making them less prone to cracks and chips.
Do not rush this process. Each layer of gel polish requires adequate time under the UV light to harden and bond correctly.
Moisturize With Cuticle Oil
To maintain strong and healthy gel nails, regularly apply cuticle oil. Choose oils with nourishing ingredients like jojoba oil, vitamin E, or almond oil to enhance nail strength and hydration. For optimal results, apply the oil after washing your hands or exposing your nails to water to lock in moisture.
Benefits of Regular Use
Regular use of cuticle oil is essential for maintaining nail health. It helps prevent dryness and brittleness, which often lead to cracked and broken nails.
By adding cuticle oil to your weekly routine, you nourish and strengthen both your cuticles and nails with ingredients like vitamin E and jojoba oil. This promotes healthier nail growth and provides better support for your nails.
Here are four key benefits of regular use:
- Reduced Nail Breakage: Consistent use of cuticle oil significantly decreases the likelihood of nail breakage, making your nails less prone to damage.
- Improved Nail Appearance: Healthier nails are more resilient and maintain a better overall appearance. Regular moisturizing keeps your nails looking their best.
- Enhanced Nail Strength: The nourishing ingredients in cuticle oil, such as vitamin E, bolster nail strength, minimizing the risk of cracks and breaks.
- Better Cuticle Condition: Well-moisturized cuticles offer a strong foundation for nail growth, ensuring your nails are well-supported and less likely to incur damage.
Best Oils for Nails
Choosing the right oils for your cuticle care routine can significantly enhance nail health. Regular application of cuticle oil provides essential moisture, preventing brittleness and reducing the risk of cracks and breaks.
Cuticle oils often contain nourishing ingredients like jojoba oil, vitamin E, and almond oil. These components promote stronger, healthier nail growth, making your nails more resilient against daily wear and tear.
Incorporating cuticle oil into your daily regimen results in shinier, well-groomed nails and softer cuticles that are easier to maintain.
It is important to apply cuticle oil at least once a day, especially after washing your hands or exposure to water. This practice maintains optimal hydration for your nails and surrounding skin.
Consistent use supports nail integrity and resilience, reducing the likelihood of damage from everyday activities.
Application Tips and Tricks
Maintaining hydrated cuticles is essential for nail health, just like selecting the right oils. Regularly applying cuticle oil helps keep your nails hydrated and prevents brittleness, which can lead to cracks in gel nails.
Incorporating cuticle oil into your daily routine ensures both your cuticles and nail bed stay moisturized, promoting overall nail health and making repairs more effective.
Here are some tips for applying cuticle oil:
- Choose the Right Oil: Opt for cuticle oils with nourishing ingredients like vitamin E and jojoba oil. These ingredients improve flexibility and strength in your gel nails.
- Daily Application: Make it a habit to apply cuticle oil daily. Consistent use helps maintain hydration and prevents your nails from becoming brittle and prone to cracks.
- Pre- and Post-Repair: Apply cuticle oil generously before and after repairing cracked gel nails. This creates a protective barrier and facilitates the smoother application of repair products.
- Massage for Absorption: For best results, massage the cuticle oil into your nail and surrounding areas. This ensures even distribution and absorption, maximizing the benefits.
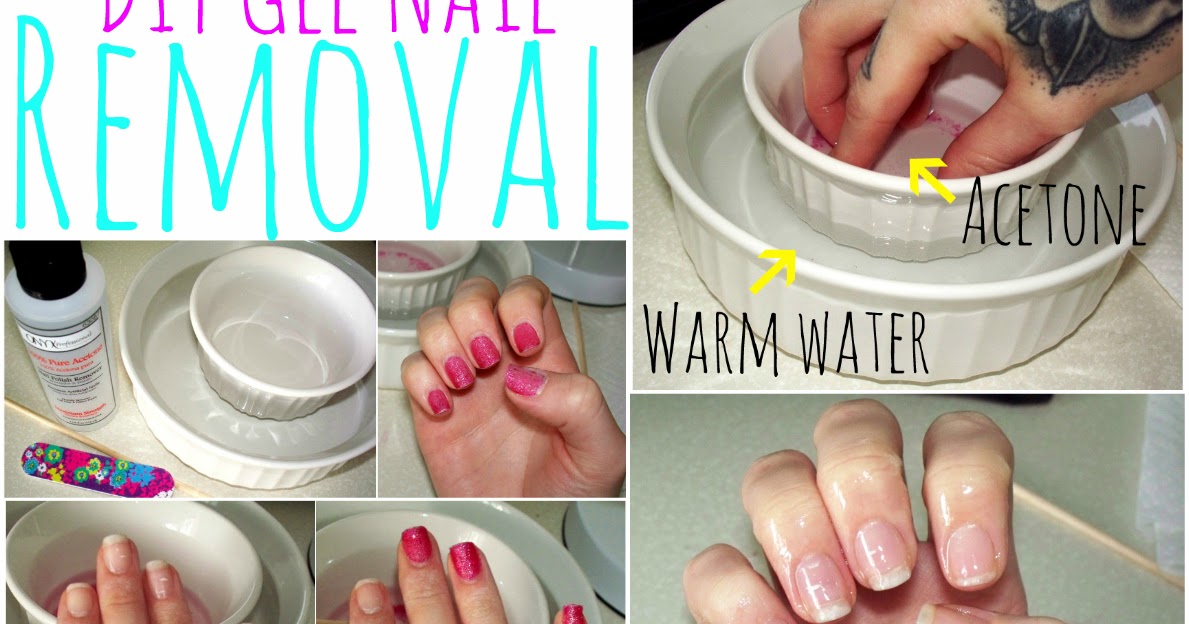
Avoid Water Exposure
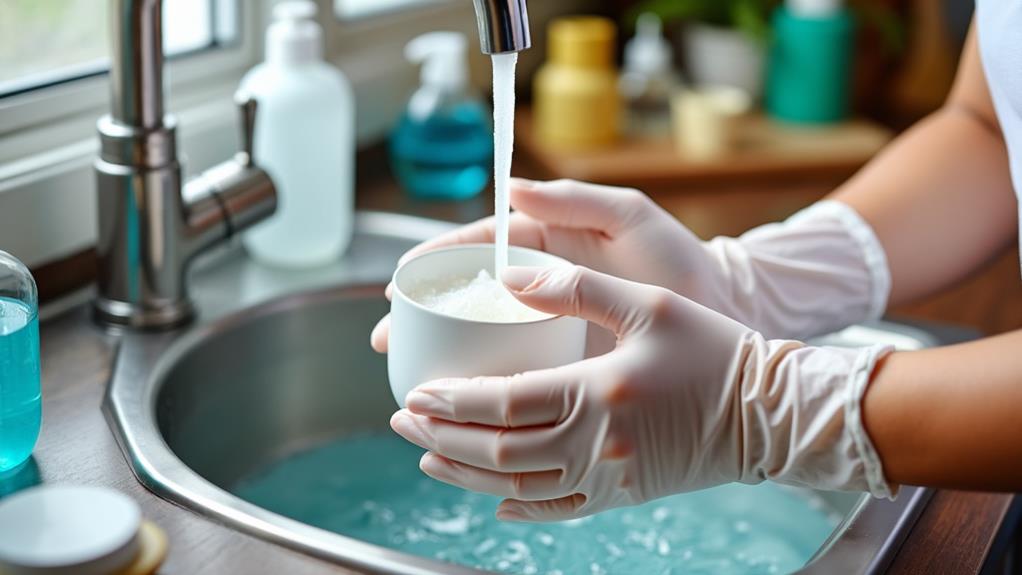
To maintain the quality of your gel nails, limiting their exposure to water is essential. Excessive water can soften the gel, making your nails more susceptible to breakage and cracks. If a crack or break is already present, further weakening from water can worsen the damage.
To protect your nails, wear gloves during dishwashing or any cleaning tasks to prevent prolonged water exposure and keep your gel nails strong and intact.
Avoid soaking your hands in water for extended periods, whether in a bath or during chores. Soaking can compromise the gel polish, leading to peeling or lifting, which exacerbates cracks.
While hydration is vital for overall nail health, it's important to strike a balance. Excessive water can be harmful, so be mindful of how often your nails get wet.
After any activities involving water, dry your nails thoroughly. Moisture left on the nails can weaken the gel bond, leading to further damage.
Use a Nail Hardener
Using a nail hardener can significantly strengthen brittle nails, providing long-lasting protection against cracks. Apply it as a base coat before your gel polish to create an extra layer of support. For optimal results, reapply it regularly to maintain nail resilience and health.
Strengthening Brittle Nails
Over time, brittle nails can become a persistent nuisance, but using a nail hardener can make a noticeable difference. Nail hardeners are specially formulated with strengthening agents like calcium and keratin, designed to improve the resilience of your brittle nails.
Regular application can lead to visible improvements in both nail strength and flexibility, helping to prevent future cracking and breakage.
Here are some essential tips for using nail hardeners effectively:
- Choose the Right Formula: Select a nail hardener that suits your specific nail type. Some are tailored for thin, brittle nails, while others cater to thicker nails.
- Use as a Base Coat: Many nail hardeners can double as a base coat before applying your nail polish, providing an extra layer of protection against damage.
- Consistent Application: Apply the nail hardener regularly to see the best results. Consistency is key to strengthening your nails over time.
- Balanced Diet: Complement the use of nail hardeners with a balanced diet rich in vitamins and minerals to improve overall nail health.
Long-Lasting Protection
Strengthening brittle nails involves multiple steps, and incorporating long-lasting protection with a nail hardener can be transformative. Nail hardeners are specially formulated to enhance the strength and durability of your nails, reducing the risk of future cracks and breakage. By applying a nail hardener as a base coat before your nail polish, you can significantly boost the resilience of your gel nails and provide a crucial protective barrier.
Most nail hardeners contain ingredients like formaldehyde or calcium, which work to fortify and harden the nail structure over time. With consistent use, you can often see noticeable improvements in nail strength within a few weeks. This step not only helps to seal and protect any repairs made to cracked gel nails but also ensures they last longer and remain intact.
Benefits of Using Nail Hardeners:
| Benefit | Description |
|---|---|
| Enhanced Strength | Improves nail durability and reduces breakage. |
| Protective Barrier | Acts as a base coat, shielding nails from damage. |
| Visible Improvements | Noticeable gains in nail strength within weeks of consistent application. |
Incorporating a nail hardener into your nail care routine is a straightforward yet effective method to achieve long-lasting protection for your gel nails.
Easy Application Process
Applying a nail hardener before any gel nail repair can significantly enhance durability. This crucial step strengthens the nail structure, reducing the risk of damage during the repair process. Nail hardeners often contain ingredients like formaldehyde or protein that bond to the nail, increasing its resilience against cracks.
Here's a simple guide to maximize the benefits of your nail hardener:
- Select the Appropriate Hardener: Choose one specifically formulated for gel nails to ensure compatibility and optimal adhesion.
- Apply Thin Layers: Use a thin coat to avoid bulkiness and ensure even application.
- Allow Complete Drying: Let each layer dry fully before applying another or proceeding with further repairs.
- Use Regularly: Incorporate the nail hardener into your routine to maintain long-term strength and prevent future cracks.
Conclusion
By following these essential tips, you can effectively repair a cracked gel nail at home and maintain flawless nails. First, clean and prep the nail. Next, file the edges of the crack. Apply nail glue or a tea bag patch to bond the crack securely. Buff and smooth the repaired area, then cure it under UV light. Finish by moisturizing with cuticle oil. To keep your nails strong and healthy, avoid excessive water exposure and use a nail hardener. You've got this!