Top 10 Mistakes to Avoid When Oiling Stainless Steel
When oiling stainless steel, common mistakes can affect the cookware's performance and longevity.
Skipping proper cleaning can lead to residue buildup. Using excessive oil can result in a sticky, uneven surface. Ignoring the direction of the grain may scratch and damage the stainless steel.
These are just a few pitfalls to avoid to keep your cookware in optimal condition. Curious to know what else you might be overlooking?
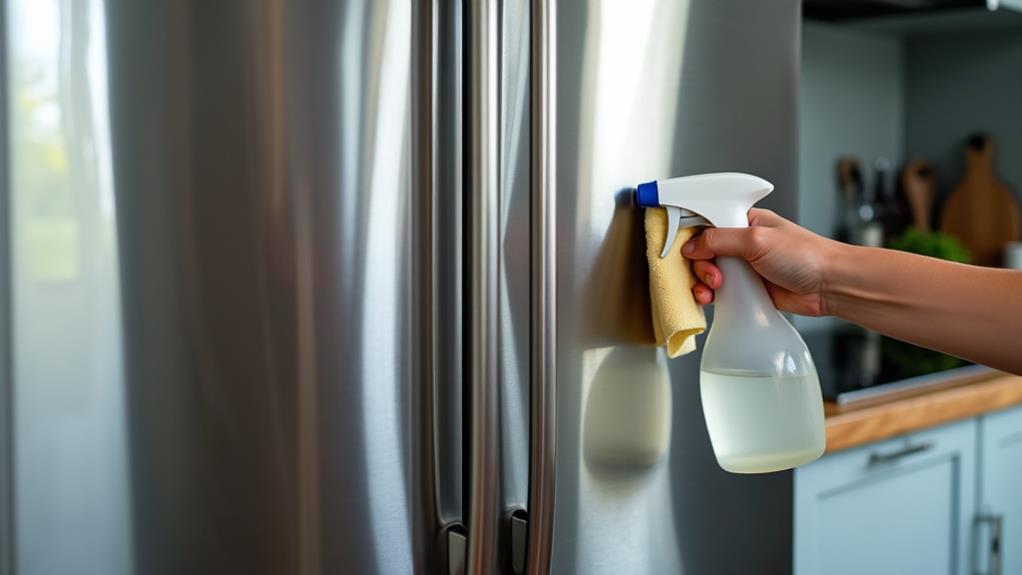
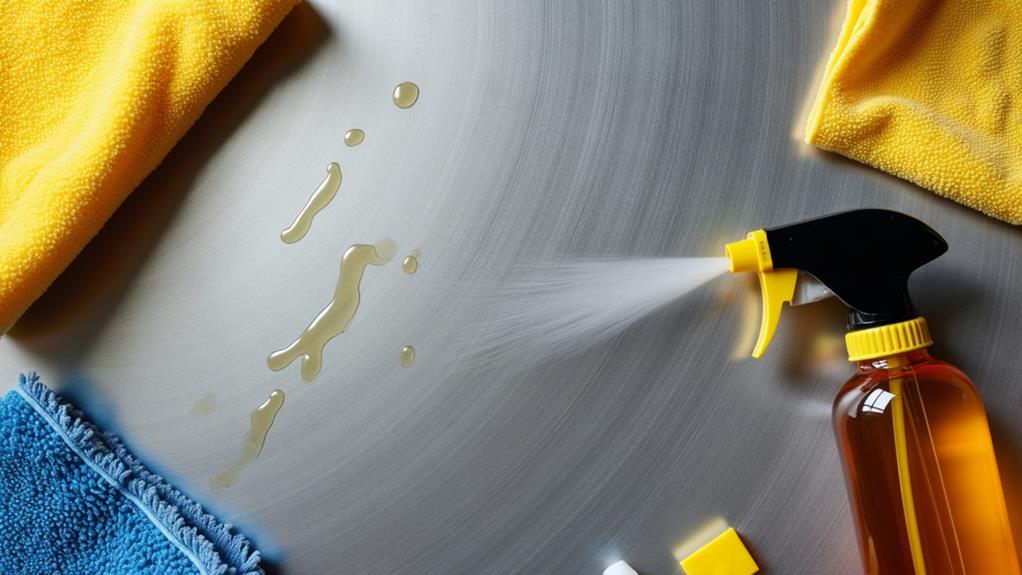
Skipping Proper Cleaning
Neglecting to properly clean your stainless steel cookware before oiling can trap dirt and residues, leading to uneven oil application and diminished cooking performance. Residue from previous cooking can react with the oil, creating unwanted flavors and odors in future dishes. To prevent this, always clean your stainless steel surfaces thoroughly before applying oil.
Using the wrong type of cleaning agent can be equally problematic. Abrasive cleaners may scratch the stainless steel surface, affecting its non-stick properties and overall appearance. Instead, choose a gentle cleaning agent that effectively removes food particles and grease without causing damage.
It's essential to rinse and dry your cookware thoroughly after cleaning. Any remaining water spots or mineral deposits can hinder oil adherence, resulting in less effective seasoning. A clean and dry surface allows for better oil penetration, enhancing the protective layer and ensuring optimal cooking results.
Following these steps ensures your stainless steel cookware is in prime condition for oiling, leading to improved cooking performance and extended longevity of your kitchen essentials.
Using Excessive Oil
Using too much can leave a greasy residue that's difficult to clean and may even alter the flavor of your food. Stick to a thin layer, about one tablespoon, to prevent buildup and ensure even cooking.
Optimal Oil Quantity
Using too much oil can turn your stainless steel cookware into a sticky mess, complicating cleanup and hindering performance. Achieving the ideal oil quantity is essential for creating a nonstick surface without the drawbacks of excess oil. Generally, one to two teaspoons of oil are sufficient for most cooking tasks.
Using more than this can lead to several problems. Excessive oil can leave a sticky residue on your stainless steel, making it difficult to clean. This residue not only affects the cookware's appearance but also its functionality.
Too much oil can also cause smoking and burnt flavors as it overheats and degrades, compromising the quality of your food. Additionally, over-oiling can make the surface slippery, causing food to slide around and cook unevenly.
This isn't just frustrating; it can ruin a perfectly good meal. To avoid this, ensure you spread the oil evenly across the cooking surface. This guarantees optimal heat distribution and prevents pooling, which can cause uneven cooking and sticking.
Preventing Residue Buildup
To maintain the optimal performance of your stainless steel cookware, preventing residue buildup is crucial. Overusing oil can create a sticky residue that's difficult to clean and may alter the taste of your food.
Excessive oil also produces unnecessary smoke and odor, potentially damaging your cookware's finish over time.
A small amount of oil is generally sufficient to achieve a non-stick effect, preventing your food from sticking without causing a buildup. Regularly applying only the necessary amount of oil will help preserve your cookware's performance and extend its lifespan.
Before cooking, be sure to wipe away any excess oil. This simple step helps prevent residue buildup and ensures even heat distribution, improving your cooking results.
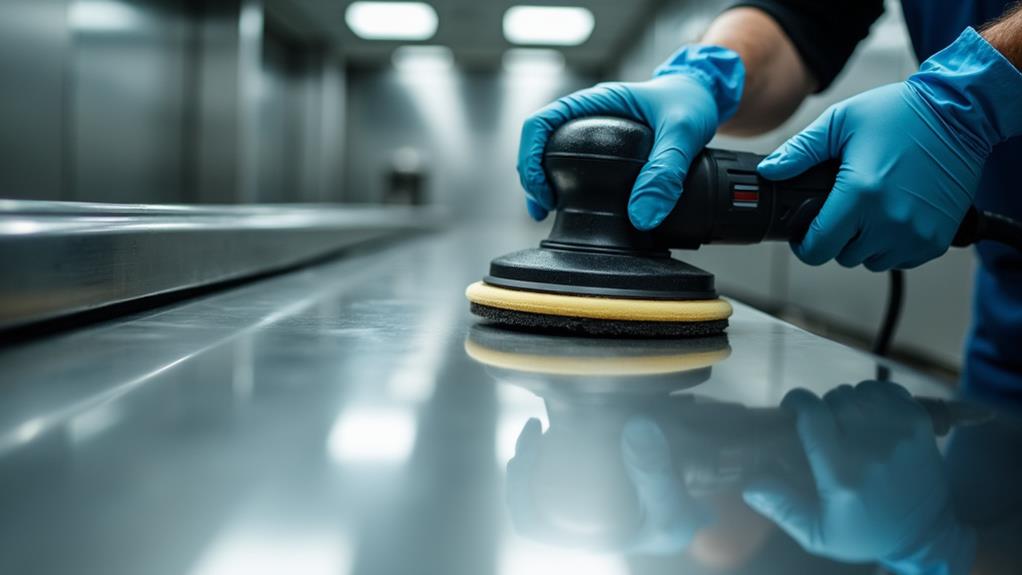
Ignoring Grain Direction
When oiling stainless steel, it's crucial to follow the grain direction to avoid unsightly streaks and scratches. This method ensures a smooth, even application, enhancing the surface's shine and longevity.
Properly oiling with the grain also allows for better oil absorption, providing improved protection against rust and stains.
Proper Oiling Technique
Ignoring the grain direction when oiling stainless steel surfaces can result in unsightly scratches and streaks. To maintain a pristine appearance, always apply oil following the grain. This simple practice helps avoid visible streaks and enhances the overall look of your cookware.
Here's how to master the proper oiling technique:
- Identify the Grain Direction: Inspect the surface to locate the grain direction, whether it runs horizontally or vertically. It's crucial to follow this pattern.
- Choose a Soft Cloth: Use a microfiber cloth to apply the oil. A soft cloth prevents scratches and ensures even oil distribution, protecting the surface and restoring its shine.
- Apply Oil Along the Grain: Apply a small amount of oil to the cloth and rub it along the grain direction. This method ensures even distribution, enhances protection, and prevents rust or corrosion spots.
Preventing Surface Damage
Neglecting to follow the grain direction when oiling your stainless steel cookware can lead to significant surface damage. Scrubbing against the grain can cause unsightly streaks and scratches, damaging the surface and compromising the cookware's appearance and longevity.
The grain direction on stainless steel typically follows the brushed lines on the surface. Cleaning and oiling along these lines maintain the material's aesthetic appeal and prevent unnecessary damage. Using a gentle, circular motion along the grain when applying oil can improve the finish without harming the surface.
Regularly inspecting the grain direction and maintaining alignment during cleaning is important. This practice preserves the integrity and shine of your stainless steel cookware. Ignoring the grain direction might seem like a minor oversight, but it can lead to long-term damage that's difficult to repair.
Always pay attention to the grain and follow it diligently to keep your stainless steel looking its best.
Enhancing Stainless Steel Shine
Enhancing the shine of your stainless steel cookware requires consistent effort but yields impressive results. One common mistake is ignoring the grain direction while cleaning and oiling. Stainless steel has natural lines that guide you in maintaining its appearance without causing damage. Cleaning against the grain can cause scratches, reducing its shine.
To properly enhance the shine, follow these steps:
- Identify the Grain Direction: Observe the subtle lines on your stainless steel. Always clean and oil in the direction of these lines to avoid scratches.
- Clean with the Grain: Always clean in the direction of the grain to prevent abrasive motions that could scratch the surface and diminish its shine.
- Buff Using Circular Motions: When buffing or applying oil, use circular motions that align with the grain. This technique helps achieve a polished and reflective finish.
- Regular Maintenance: Regularly clean and oil your stainless steel in the direction of the grain. This practice preserves its aesthetic quality and prolongs its lifespan by minimizing wear.
Consistent maintenance also reduces fingerprints and smudges, keeping your stainless steel looking new.
Overlooking Residual Buffing
When oiling stainless steel, it's essential to address residual buffing—leftover oil or cleaning products that aren't fully wiped away. Residual buffing can create a sticky surface on your stainless steel cookware and appliances, attracting dust and dirt. This not only compromises their clean appearance but also affects their functionality.
Failing to properly buff your stainless steel after oiling can result in an uneven sheen, diminishing the aesthetic appeal of your kitchen. Moreover, leftover oil can interfere with cooking, causing food to stick to the cookware. To avoid these issues, always use a clean, dry microfiber cloth to thoroughly remove any excess oil. This ensures your surfaces remain clean and shiny, free from sticky residue.
Regularly inspecting your stainless steel surfaces for residual buffing after cleaning and oiling is a good practice. It helps maintain their appearance and prolongs their lifespan by preventing dust and dirt build-up.
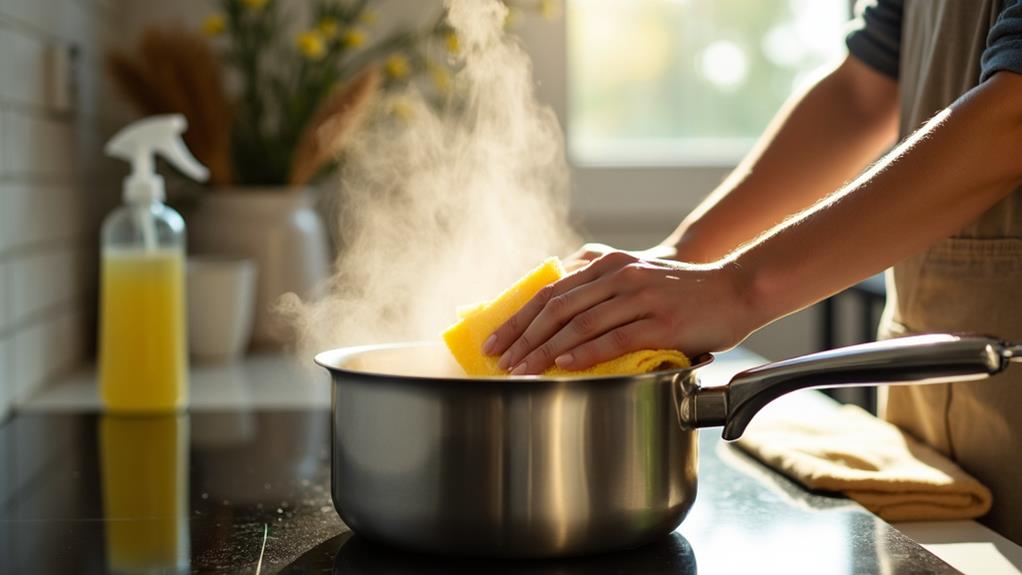
Applying Oil on Hot Surface
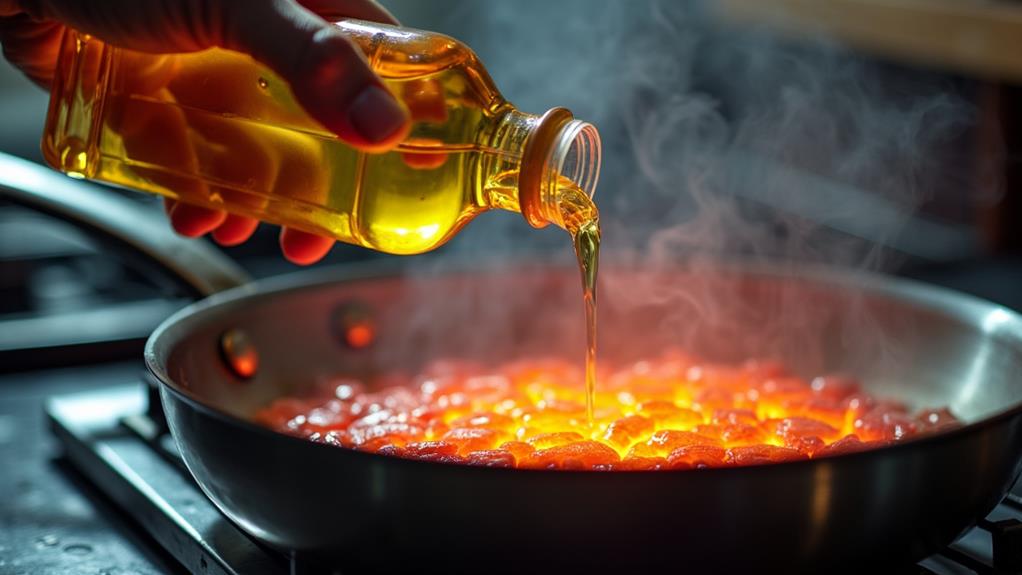
When oiling stainless steel, avoid applying oil to a hot surface as it can burn, creating harmful compounds and an unpleasant taste. Control the temperature and allow the surface to cool properly to prevent burns and ensure even cooking. Preheat the pan first, then add the oil and let it heat up before placing food in the pan.
Temperature Control Importance
Mastering temperature control is essential when oiling stainless steel to ensure an optimal cooking experience.
Preheating your stainless steel pan on medium heat is crucial, as it allows the metal to expand and form a natural non-stick surface, enhancing the oil's effectiveness. Applying oil to a cold pan results in improper spreading, leading to uneven cooking and food sticking.
Once the pan is preheated, add oil and heat it until it shimmers. This shimmer indicates that the oil has reached the ideal cooking temperature, forming a barrier that prevents sticking and promotes even cooking.
However, avoid overheating the oil to prevent smoking, burning, or creating harmful compounds.
Follow these three steps to master temperature control when oiling stainless steel pans:
- Preheat the pan on medium heat to let the metal expand and create a natural non-stick surface.
- Add oil once the pan is hot and wait until it shimmers before adding food.
- Monitor the oil's temperature to avoid overheating and ensure the best cooking results.
Risk of Burns
Applying oil to a hot stainless steel surface can quickly become hazardous, as the oil might smoke and splatter upon contact with the extreme heat. This not only creates a mess but also poses a significant risk of burns.
The smoke point of different oils varies—some start smoking at 320°F, while others can withstand up to 450°F. If you apply oil when your stainless steel cookware is too hot, you're inviting unwanted splattering that can cause serious skin injuries, often requiring medical attention.
To avoid these risks, allow your cookware to cool down slightly before adding oil. This minor adjustment ensures the oil distributes evenly and reduces the chances of splattering.
Using a thermometer can be very helpful. By monitoring the surface temperature, you can better control when to introduce the oil, thereby avoiding unintentional burns.
Proper Cooling Time
Improper cooling time when applying oil to stainless steel can lead to issues like burnt oil residue, which stubbornly sticks to the cookware and affects the flavor of future meals.
To avoid this, allow your stainless steel cookware to cool slightly before oiling. Ideally, you want the temperature around 350°F (175°C). This ensures the oil distributes evenly without smoking or breaking down into harmful compounds.
For effective oiling, follow these steps:
- Preheat the Pan: Begin by preheating your stainless steel cookware to create a natural non-stick surface and improve cooking performance.
- Cool for 5-10 Minutes: Once the pan is heated, let it cool for about 5-10 minutes. This lets the temperature drop enough to prevent the oil from burning.
- Apply Oil: After the pan has cooled sufficiently, apply your oil to enhance its non-stick properties.
Using Wrong Type of Oil
Selecting the right type of oil for your stainless steel cookware is essential for preserving its quality and performance. Using an unsuitable oil can cause various problems that affect both the appearance and functionality of your cookware.
For instance, oils with low smoke points, like olive oil, can burn easily, leaving a sticky residue on your stainless steel surfaces. This not only mars the look of your cookware but also hampers its performance.
Moreover, oils high in saturated fats, such as coconut oil, can leave a greasy film that's tough to clean. This greasy buildup can make cooking less efficient and more frustrating.
Additionally, flavored or infused oils often contain additives that can leave behind unwanted residues or alter the taste of your food, making them unsuitable for stainless steel cookware.
To avoid these issues, choose oils specifically recommended for high-temperature cooking, such as canola or grapeseed oil. These oils have higher smoke points and are less likely to degrade under heat.
Ensure your chosen oil is free of additives and preservatives to prevent any negative impact on your stainless steel cookware over time.
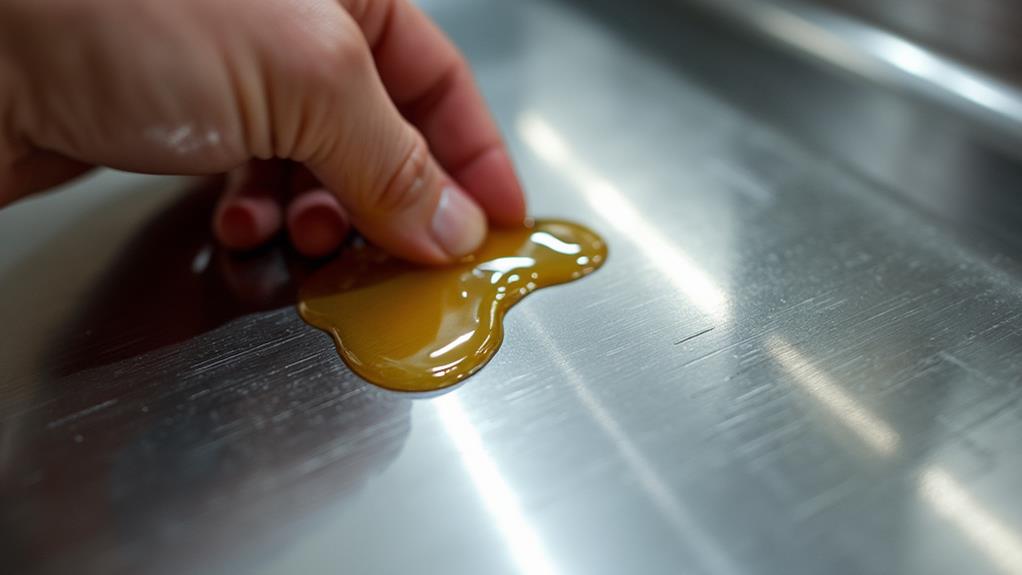
Failing to Remove Stains First

Failing to remove stains before oiling your stainless steel cookware can cause several problems. Stains, whether from food or hard water, can trap dirt and grime on the surface.
Oiling over these stains results in an uneven finish that's unattractive and ineffective in protecting the stainless steel. The oil might react with the stains, causing discoloration and a less appealing appearance.
Here's why you should always clean stains first:
- Prevent Uneven Finish: Stains can make oil application patchy. Cleaners ensure the surface is smooth and ready for oiling.
- Avoid Discoloration: Stains can react with oil, leading to undesirable colors on your stainless steel.
- Enhance Oil Adherence: Cleaners remove contaminants, allowing the oil to adhere properly, thereby maximizing its protective benefits.
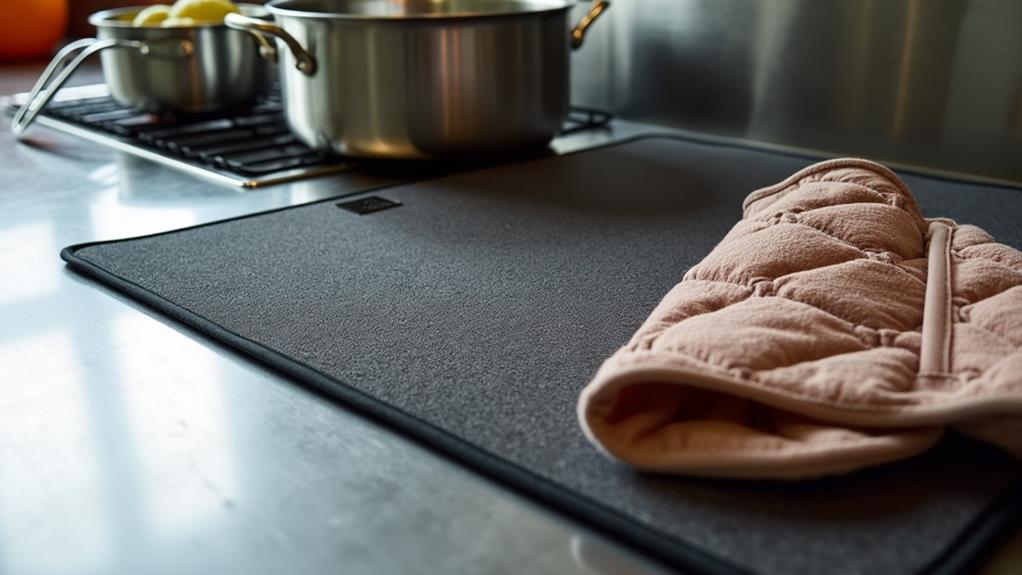
Neglecting Regular Maintenance
After confirming your stainless steel cookware is free of stains, it's crucial to maintain consistent upkeep to prevent issues such as increased wear and tear, scratches, and a dull appearance over time.
Regular maintenance, including oiling your cookware after each use, is essential. This simple step helps preserve its non-stick properties, making future cleanings easier and more effective.
When you skip oiling, food residues can accumulate, making your cookware harder to clean and less efficient. A thin layer of oil acts as a protective barrier, preserving the finish and enhancing cooking performance.
Without this layer, your stainless steel is more susceptible to corrosion and damage, which can shorten its lifespan.
Neglecting regular maintenance doesn't just affect functionality; it also impacts the aesthetic appeal of your cookware. Consistent care, including cleaning and oiling, ensures that your stainless steel remains shiny and new-looking.
By integrating this routine into your kitchen habits, you can extend the life of your cookware, keep it looking great, and enjoy better cooking results.
Using Abrasive Cloths
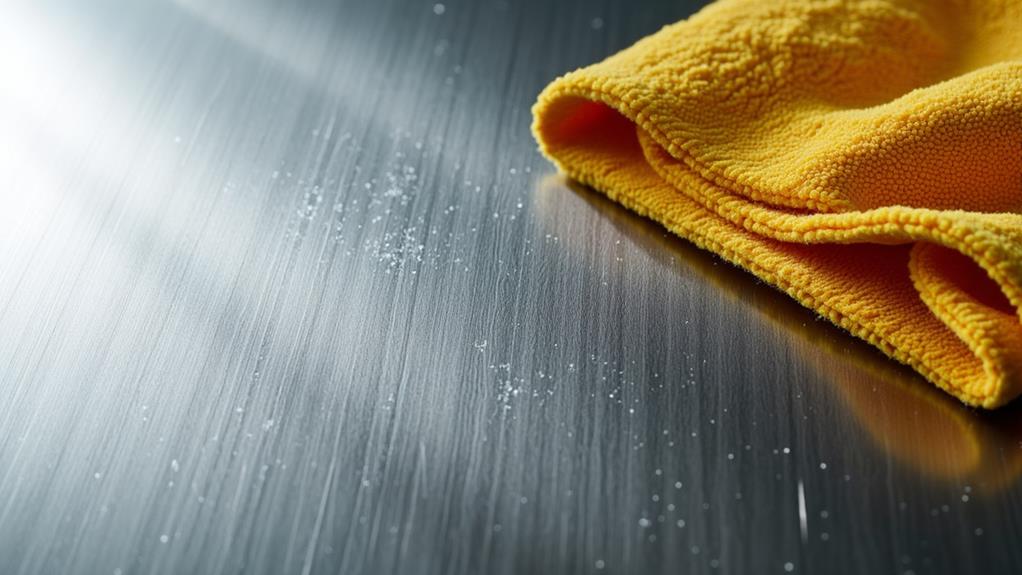
Maintaining the sleek appearance and functionality of your stainless steel cookware requires avoiding abrasive cloths. These can scratch the surface, compromising both aesthetics and performance, and potentially leading to rust and staining over time.
To preserve your cookware's pristine condition, use soft alternatives like microfiber cloths, which clean effectively without damaging the finish. Always clean with the grain of the stainless steel to minimize the risk of scratches and maintain its visual appeal.
Abrasive cleaning pads can also strip away the protective chromium oxide layer that prevents corrosion and discoloration. Without this layer, your cookware becomes more prone to rust and other damage.
To keep your stainless steel cookware in top shape, follow these guidelines:
- Use soft cloths: Microfiber cloths clean without causing scratches.
- Clean with the grain: Always follow the grain to avoid exacerbating scratches.
- Avoid abrasive pads: Preserve the protective layer to prevent corrosion.
Regular use of gentle cleaning tools ensures your stainless steel cookware remains sleek, functional, and long-lasting.
Not Testing on Small Area
When oiling your stainless steel cookware, testing the oil on a small, inconspicuous area first is essential. This precaution helps avoid any adverse effects that could ruin your entire piece. By observing how the oil interacts with the stainless steel finish in a hidden spot, you can confirm it won't cause discoloration or damage.
Waiting 24 hours after the initial test allows you to verify that no unwanted residue or build-up will affect the appearance and performance of your cookware over time. This simple step can save you from costly mistakes and the hassle of redoing the entire process.
Here's how skipping this step can affect you:
| Situation | Emotion |
|---|---|
| Uncovering discoloration | Frustration |
| Noticing residue buildup | Disappointment |
| Avoiding costly mistakes | Relief |
Testing on a small area is a straightforward yet effective way to ensure your stainless steel remains in pristine condition. It requires only a bit of time and patience to prevent potential problems, making it an invaluable part of the oiling process. Don't skip this vital step; your stainless steel will thank you.
Conclusion
To keep your stainless steel looking its best, avoid these common mistakes. Always clean thoroughly before applying oil, use just enough oil, and follow the grain direction. Buff away any residue, and never apply oil to a hot surface. Initially remove stains, maintain your cookware regularly, and choose the right cloths. Test on a small area first to avoid surprises. By paying attention to these details, you'll ensure your stainless steel remains shiny and durable.