The Best Ways to Polish Stainless Steel for a Mirror-Like Finish
To achieve a mirror-like finish on stainless steel, start by choosing a high-quality rotary tool, polishing pads, and different grit sandpapers. Clean the surface with a mild detergent and warm water, then use fine-grit sandpaper to remove any scratches. Apply a small amount of appropriate polishing compound and work it in with firm, circular motions. Buff with the right pad at medium speed, paying attention to edges and corners. Finish by applying a protective coating and buffing with a microfiber cloth to improve shine and protection. Stick around to find out the specifics and maintenance tips to keep that gleam.
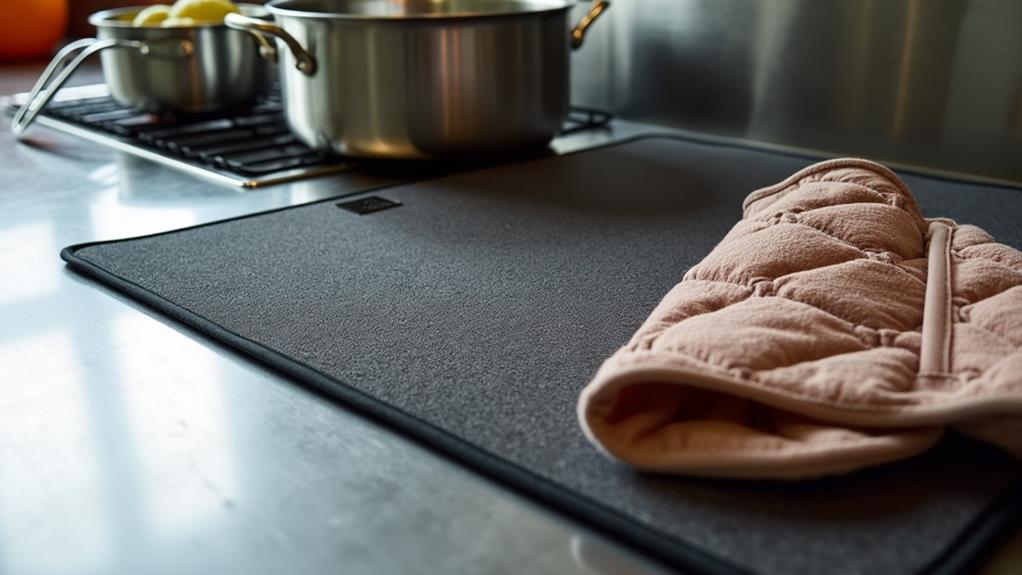
Selecting the Right Tools
Choosing the right tools for polishing stainless steel is vital to achieving a flawless finish. You'll need to get familiar with a variety of tool types and gather important supplies before starting. To begin, consider a high-quality rotary tool or a variable speed polisher. These tools offer the power and control needed to polish stainless steel effectively.
Next, you'll need an assortment of polishing pads and wheels. Foam pads are excellent for applying polish evenly, while felt wheels can help you achieve a mirror-like finish. Don't overlook the importance of having different grit sandpapers on hand, ranging from coarse to fine, to prepare the surface and smooth out any imperfections.
Additionally, you'll need polishing compounds, which are important supplies for this task. Start with a coarser compound for initial polishing and switch to finer compounds for the final stages. Microfiber cloths are also vital for wiping down the surface and ensuring no residue is left behind.
Prepping the Surface
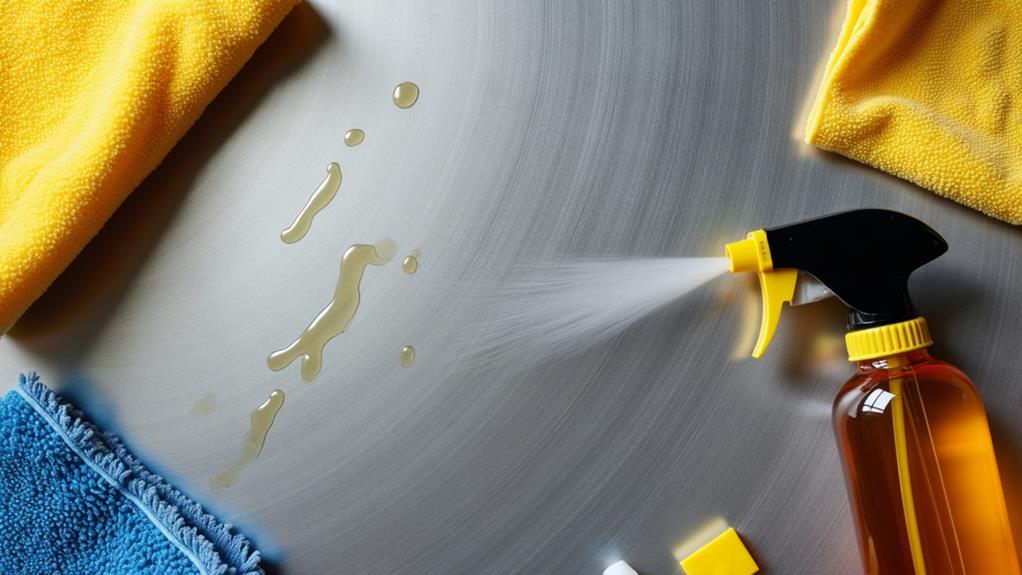
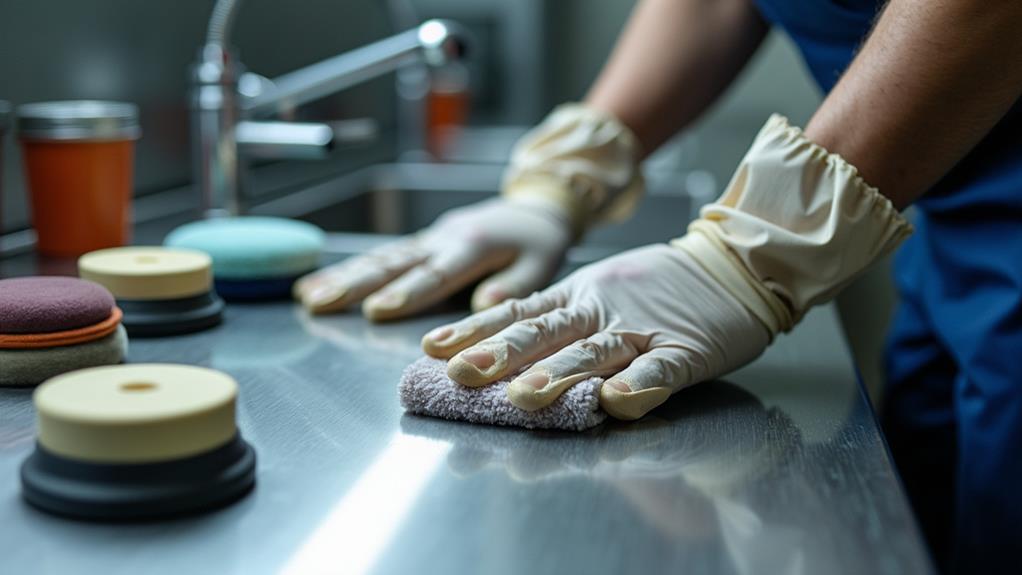
Before you start polishing, it's important to properly prepare the surface of the stainless steel. Begin with thorough surface cleaning to remove any dirt, grease, or residue. Use a mild detergent mixed with warm water and a soft cloth to wipe down the stainless steel. This guarantees you're working with a clean slate, free of contaminants that could interfere with the polishing process.
Next, focus on scratch removal. Inspect the stainless steel under good lighting to spot any scratches or imperfections. For minor scratches, use fine-grit sandpaper or a non-abrasive scrub pad. Always sand in the direction of the grain to avoid creating new scratches. Rub gently until the scratches are less visible or completely gone. For deeper scratches, you might need a coarser grit to start, followed by progressively finer grits to smooth out the surface.
Once you've dealt with the scratches, clean the surface again to remove any sanding dust or debris. This step is vital for confirming that no particles interfere with the polishing compounds in the next phase. With a clean and smooth surface, you're now ready to move on to applying polishing compounds for that mirror-like finish.
Applying Polishing Compounds
With your surface prepped and ready, it's time to apply the polishing compounds to your stainless steel. Start by choosing the right compound for your project. Coarser compounds remove deeper scratches, while finer ones achieve that mirror-like finish. Make certain you've got your compound and a clean, soft cloth or a dedicated applicator pad.
Begin by applying a small amount of the polishing compound to the cloth or pad. You don't need much—a little goes a long way. Using firm, circular motions, spread the compound evenly across the surface of the stainless steel. Be consistent with the pressure to guarantee an even application.
Pay attention to the edges and corners, making sure they receive the same treatment as the flat surfaces. If you notice the compound drying out or becoming less effective, add a bit more to your cloth or pad. Remember, the key is to keep the application smooth and uniform.
Once you've covered the entire surface, let the compound sit for a few minutes. This allows it to work into the metal, breaking down any remaining imperfections. Your stainless steel is now ready for the next step, which involves buffing to reveal that sought-after shine.
Buffing Techniques
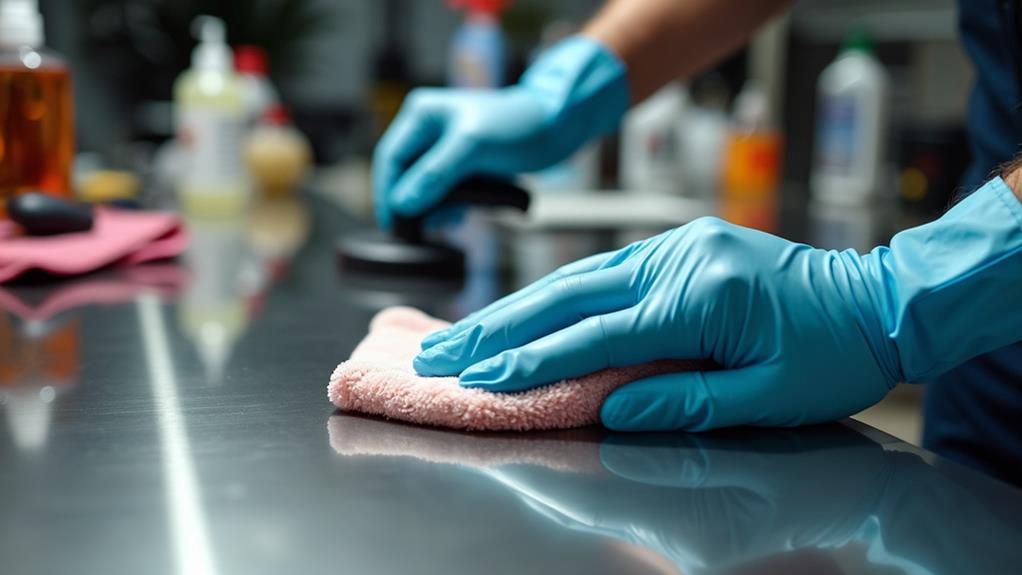
Now that your stainless steel surface is prepped with polishing compound, it's time to move on to buffing techniques. Initially, you'll need to choose the right buffing pad. Soft cloth or foam buffing pads work well, offering the flexibility needed to follow the contours of the steel. Attach the buffing pad to your rotary tool or drill.
Next, start with a medium-speed setting. Gently press the buffing pad against the stainless steel, moving it in circular motions. This guarantees an even distribution of the compound and helps to smooth out any remaining imperfections. Keep the pad moving to avoid creating heat spots that could damage the metal's surface.
After the initial buffing, switch to a polishing wheel for the final touch. Polishing wheels are typically harder and can give that mirror-like finish you're aiming for. Again, use circular motions, but this time, apply a bit more pressure. Increase the speed slightly for finer polishing.
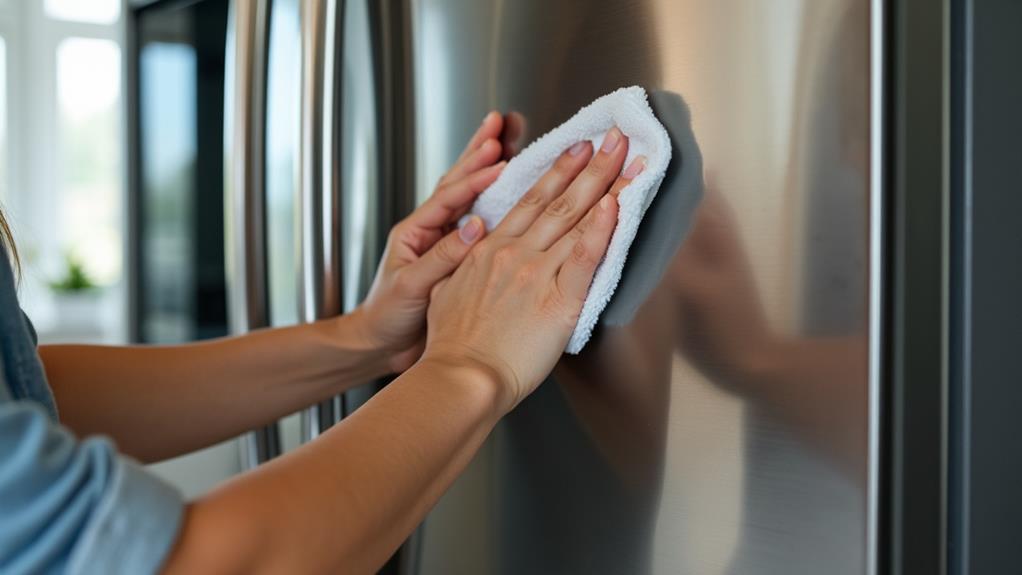
Remember to examine your progress frequently. Wipe away any residue with a clean microfiber cloth. If needed, repeat the process with a finer buffing pad or polishing wheel to achieve the desired shine. With these techniques, your stainless steel will gleam brilliantly.
Finishing Touches

Admiring your newly buffed stainless steel, it's time to focus on the finishing touches that will seal and protect your hard work. Begin with a final inspection to verify the surface is free from any streaks, smudges, or residue left from the buffing process. Use a clean, lint-free cloth to wipe down the entire area, paying attention to corners and edges where debris might hide.
Next, apply a suitable protective coating to maintain that mirror-like finish. There are several options available, such as stainless steel polish or a thin layer of mineral oil. These coatings not only improve the shine but also provide a barrier against fingerprints, water spots, and oxidation. Spray the polish or oil onto a cloth, then gently rub it in circular motions across the surface.
Once the protective coating is applied, give it a few minutes to settle. Then, buff the stainless steel one last time with a dry, microfiber cloth to achieve that pristine, reflective look. This final step will guarantee your stainless steel is not only protected but also gleaming. By following these steps, you'll lock in the beauty of your stainless steel for an extended period.
Maintenance Tips
Your stainless steel gleams brilliantly, protected and polished. To keep it that way, routine cleaning is crucial. Start by wiping down the surface with a microfiber cloth to remove any dust or smudges. For a deeper clean, use a mixture of warm water and mild dish soap. Apply it with a soft cloth, then rinse thoroughly and dry to avoid water spots.
In conjunction with regular cleaning, applying protective coatings can make a significant difference. Products like car wax or specialized stainless steel polish create a barrier that helps shield the surface from fingerprints, smudges, and minor scratches. Simply follow the product instructions: apply, let it sit for the recommended time, then buff to a shine.
Don't forget about those hard-to-reach areas. Use a toothbrush dipped in your soapy solution to scrub corners and crevices. Rinse and dry these areas carefully to prevent water buildup.
Lastly, avoid abrasive cleaners and pads. They can scratch the surface and undo your hard work. Instead, stick with soft cloths and gentle cleaning solutions. With these maintenance tips, your stainless steel will stay as dazzling as the day you polished it.