How to Properly Season Stainless Steel Pans With Oil
When it comes to seasoning stainless steel pans with oil, you might wonder if it's necessary and what benefits it offers.
Firstly, consider whether seasoning is appropriate for your pan. The process involves more than just cleaning with soap and water.
Choosing the right oil is crucial, and knowing how to properly apply and maintain it can extend your pan's life while enhancing its nonstick properties.
Are you ready to elevate your cooking experience by mastering this technique? Let's explore the steps you need to follow.
Should You Season Stainless Steel?
When it comes to stainless steel pans, you might wonder if seasoning is necessary. Unlike cast iron or carbon steel, stainless steel doesn't require seasoning. However, many chefs and home cooks still choose to do so because it can significantly enhance your cooking experience.
By filling the metal's pores with oil, you create a smoother surface, improving the pan's nonstick properties. This makes cooking and cleaning much easier, as food releases more effortlessly from the pan.
Seasoning stainless steel is an investment in better cooking performance. The oil used in the seasoning process forms a protective layer, ensuring that even delicate foods like eggs and fish won't stick. There are no negative side effects associated with this practice; it only adds to your culinary toolkit.
Moreover, properly seasoned stainless steel pans can improve flavor retention during cooking, making them ideal for preparing sauces, gravies, and other flavorful dishes.
Benefits of Seasoning
Seasoning stainless steel pans offers several practical advantages that can significantly enhance your cooking experience. By improving their nonstick properties, the seasoning process makes cooking and cleanup much easier.
Seasoned pans provide better food release, reducing the likelihood of food sticking, especially delicate items like eggs or fish. This improvement can save you both time and frustration in the kitchen.
Moreover, seasoning creates a protective layer that prolongs the lifespan of your cookware. This layer prevents rust and corrosion, ensuring that your stainless steel pans remain in excellent condition for years.
Additionally, seasoned pans retain better flavor during cooking. The oil used in the seasoning fills the microscopic pores in the metal, resulting in a smoother and more consistent cooking surface.
For health-conscious individuals, seasoning stainless steel with natural oils is a safer alternative to non-stick coatings that may contain harmful chemicals. The natural oils used in the seasoning process are free from these chemicals, offering a healthier and more eco-friendly way to cook.
Essential Tools for Seasoning
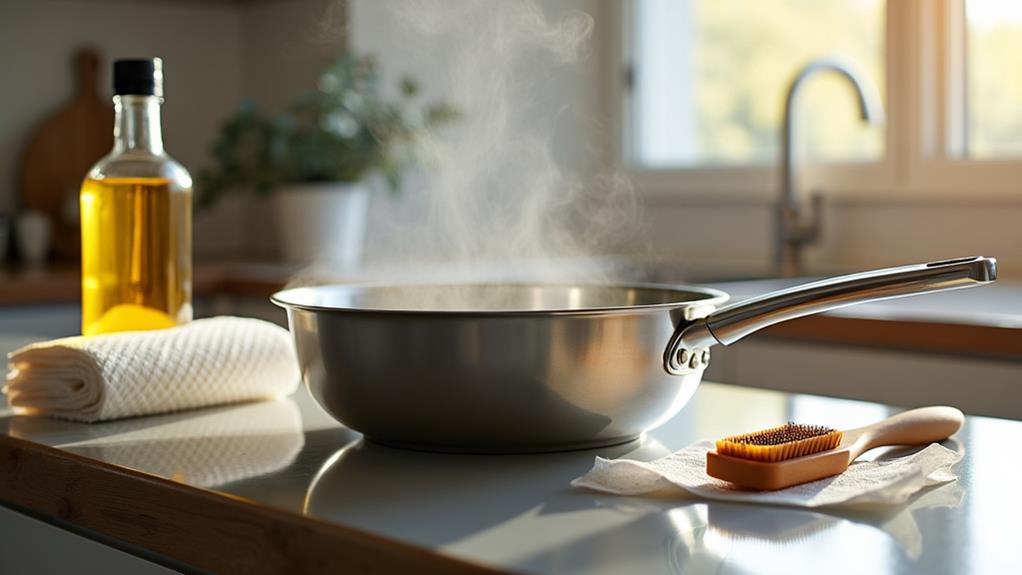
To effectively season your stainless steel pan, you'll need a few essential tools. Choose a high smoke point oil such as peanut, vegetable, or grapeseed oil. Use paper towels or a clean cloth to spread the oil evenly over the pan. Ensure you have a stovetop or oven ready to heat the pan until you see wisps of smoke.
Necessary Cleaning Supplies
Before you start seasoning your stainless steel pan, gather the necessary cleaning supplies for optimal results. Begin with a cleaning solution of gentle dish soap and warm water, which effectively removes residues without harming the pan. Use a non-abrasive sponge or cloth to clean the surface thoroughly, ensuring no scratches or marks are left behind.
Next, have a high smoke point oil such as peanut, vegetable, or grapeseed oil ready. These oils are ideal for creating a durable non-stick surface. Keep paper towels on hand to evenly distribute the oil across the pan's surface after heating it to the appropriate temperature. Additionally, ensure you have a stovetop for the heating process and a safe space to let the pan cool down afterward.
Here's a handy table summarizing the necessary cleaning supplies:
| Cleaning Supply | Purpose |
|---|---|
| Gentle dish soap | Effective cleaning without damage |
| Warm water | Part of the cleaning solution |
| Non-abrasive sponge | Ensures no scratches during cleaning |
| High smoke point oil | Creates a durable non-stick surface |
| Paper towels | Evenly distribute the oil on the pan |
With these supplies on hand, you're all set to begin the seasoning process.
Choosing the Oil
Selecting the right oil is essential for effectively seasoning your stainless steel pan. The ideal oils are those with a high smoke point, such as peanut, vegetable, or grapeseed oil. These oils can withstand the high temperatures necessary for the seasoning process without burning, ensuring a durable non-stick surface.
Avoid oils with low smoke points, like olive, canola, and coconut oil, as they tend to smoke quickly and don't provide the same durability.
To properly season your stainless steel pan, you'll need about 2 tablespoons (30 mL) of oil. This amount is sufficient to evenly coat the pan, which is crucial for achieving a consistent seasoning layer. Ensure the oil is uniformly spread across the surface of the pan, as even distribution allows for optimal bonding and enhances the longevity and performance of your cookware.
After heating the pan with oil, let it cool completely before wiping away any excess. This final step solidifies the non-stick coating and guarantees the best results.
Proper oil selection and thorough application are fundamental components of a successful seasoning process.
Best Oils for Seasoning
For seasoning your stainless steel pans, opt for oils with high smoke points, such as peanut, vegetable, or grapeseed oil, as they can endure high temperatures without burning.
Avoid oils with low smoke points like olive or coconut oil, as they tend to smoke quickly and impede effective seasoning. Using approximately 2 tablespoons of a high smoke point oil will ensure a smooth, durable nonstick surface, enhancing your cooking performance.
High Smoke Point Oils
Choosing the right oil is essential for effectively seasoning your stainless steel pans. High smoke point oils are crucial because they withstand high temperatures without burning, allowing you to create a durable, nonstick layer. Peanut oil, vegetable oil, and grapeseed oil are excellent choices, as they all have smoke points above 400°F (204°C).
Using these high smoke point oils ensures that your pan develops a strong, nonstick surface, making cooking and cleaning much easier. For best results, use about 2 tablespoons (30 mL) of your chosen oil to coat the pan's surface evenly. This not only enhances the nonstick properties but also prolongs the pan's lifespan by creating a protective layer that prevents food from sticking and reduces the risk of rust.
Avoid Low Smoke Oils
To properly season your stainless steel pans, avoid using low smoke point oils like olive oil, coconut oil, and canola oil. These oils can burn quickly, leading to a sticky surface and ineffective seasoning. Instead, opt for high smoke point oils to achieve a nonstick surface and a protective layer that enhances the longevity of your pans.
Avoiding low smoke point oils prevents residue buildup, which can cause food to stick during cooking. Oils with low smoke points break down at lower temperatures, compromising the seasoning process and making the pan difficult to clean and maintain.
High smoke point oils, such as peanut oil, grapeseed oil, and vegetable oil, are ideal for seasoning your stainless steel pans because they can withstand higher temperatures without degrading. These oils ensure a smoother seasoning process and help you achieve the desired nonstick surface.
For the best results, choose oils with a smoke point of at least 400°F (204°C). This creates an effective and durable protective layer on your pans, making cooking and cleanup easier while extending the life of your cookware.
Optimal Oil Choices
When seasoning your stainless steel pans, choosing oils with high smoke points is crucial. Oils such as peanut oil, vegetable oil, and grapeseed oil are ideal for this purpose. These oils can endure the high temperatures needed to create a durable nonstick surface without burning.
High smoke point oils are essential because they can withstand the heat required to fill the microscopic pores of the stainless steel, forming a resilient nonstick layer. Approximately 2 tablespoons (30 mL) of the selected oil is sufficient to coat the pan's interior evenly.
Avoid oils with low smoke points, such as olive oil, coconut oil, and canola oil, as they can smoke quickly at high temperatures. This can result in ineffective seasoning and potential damage to your pan.
Choosing the right oil not only enhances the seasoning process but also prolongs the nonstick properties of your pan.
Preparing Your Pan
Before you start seasoning your stainless steel pan, it's essential to ensure it's properly prepared.
Begin by thoroughly washing the pan with mild dish soap and warm water to remove any factory residues that could affect the seasoning process. After washing, make sure the pan is completely dry, as any remaining moisture can interfere with the oil bonding to the surface.
Next, preheat your pan over medium heat for about 2 to 5 minutes. This step helps prepare the surface for the oil application, ensuring a better non-stick barrier.
Once the pan is preheated, it's ready for the oil. Choose a high smoke point oil, such as peanut or vegetable oil, which can withstand the high temperatures required for seasoning without burning.
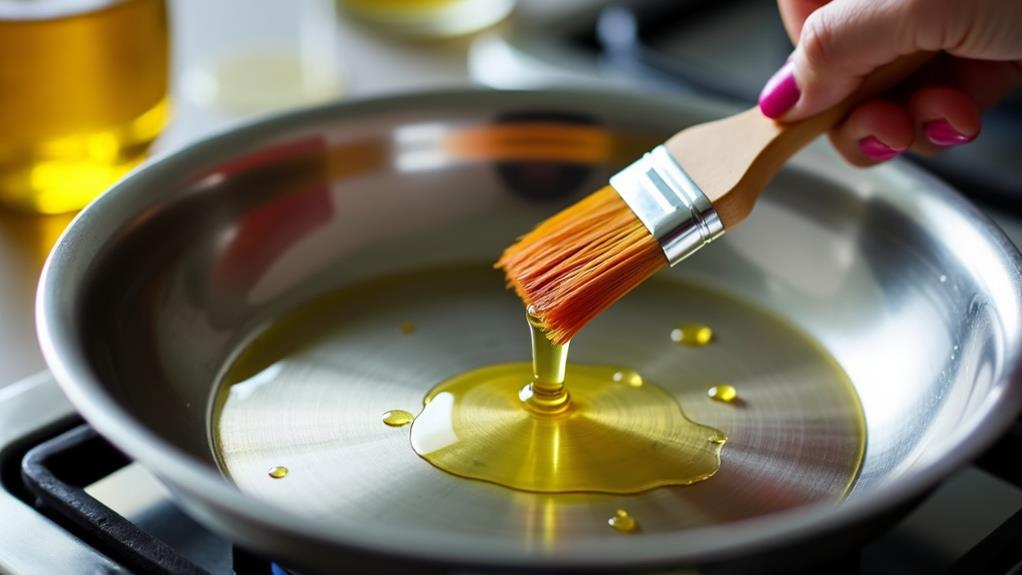
Pour approximately 2 tablespoons (30 mL) of the high smoke point oil into the hot pan. Use a paper towel to evenly coat the entire interior surface, creating a thin layer.
Ensure that the pan isn't dripping with excess oil. Properly preparing your pan in this manner sets the stage for an effective seasoning process, especially when you season a new stainless steel pan.
Heating and Oiling the Pan
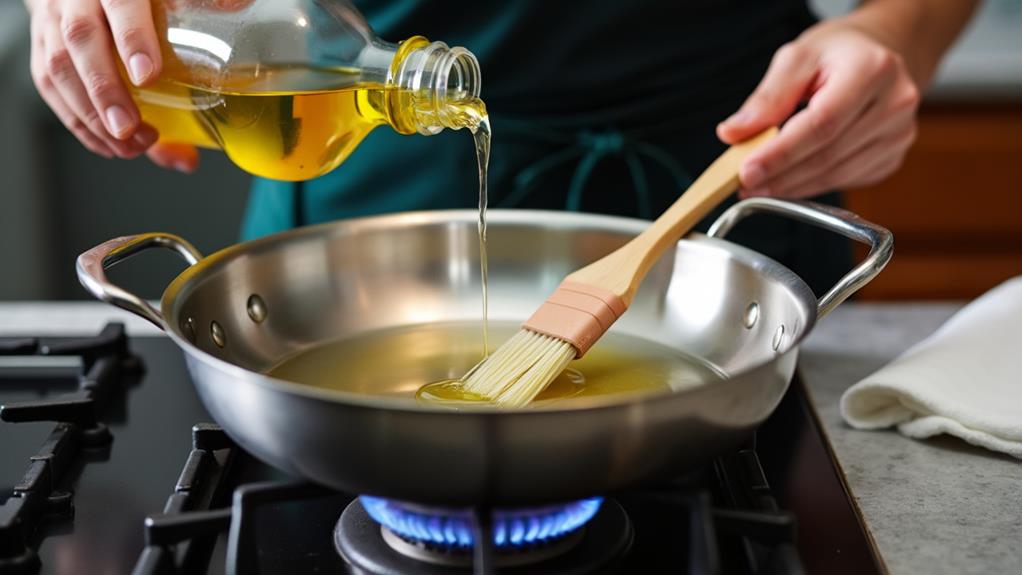
Heating and oiling the pan is a crucial step in seasoning your stainless steel cookware. Start by placing your pan on the stovetop over medium heat. Preheat it for about 2 to 5 minutes until it reaches a temperature where oil will shimmer but not smoke excessively.
Next, choose a high smoke point oil such as peanut oil, vegetable oil, or grapeseed oil. These oils can endure high temperatures without burning, making them ideal for this process. Measure out approximately 2 tablespoons (30 mL) of your selected oil.
Pour it into the preheated pan, ensuring even oil distribution across the entire cooking surface. Using a paper towel, swirl the oil around the pan to cover the surface thoroughly. This helps fill any microscopic pores in the stainless steel, enhancing its nonstick properties.
Monitor the pan, and once you observe thin wisps of smoke, remove it from the heat.
Cooling and Wiping
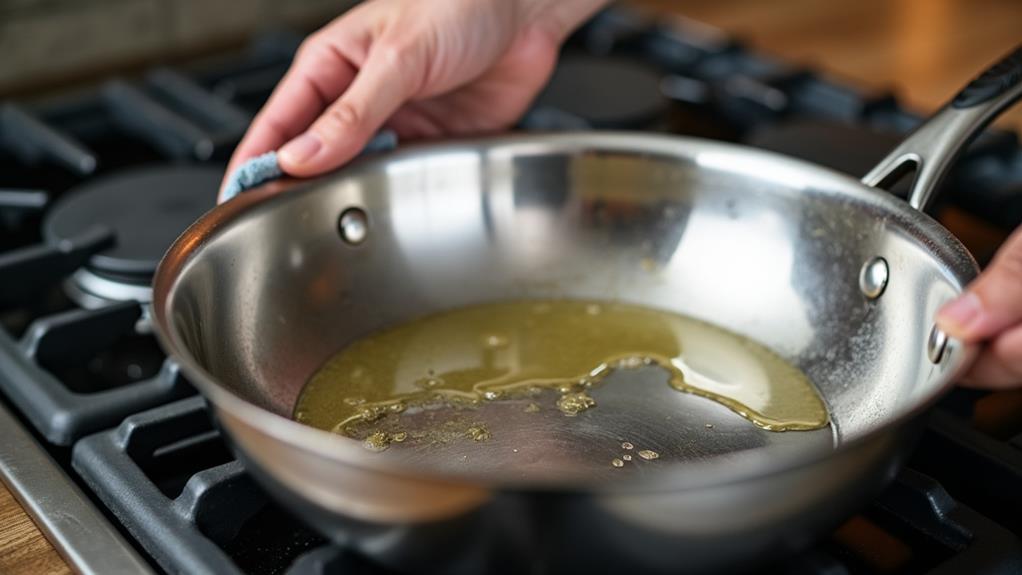
Once you've removed the pan from the heat and observed thin wisps of smoke, it's crucial to let it cool completely for at least 30 minutes. This cooling period allows the oil to bond effectively with the stainless steel surface, forming a durable nonstick layer. Skipping this step can result in an uneven coating and potentially damage the seasoning you've worked hard to create.
After the pan has cooled completely, use a clean, dry cloth or paper towel to gently wipe away any excess oil. This ensures that the nonstick layer remains smooth and even, which is essential for the performance of your stainless steel pan. Excess oil can lead to sticky residues and uneven cooking surfaces, so this step is vital.
Proper cooling not only sets the seasoning but also prevents the pan from warping or suffering other damage due to sudden temperature changes.
To maintain the nonstick properties and extend the lifespan of your cookware, regularly repeat the cooling and wiping process as needed. This practice helps keep your stainless steel pans in top shape, ensuring they remain a kitchen staple for years to come.
Repeating the Process
You'll need to re-season your stainless steel pan whenever food starts to stick, indicating that the nonstick surface has worn down. Regularly repeating this process ensures a consistently smooth cooking experience and extends the life of your pan.
Frequency of Seasoning
To maintain the nonstick properties of your stainless steel pan, re-seasoning should be done whenever food starts to stick, indicating that the protective oil layer has worn off. Regular re-seasoning ensures your pan remains in optimal condition for top cooking performance.
| Usage Frequency | Cooking Methods | Recommended Re-Seasoning Interval |
|---|---|---|
| Daily | Varied | Every 1-2 months |
| Weekly | Non-acidic | Every 2-3 months |
| Rarely | Acidic & Non-acidic | Every 4-6 months |
If you frequently cook acidic foods such as tomatoes or citrus, consider re-seasoning more often, as these foods can degrade the seasoning layer faster. Always re-season your pan after washing it with soap to ensure its nonstick properties are maintained.
Benefits of Repeating
Regularly repeating the seasoning process for your stainless steel pans provides multiple benefits beyond maintaining their nonstick properties.
By reseasoning, you fill any microscopic pores in the metal with oil, enhancing the smoothness of the cooking surface and dramatically improving cooking performance. You'll notice that food doesn't stick as easily, making both cooking and cleanup quicker and more efficient.
Frequent reseasoning is especially beneficial when you observe food starting to stick more often, indicating that the protective layer needs renewal.
Maintaining this layer creates a durable barrier that protects the pan from damage and wear, ultimately prolonging its lifespan. Additionally, a well-seasoned pan contributes to better flavor retention, particularly for delicate items like eggs or sauces.
This ensures your dishes not only cook better but also taste better.
Cooking Techniques to Prevent Sticking
When using stainless steel pans, some straightforward techniques can significantly reduce the likelihood of food sticking. First, always preheat your pan over medium heat for about 10 minutes. This ensures even heating and creates a non-stick surface before adding oil or food. Choose an oil with a high smoking point, such as peanut or vegetable oil, to enhance your cooking experience and minimize sticking.
Professional chefs know that allowing food to sear for a few moments before flipping helps form a natural release, reducing sticking. Overcrowding the pan is a common mistake—limit the number of items to 2-3 to maintain the ideal cooking temperature. Finally, thaw frozen foods to room temperature before cooking; adding cold ingredients can lower the pan's temperature and increase sticking.
Here's a quick reference table to keep these tips handy:
| Technique | Why It Works | Pro Tip |
|---|---|---|
| Preheat for 10 minutes | Ensures even heating | Creates a non-stick surface |
| Use high smoking point oil | Minimizes sticking risk | Enhances cooking experience |
| Allow food to sear | Forms a natural release | Reduces food sticking |
| Avoid overcrowding | Maintains cooking temperature | Limit to 2-3 items |
| Thaw frozen foods | Prevents temperature drop | Increases non-stick effectiveness |
Maintaining a Seasoned Pan
Maintaining a seasoned pan is crucial for optimal cooking performance and longevity. After each use, wipe your pan with a clean, dry towel to remove residual food particles and moisture. This simple step preserves the pan's non-stick properties and keeps it ready for your next culinary adventure.
Periodically, re-season your pan to maintain its condition. Apply a thin layer of high smoke point oil and heat it until it smokes. This process restores the non-stick surface, ensuring consistent performance.
Avoid using steel wool or harsh abrasives during cleaning, as they can damage the seasoned surface and necessitate more frequent re-seasoning. For daily cleaning, use a soft sponge or cloth to gently clean your pan, preventing unnecessary wear and tear.
Store your pans with paper towels between them to avoid scratches and preserve the seasoning. Regularly inspect your pan for signs of wear or loss of seasoning. If issues arise, re-season your pan as needed to keep it in ideal cooking condition.
Adhering to these maintenance steps will extend the life of your seasoned pan.
Conclusion
Seasoning your stainless steel pans is a straightforward process that offers significant benefits. Follow these steps to enhance their nonstick properties and extend their lifespan:
- Choose the Right Oil: Use high smoke point oils such as vegetable oil, canola oil, or grapeseed oil.
- Prepare the Pan: Clean your pan thoroughly and dry it completely to ensure no moisture remains.
- Apply the Oil: Spread a thin layer of oil over the entire interior surface of the pan.
- Heat the Pan: Place the pan on medium heat until the oil starts to smoke. This usually takes a few minutes.
- Cool Down: Allow the pan to cool completely, then wipe off any excess oil with a paper towel.
Repeat the seasoning process as needed to maintain the nonstick properties. Regular maintenance and proper cooking techniques will keep your pans in excellent condition, enhancing your cooking experience. Happy cooking!
Related posts