How many times do you clean your house? Does the cleaning process entail going further than regular household cleaning? Or do you just stick with the standard cleaning process, such as wiping down surfaces and maintaining orderliness by picking up the clutter?
Well, if you do the former, good for you. However, if you see yourself doing the latter most of the time, you might have missed one spot in your home that needs particular attention–the light switch.
Now, it gets you wondering. Your light switch might seem clean, but have you ever thought about how often it gets in contact with your fingers? A lot, right? Aside from the light switches, we also use our hands and fingers in doing most of the activities that comprise our daily routine.
But, you don’t need to worry about having microorganisms living rent-free in your light switch anymore because we’ve got you covered. We’ll help you ensure cleanliness in every aspect of your household. Just continue reading to learn the steps on how to clean your light switches safely.
1. Locate your light switches
Before you begin the cleaning process, it is important that you get the exact number and location of the light switches in your household. This will allow you to know how many cleaning products you will be purchasing and how much time you will be spending on cleaning. Also, knowing the exact number of light switches can ensure that each gets cleaned.
2. Inspect the Electricity Wiring
Dealing with light switches means you have to deal with electricity. No one wants to get an electric shock in the middle of their cleaning experience. Hence, the importance of inspecting whether your light switches work or knowing if there are exposed wirings concealed within.
This is considered an important step in the process because reckless spraying of cleaning fluid might cause a short circuit or, worse, fire. You can prevent accidents by shutting down the main switch before cleaning. However, if you can do it with utmost precaution and with carefully chosen cleaning products, you can opt to skip this step since you technically need better lighting when cleaning.
3. Start with the Surface
After doing steps 1 and 2, you can now start with the cleaning process.
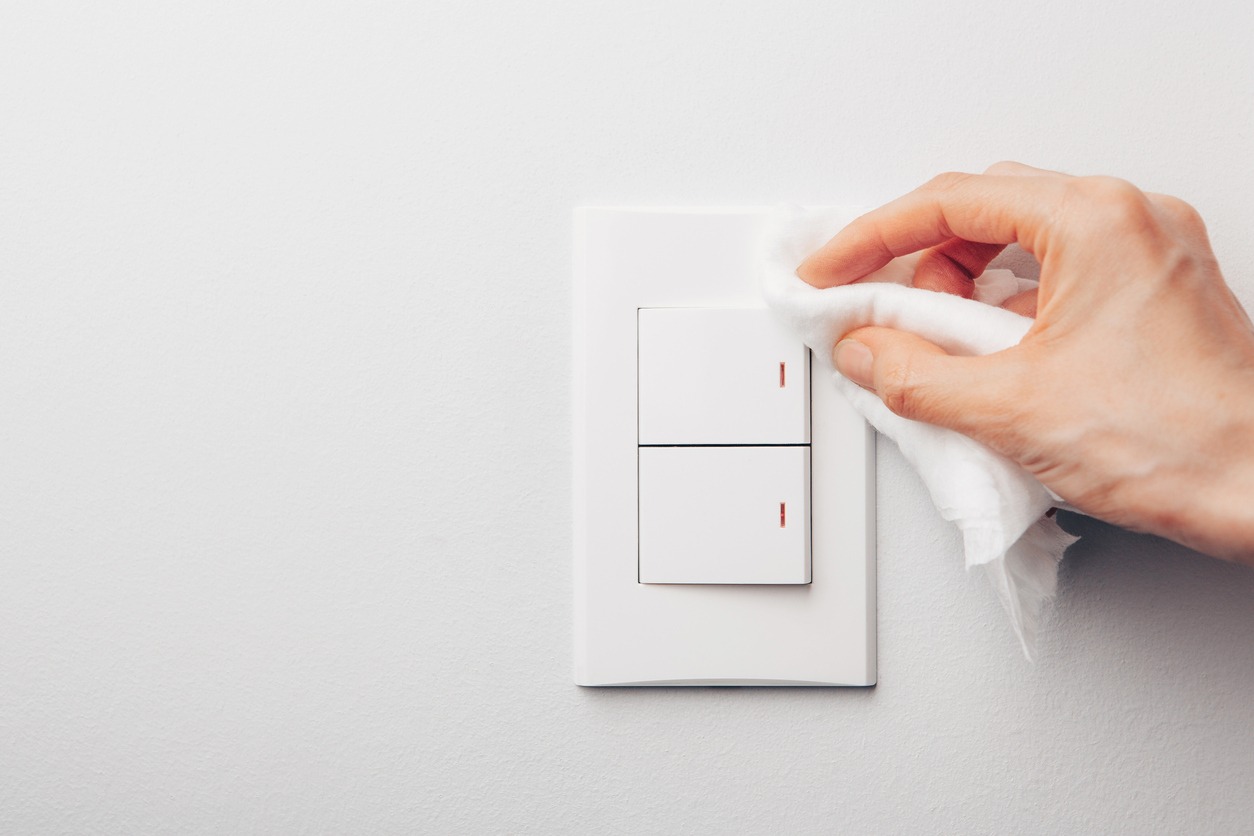
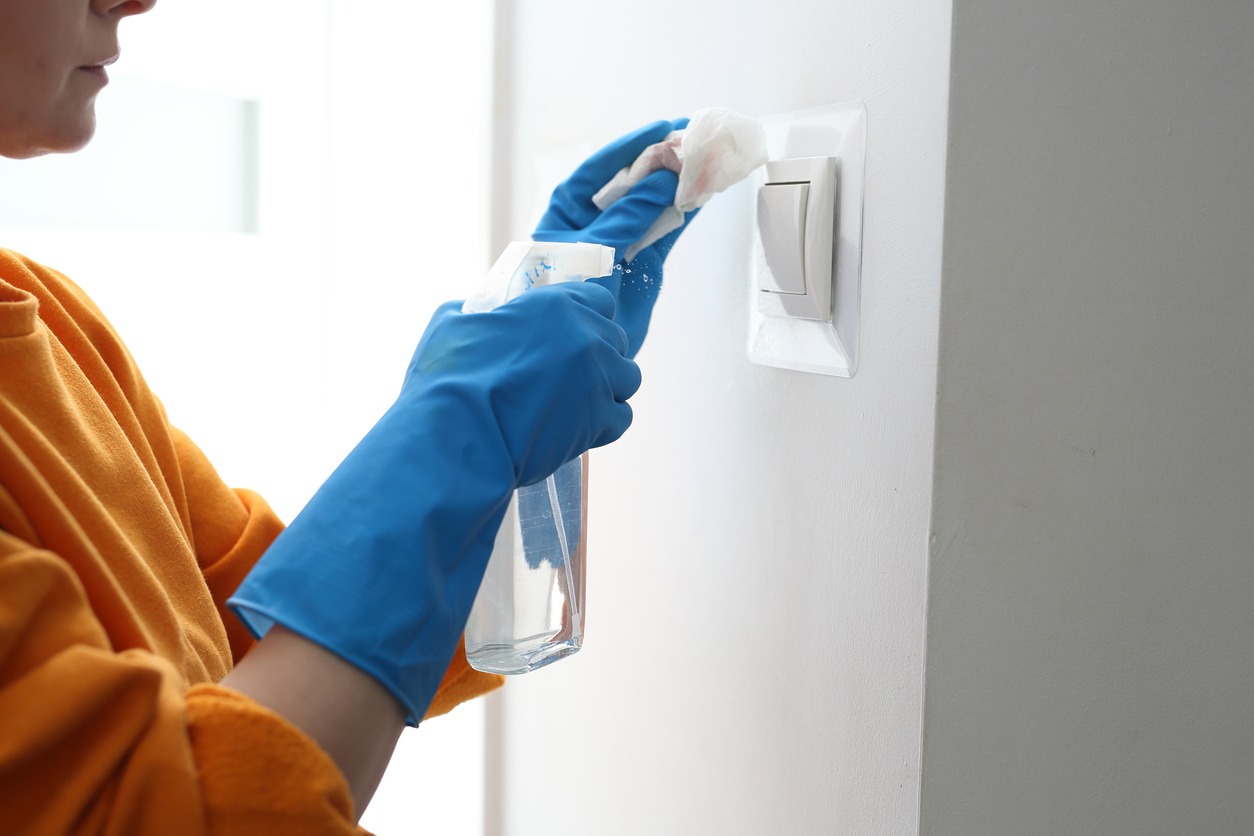
For your first light switch, get yourself a piece of a clean and soft cloth and rubber gloves. After wearing the gloves, dampen the cloth with water or a liquid cleaner to remove the visible gunk off the switch’s surface. Then start wiping on the switch toggle, wall plate, and receptacle face. If your resources permit, cleaning wipes can also be a good alternative to use instead of a damp cloth.
In doing this step, the type of liquid cleaner will vary depending on the material of your light switches. If they are made of plastic, use a liquid cleaner that is safe to use on plastic surfaces. This is important because some liquid cleaners and detergents might contain heavy chemicals that could ruin or alter the color and surface of your light switch.
On the other hand, if you have metal-plated light switches, you may prefer not to use a liquid cleaner because warm-soapy water will do the trick.
For those who prefer cleaning wipes, just ensure it is safe to use on the material from which your light switch is made. It should also be wet enough for it to be effective for cleaning.
4. Check for Yellow stains
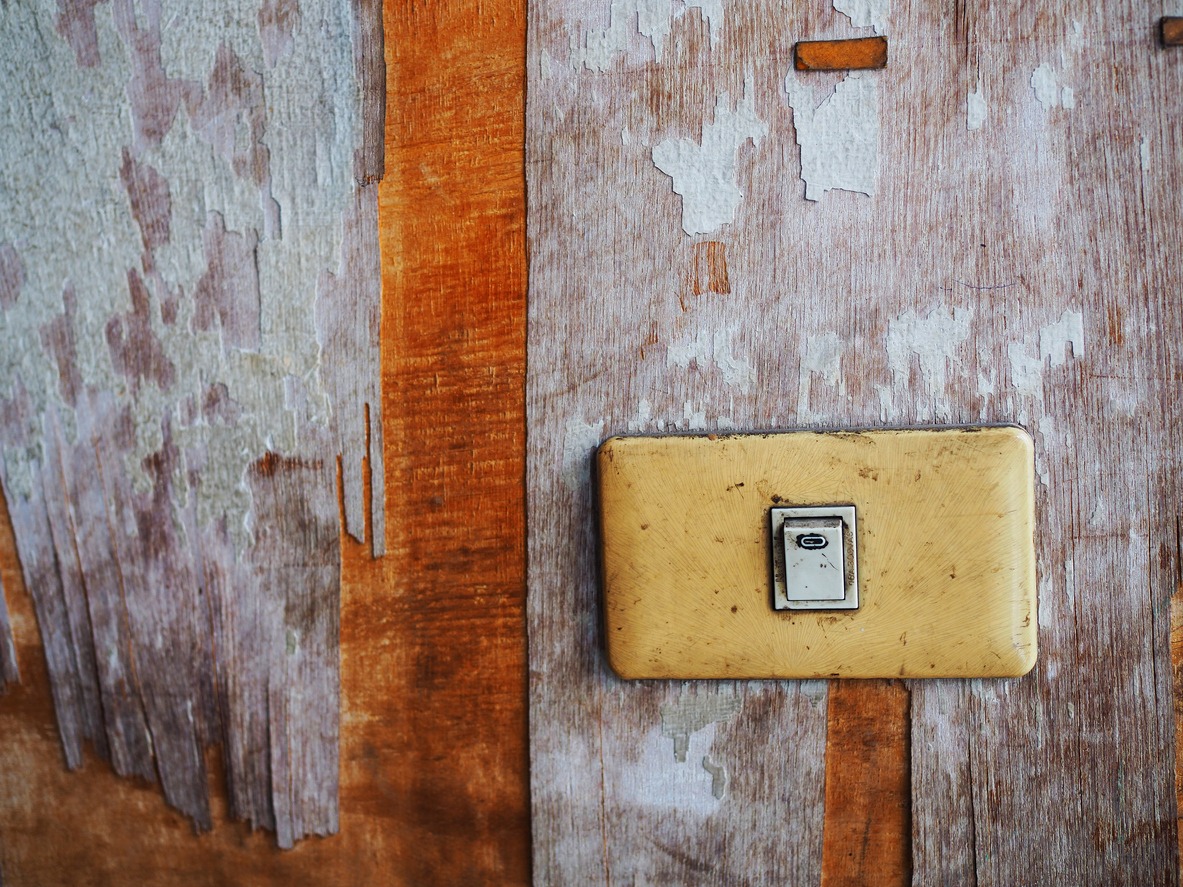
Light switches, especially white ones, can only stay white for so long. They will turn into yellowish color over time.
First, try removing them from the wall to transform it back to their original color. Then, prepare your cleaning solution by filling a large bowl with one-half water and one-half bleach solution. Submerge your light switches and wall plates until you can see the surface has whitened. After which, wash them with dish soap and water, then allow them to dry.
You can also use scouring powder for this step. Scouring powders are household cleaning products that whiten dull surfaces and act as disinfectants. Use this with a sponge and scrub the yellow areas of your light switch until they’re removed. Then, wash them with dish soap and water and leave them in an open area to completely dry.
5. Apply Finishing Touches
You may think that you’re already done with cleaning your light switch. Well, you’re mistaken. The process does not end there.
Since the yellow-stained switches will already be thoroughly cleaned after soaking, you must allow them to dry completely before putting them back on the wall.
On the other hand, for those with no stains, get an alcohol-damped cotton swab and use it to clean the small crevices of the light switch. Include the areas of the wall plate that are hard to clean with wipes or cloth. After ensuring no visible dirt or dust on the surfaces and crevices, finish the process by wiping the whole thing down with a clean and dry microfiber cloth.
Microfiber cloths used here must be water-absorbent to ensure the absorption of left-over liquid from the surface of the switch to avoid any electric accidents. They should also be grippy for a better pick-up of possible remaining dust.
6. Repeat Steps 3-5
To achieve overall cleanliness in your home, just repeat steps 3 to 5 for the rest of your light switches.
Conclusion
Here you go! By following these steps, we’ll be stopping the germ build-up on our light switches. These things are found in almost every part of a household. They are often used, yet they are the ones that are overlooked every time we clean.
By keeping the light switches regularly cleaned and disinfected, we are making our homes a safer place. We are also bringing ourselves one step closer to stopping diseases from spreading.
Whenever you need to touch the surface of a light switch to turn on the light, just remember how many bacteria and germs it is hosting to constantly remind and encourage you to get your cloth and start wiping those harmful microbes away.


