Wooden furniture, a household fixture for ages, exudes a feeling of regality and coziness. It’s one of the longest-lasting and most resilient materials for furniture, and it can be fashioned in a variety of forms to suit any interior design scheme. Damage such as scratches, nicks, fading, and more are commonplace on wood furniture as it ages and is used over and over. Still, you might not be ready to get rid of solid wood furniture when it starts to show signs of age. After all, a few scratches and fading marks aren’t enough to make a great piece of furniture unusable. Painting wood furniture is a great way to make it look like new again.
How to Choose the Right Wood Paint
It is tempting to use the paint you have lying around from when you painted the accent wall in your bedroom, but the “all paint is paint” fallacy may lead to unsightly peeling and chipping. Not every surface is made equal, and not every paint will work on every surface. This is why we must choose the proper paint for the task.
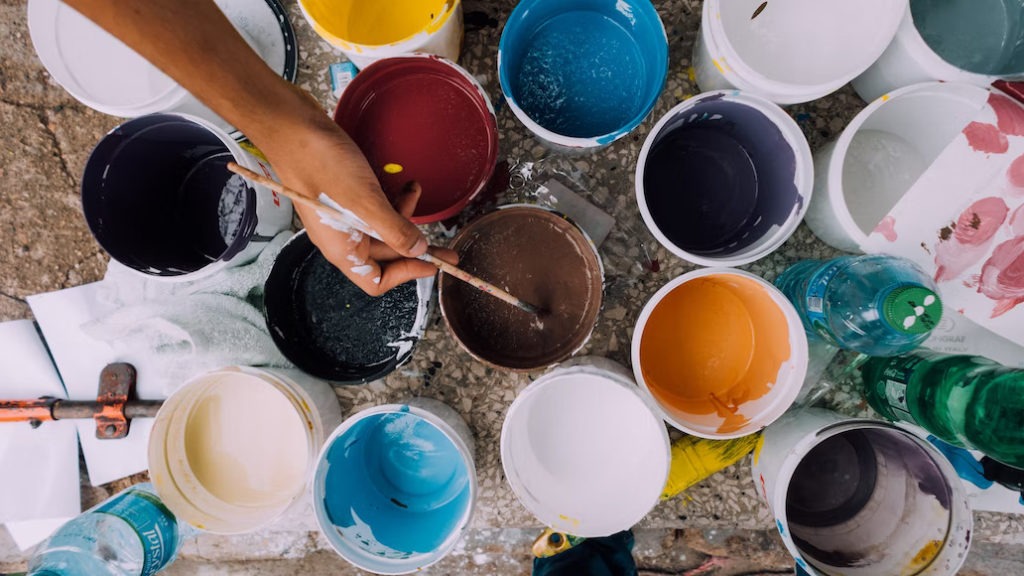
It’s crucial to use the proper paint while working with wood. There is paint available in a wide range of sheen levels, allowing you to achieve anything from a glossy, modern appearance to a more aged, rustic feel. The finest paints for painting on wood are listed below.
Latex Paint
Latex paints are water-based and may be purchased in an infinite variety of hues. They are also commonly accessible. Latex paint is an all-purpose paint that adheres well to wood and is available in a variety of finishes, including matte, satin, flat, and high-gloss, while semi-gloss and satin are suggested for wood.
One drawback of latex paint is that it might seem soft long after it has dried, making it more susceptible to wear and tear. Therefore, it may not be the ideal choice for a work surface like a table or desk. When you use latex paint, it’s best to use a latex primer.
Milk Paint
To get an aged or vintage appearance on wood, nothing beats milk paint, a non-toxic, eco-friendly paint. Milky paint is often sold as a powder that has to be diluted with water before use. Different colors can be made by adding tints, and the finish is as smooth as silk. After the paint has dried, all you have to do is rub the corners and edges with sandpaper or steel wool to get that worn look. Most of the time, you won’t need a primer for milk paint because it sticks well to all kinds of surfaces. If you want to hide the wood grain or if you want to paint a light color over dark wood, you may always use a stain-blocking primer.
Acrylic Paint
Acrylic paint, like latex paint, is a water-based paint that can be used in many ways and has bright colors and a great finish. But, unlike latex paint, it is usually only sold in smaller amounts, which makes it great for smaller DIY projects. Acrylic paint is easy to use because it evens out on its own and dries quickly, which means you can put on multiple coats in less time. The fact that it is water-based implies that it can be easily cleaned off with soap and water. It is advised that a primer be used in order to get the best results.
Oil-based Paint
Oil-based or alkyd paint gives a robust, very durable finish, making it excellent for heavily used furniture such as desks and tables. Oil-based paint sticks well to surfaces and is ideal for painting over existing paint.
Oil-based paint takes much longer to dry than acrylic or latex paint. You may have to wait as long as 24 hours before you can put on the second coat. Due to the hazardous fumes that evaporate into the air when painting and drying, it needs adequate ventilation.
Chalk Paint
Chalk paint is a specialty paint that is becoming more accessible as vintage-inspired furniture gains popularity. Water-based chalk paint has a matte appearance. It dries really rapidly, which is useful but may also result in obvious brush strokes. This paint is perfect for distressing with steel wool or sandpaper. Chalk paint does not need a primer since it is often used to produce a distressed, worn appearance on wood.
Tips For Painting Wooden Furniture
Are you prepared to put in some effort and roll up your sleeves? Painting wooden furniture is easier than one may believe. Check out these useful tips for painting wood furniture for all your wood-painting tasks.
1. Get Your Space Ready
You need to make sure the space is well ventilated before starting any kind of painting activity. Paint fumes are gases that get into the air when you paint furniture. We’re breathing in paint fumes when we smell what we think is a “paint smell.” Long-term exposure to paint fumes may be harmful to one’s health. Therefore, you should always try to paint in an area with enough ventilation. This is simpler when painting furniture since it can often be moved outdoors, into a shed, or into a garage. If you can’t move the furniture outside, open the windows and doors inside to let air flow through the house. This will help clear the air.
2. Prepare Your Furniture
Putting on a new coat of paint and calling it good won’t do the trick when it comes to renovating furniture.
In order to get to the enjoyable part, you must first prepare your furniture. If you don’t do this, the paint might start to chip and peel.
To ensure an equal coating over the whole piece, take apart the furniture and take off any readily detachable parts like as handles, doors, and drawers.
3. Sand The Wood Before You Start Working on It
When painting wooden furniture, the first step is to sand the surface. It acts as a buffer, erasing defects like scratches from the wood. When you start painting, you’ll have a clean, level surface to work with since you sanded the canvas first. To help you sand your wooden furniture with ease and success, here are some things to remember:
- Strong sanding equipment may strip your wood’s surface beyond repair and cause damage. Sand the whole surface of your wooden furniture item by hand.
- Before proceeding, clean the surface of your furniture with a brush or a soft cloth to remove dust and wood shavings. Remaining dust particles may adhere to the paint, resulting in sections of unpainted wood and an uneven, rough surface.
4. Use A Primer
Even if the paint company says their paint doesn’t need primer, you must always put a primer layer on after sanding. This makes wooden furniture last longer because it helps the paint stick to its surface. It also makes the surface smoother by getting rid of small bumps that sanding might not have been able to get rid of.
Use a paint roller to spread a smooth coat of primer, and then use a paintbrush to get into corners, edges, and other hard-to-reach places. Applying a spray primer can help you achieve a more uniform finish. Priming is best done with two or three thin applications. Wait 10 minutes (or as directed on the primer’s packaging) between coats. The primer should be applied in a smooth, uniform layer over the whole piece of furniture.
5. Get the Furniture Painted
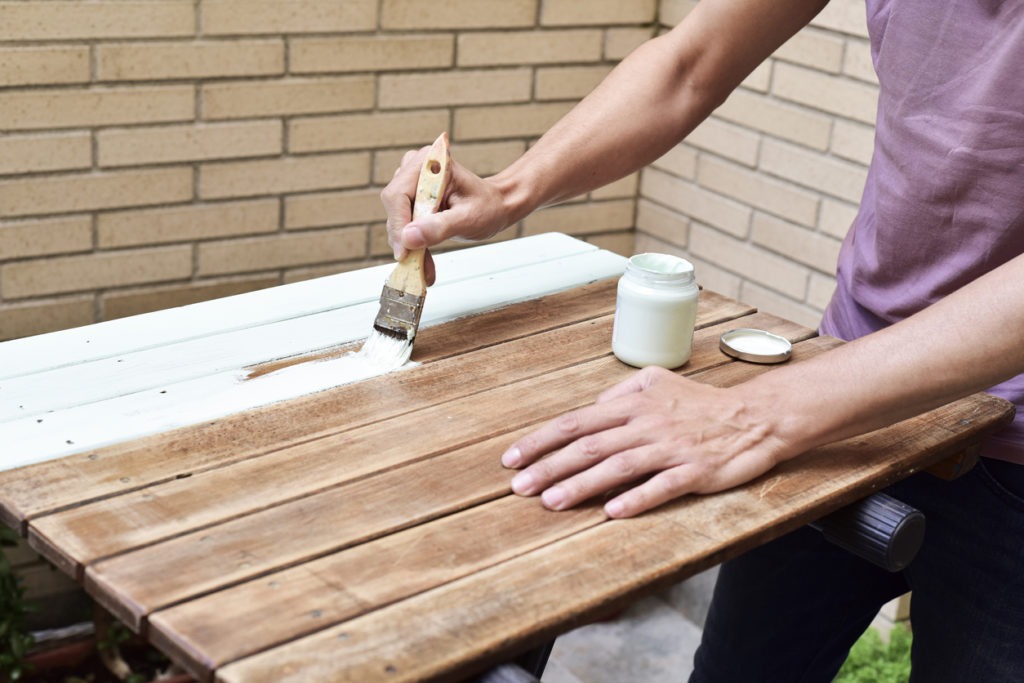
We’ve finally reached the main event. After the primer has dried, put a thin layer of paint on your furniture. Use a foam roller to make it even, and a paintbrush to fill in edges, cracks, corners, and other places where a foam roller can’t reach. Don’t be tempted to put on one thick coat. Your finished product will look much better if you put on several thin coats. Use the finest paintbrush you can buy for the greatest effects as well. Paint brushes of lower quality and lower cost are more likely to lose their bristles, which then get trapped in the paint.
Don’t rush into applying a second coat of paint just after you’ve applied the first. Remember that perseverance pays off in the end. Time required for this task typically ranges from three to eight hours, however this varies greatly with the kind of furniture and paint used. Painting in layers allows you to eliminate clumping and inconsistencies in color by letting each coat dry completely before adding the next.
After you’re through painting, you should wait at least three days and up to a week before using the furniture. When you use the furniture too soon after it has cured, you risk damaging the finish with scratches and dents.
6. Seal Your Furniture
Wait at least 24 hours after the last layer of paint has dried before sealing the furniture. Sealing can help preserve your furniture and prolong the life of your paint job. This also means that the surface can be cleaned with a moist cloth, making maintenance a breeze. You may select between a matte, satin, or glossy finish when you use water-based polyurethane, and it goes well with most paints. However, white or extremely light-colored paints should not be coated with polyurethane since it may yellow with time.
Furniture wax is another excellent alternative that works well with many different hues of paint. To make your furniture shine, all you have to do is apply it with cheesecloth, wait for it to dry for ten to fifteen minutes, and then buff it with a clean cloth.
Our Last Tip for Painting Wooden Furniture
Use the proper paintbrush.
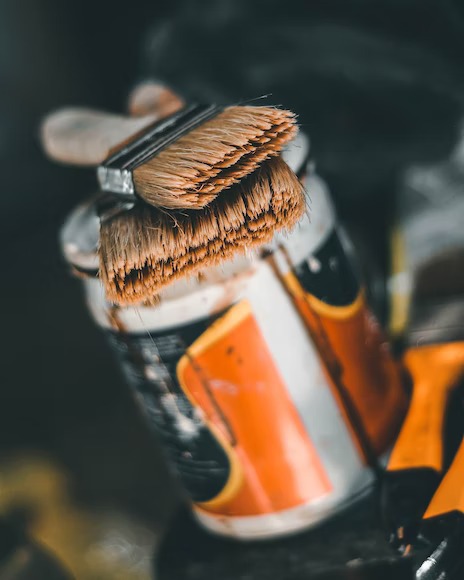
There are two kinds of brushes: Natural and Synthetic. Different coatings on these brushes make them act in very different ways.
Natural bristles are designed in such a way that they absorb and hold paint. In general, natural brushes are best for using with oil-based or solvent-based paints.
Synthetic bristles are long-lasting and keep their bristles and form well. When compared to a natural bristle brush, a high-quality synthetic bristle brush may often be expected to last up to five times longer. When applying paint that is water-based, getting the best results requires using a brush with high-quality synthetic bristles.
To Sum Up:
One of the most cost-effective ways to give your home a new look without breaking the bank is to paint the wood furniture yourself. Seeing old furniture get new life is very satisfying, and it’s even more so when you did all the work yourself. You get a great deal of pleasure from doing something on your own, and you may also customize the outcome to your liking.


