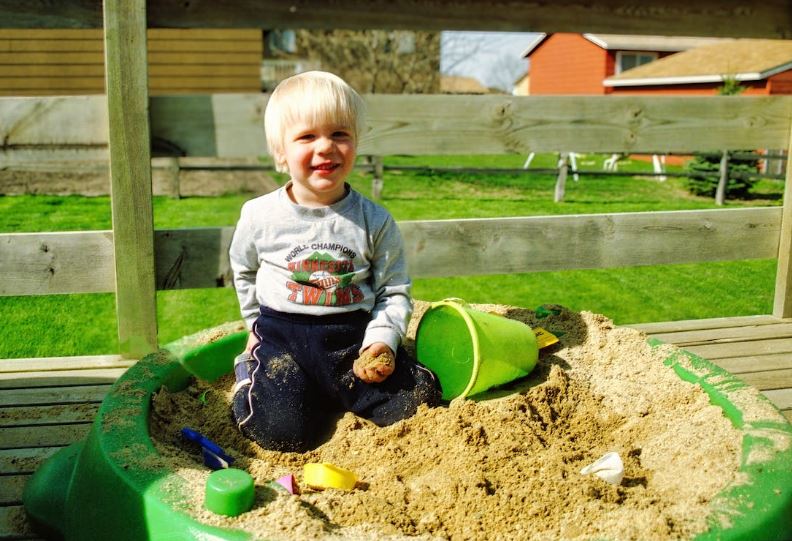
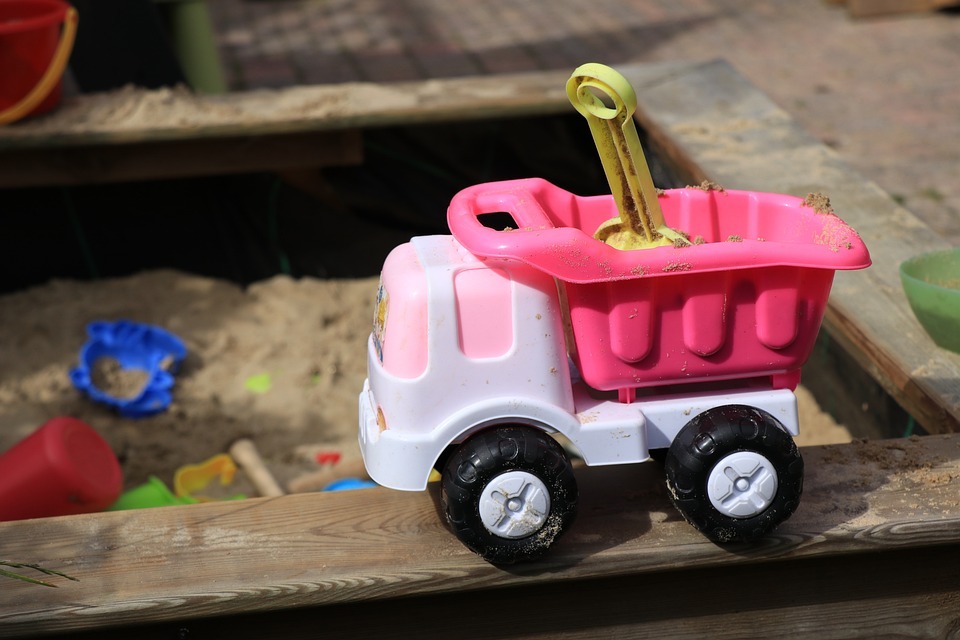
Summertime and sandboxes exemplify childhood in every way. The sandbox is not only a terrific area for your children to learn the fine art of sandcastle construction, truck driving, and sharing, but it is also a gathering spot for the children’s community, a place where they can have fun and let their imaginations run wild. The construction of a sandbox is straightforward and may be completed in an afternoon. It will not only provide you great satisfaction, but it will also make you the kids’ local hero.
What is a sandbox?
A sandbox in bright sunlight exposes children to UV radiation, but a shady location directly beneath a tree necessitates cutting roots when digging. Therefore, it is advisable to seek out an area that receives shade from the house or adjacent trees. Be sure to locate the sandbox from which you can observe the children as they play.
Consider the toys that will be in the sandbox, as well as the children’s pals, while planning the size. How much sand will you need is another factor to think about. The illustration uses 32 cubic feet of sand (about sixty-four 50-pound bags). It is simple to lower the dimensions. The construction of the bracing and corner assembly will be identical regardless of the length or width.
Three Things to Consider Before Constructing a Sandbox
Building a sandbox in the backyard is a reasonably simple DIY project that the entire family can undertake. If you’re contemplating constructing your own sandbox at home, there are a few things you should keep in mind.
Type of sand – There are a number of different types of sand available for use in a home sandbox. The most common option is play sand, which has been pre-washed and sifted to assure your child’s safety. Jurassic sand is comparable to play sand, but its hue resembles red clay. Kinetic sand binds together, making sand tables easier to clean and more enjoyable to play with.
Location– Before deciding where to place a sandbox in your backyard, consider where the sand will go after your children have finished playing in it. Place your sandbox far enough away from your primary residence to prevent sand from tracking inside.
Covering- Consider constructing a covered sandbox to prevent the sand from escaping and to shield it from rain and wind.
Types of Sandbox
Sandboxes in the backyard can range from modest, lightweight plastic play spaces for toddlers to expansive areas where all the neighborhood children can dig together.
1. Sandboxes made with plastic. Covered plastic sandboxes are ideal for tiny backyards and patios because they offer children a safe place to play without the fear of splinters. These are suitable for toddlers, but likely too little for children over the age of five or six.
2. Water and sand tables. Plastic sand and water tables, a novel concept for curious infants, can be filled with sand or water to facilitate sensory exploration. Some variants are either/or, while others offer sand and water play areas concurrently.
3. Wooden sandboxes. The traditional variety. As the name suggests, a wooden sandbox consists of a square or rectangular wooden frame filled with sand. Others require a tarp or other covering between the sand and the yard surface. Numerous options exist for wooden sandboxes. Here a several we like:
- A wooden model measuring 5 feet by 5 feet with corner seats and a mesh cover;
- A model with a retractable roof canopy and hardwood benches that transform into covers;
- A cabana-style sandbox with total sun and pest protection;
- Although it is not constructed of wood, this wood-looking model drew our attention because it can be converted into a garden or vegetable planter once the children have outgrown it.
4. Ground-level sandboxes. A built-in sandbox in the backyard is a simple and enjoyable weekend DIY project. By embedding all or a portion of the box into the ground, you can create a smoother, less hazardous edge. It is also a method for creating a larger sandbox area than a freestanding wooden frame would provide.
How to Build an Indoor Sandbox
Step 1- Prepare the Container
Consider a container that is neither too large for the children to handle, nor too small that it hinders their play. It should be resilient and have a tight-fitting lid. I definitely recommend a tight-fitting lid!
Ensure that the cake carrier you use has a deep “bowl” section on the bottom and a flat cover on top. Some carriers have a flat cake platter on the bottom and a deep lid that is removed by lifting the cake dish, which would NOT work in a sandbox.
Step 2 – Choose the Sand
There are many alternatives available!
Generally, outdoor play sand is the least expensive (especially if you already have some in the backyard sandbox). If you do bring something from your sandbox, be careful not to bring any surprises.
You can also obtain colorful, fine-grained sand. It is more expensive than regular play sand, but if you don’t require too much, it may be feasible. Mix one bag of fancy colored sand with sand from our play area to enable the colored sand to go a larger range. Four to five pounds of sand is plenty for our rectangle cake carrier. Depending on the size of your container, it may be necessary to alter the quantity.
Kinetic sand (also known as motion sand, squeezable play sand, and moldable sand) is a fantastic alternative.
Step 3 – Gather the Accessories
This might be any little toys or accessories you have available to spice up the situation. Here are a few things that children may enjoy:
- Plastic scoops used for powdered beverage mixes
- Dried beans or pasta (we have used shells and ziti)
- Pebbles or glass beads (sometimes known as “hidden treasure”)
- Small rocks, pebbles, shells, and other collections from nature
- Miniature plastic construction vehicles sold at dollar stores
- Miniature plastic animals and action figurines
- Tiny hardware (tool sets for mini zen gardens are usually the perfect size)
Since kinetic sand is malleable, you can even utilize some of your smaller play-doh accessories with it. Some children enjoy building little sand castles with cookie cutters, plastic knives, and plastic shot glasses from the dollar shop (don’t judge me).
Or, to avoid having to explain what a shot glass is to a 5-year-old, you may purchase kinetic sand mini-toy kits that are designed for this purpose (they resemble miniature sandbox toys).
Sandbox Pros and Cons
There are numerous advantages to include a sandbox in your backyard, as well as a few things to consider.
Pros:
- Offers your children hours of outdoor entertainment in your own backyard;
- A place where children can play with less chance of injury;
- Affordable, both as a purchase and as a do-it-yourself effort.
Cons:
- Children will outgrow them, and they will have to be demolished and discarded;
- Wood can rot and splinter (see below for safety);
- They need upkeep to keep sand clean and hygienic;
- Once placed, they are challenging to relocate.
Conclusion
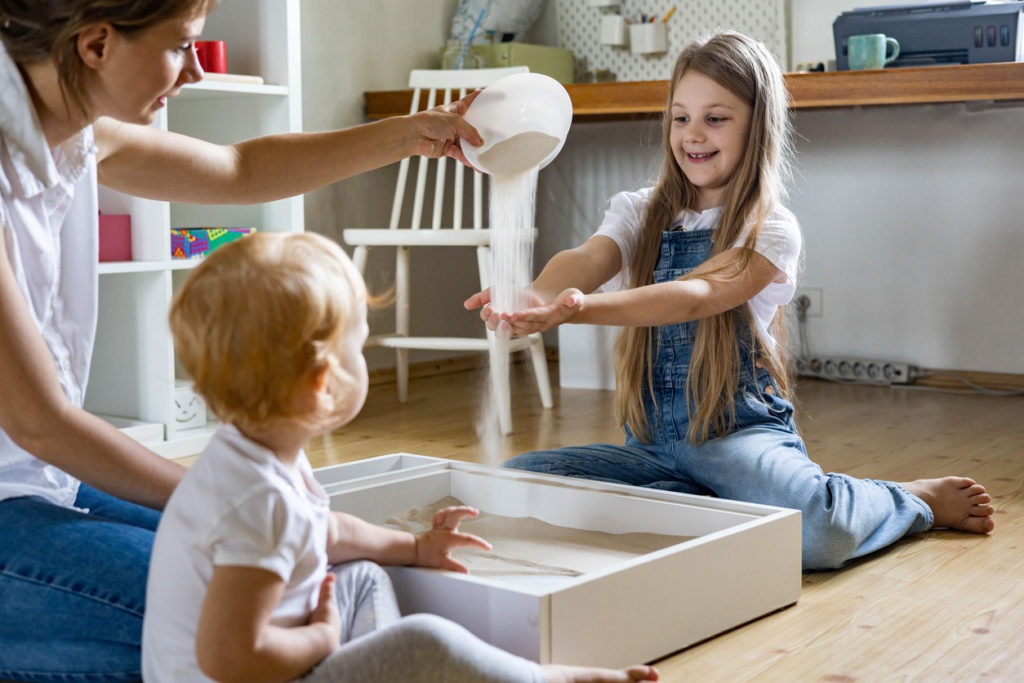
On days when it’s unpleasant to play outside, an indoor sandbox will be an excellent way to keep your children entertained. This is also a nice toy for waiting rooms or if you manage a daycare center. Constructing a sandbox is a great idea as it will allow for some natural aspects to be brought inside while yet maintaining a tidy atmosphere.
